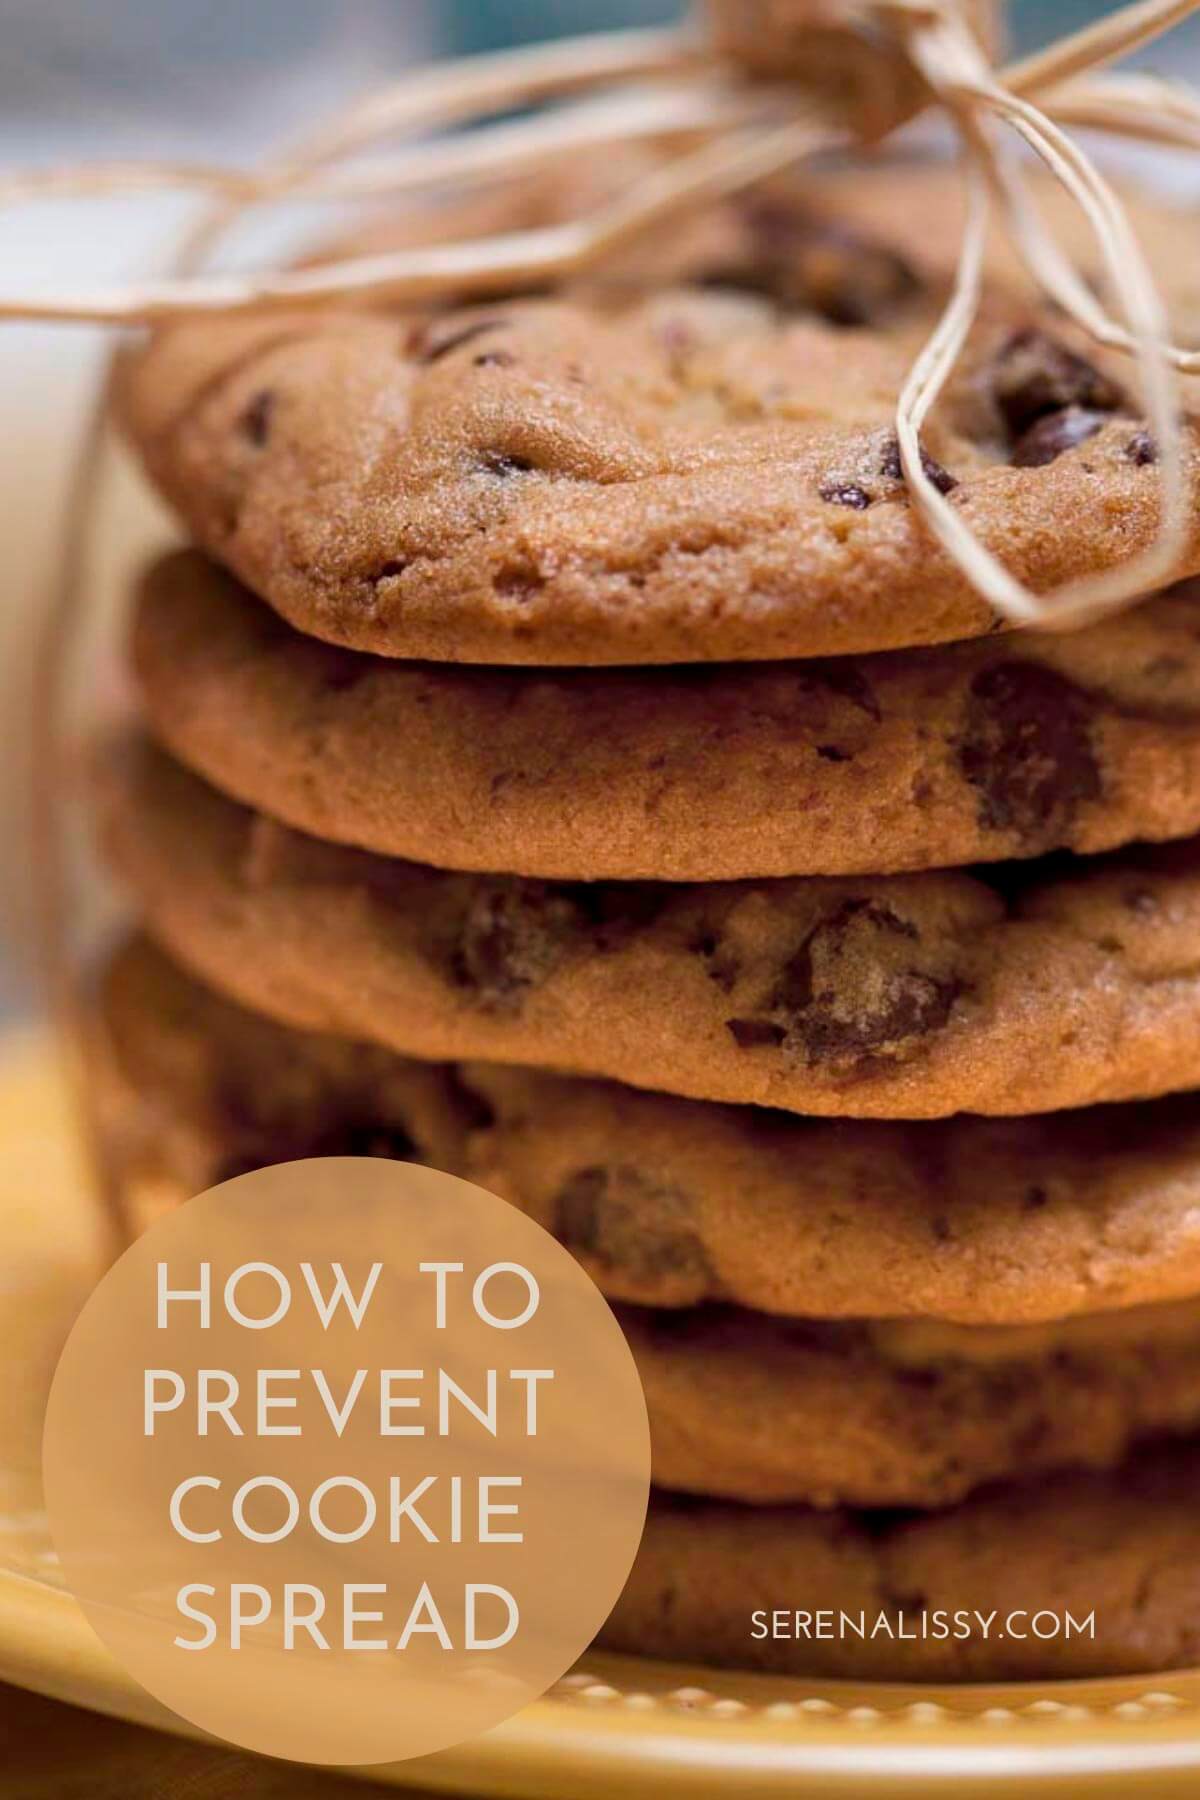
Today, we’re going over our favorite tips to prevent cookies from spreading. Cookies that spread too thin during baking can become overly baked, burnt, and just plain hard and difficult to eat. And I'll say, no one wants burnt cookies. These tips are the first step to help you preserve the delicious bite of a perfectly baked good.
Did you know that Americans consume over 2 billion cookies each year? However, only 4.8 percent of American households don’t eat cookies, which isn’t a surprise to those of us with a passion for baking and a sweet tooth for our favorite cookie recipes.
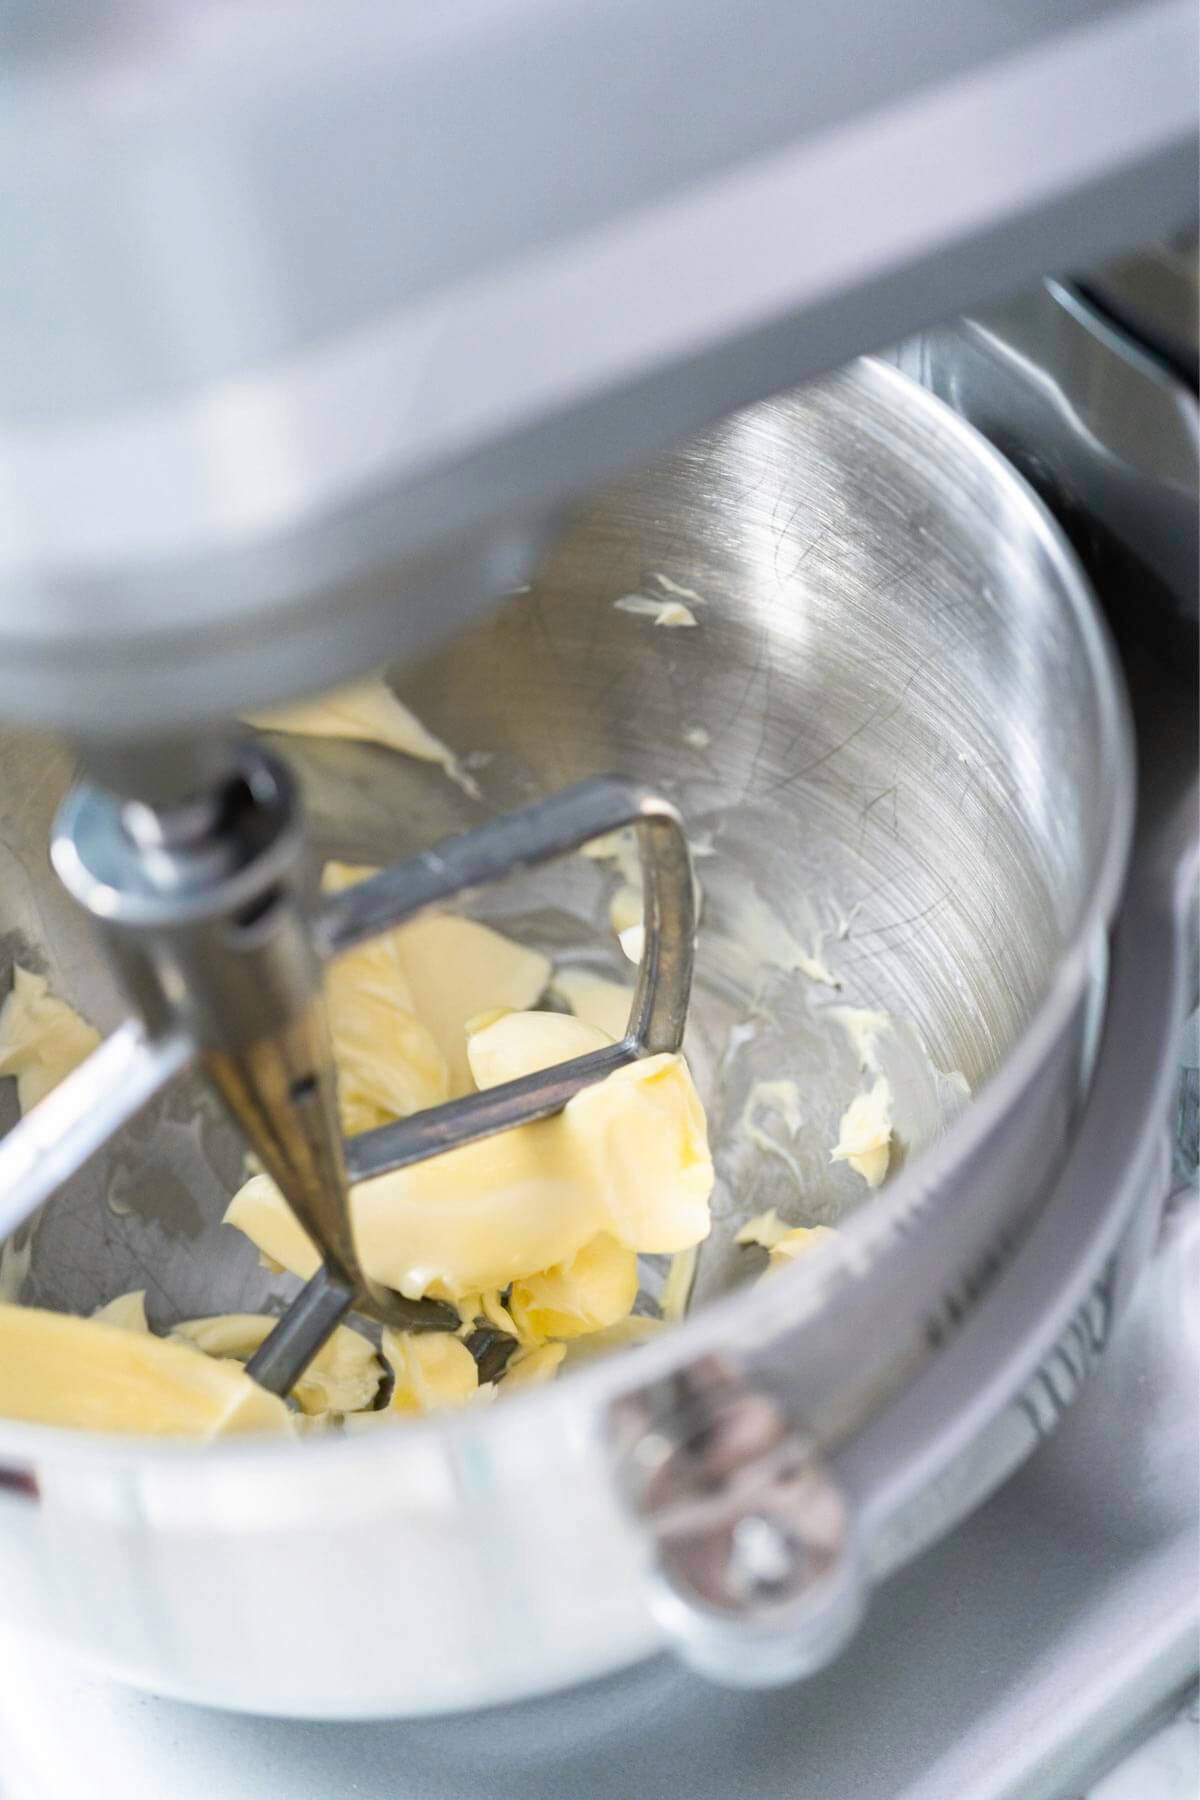
Butter Temperature
When mixing your cookie dough, it’s important to use butter at room temperature. Cold butter won’t only mix into horrible chunks, but it will result in strange consistencies as the butter fails to properly bind with the sugar in your dough.
Butter that is too warm or melted will similarly prevent your cookies from holding shape at all, and you will get cookie spread. This common reason for cookie spread will result in runaway cookie mounds that slip and slide and might not even form on your cookie sheet resulting in very flat cookies.
To help prevent your cookies from either of these disasters, remember to set out your butter ahead of other ingredients for your dough. First, cut out the amount of butter you intend to use, then set it aside while you measure and mix other ingredients. This will allow your butter to properly soften before mixing, and cutting it ahead of time will quicken the softening process, too. If you are running short on time, take a look at our write-up on how to quickly soften butter.
Of course, there are exceptions to every rule. So go with the right butter temperature that your recipe is calling for. When a recipe calls for room temperature butter, make sure it’s just soft enough that it’ll make an ident if you poke it.
If a cookie recipe calls for cold or chilled butter, use it straight from the fridge. If a cookie recipe calls for melted butter, only then can you use butter that’s completely melted.
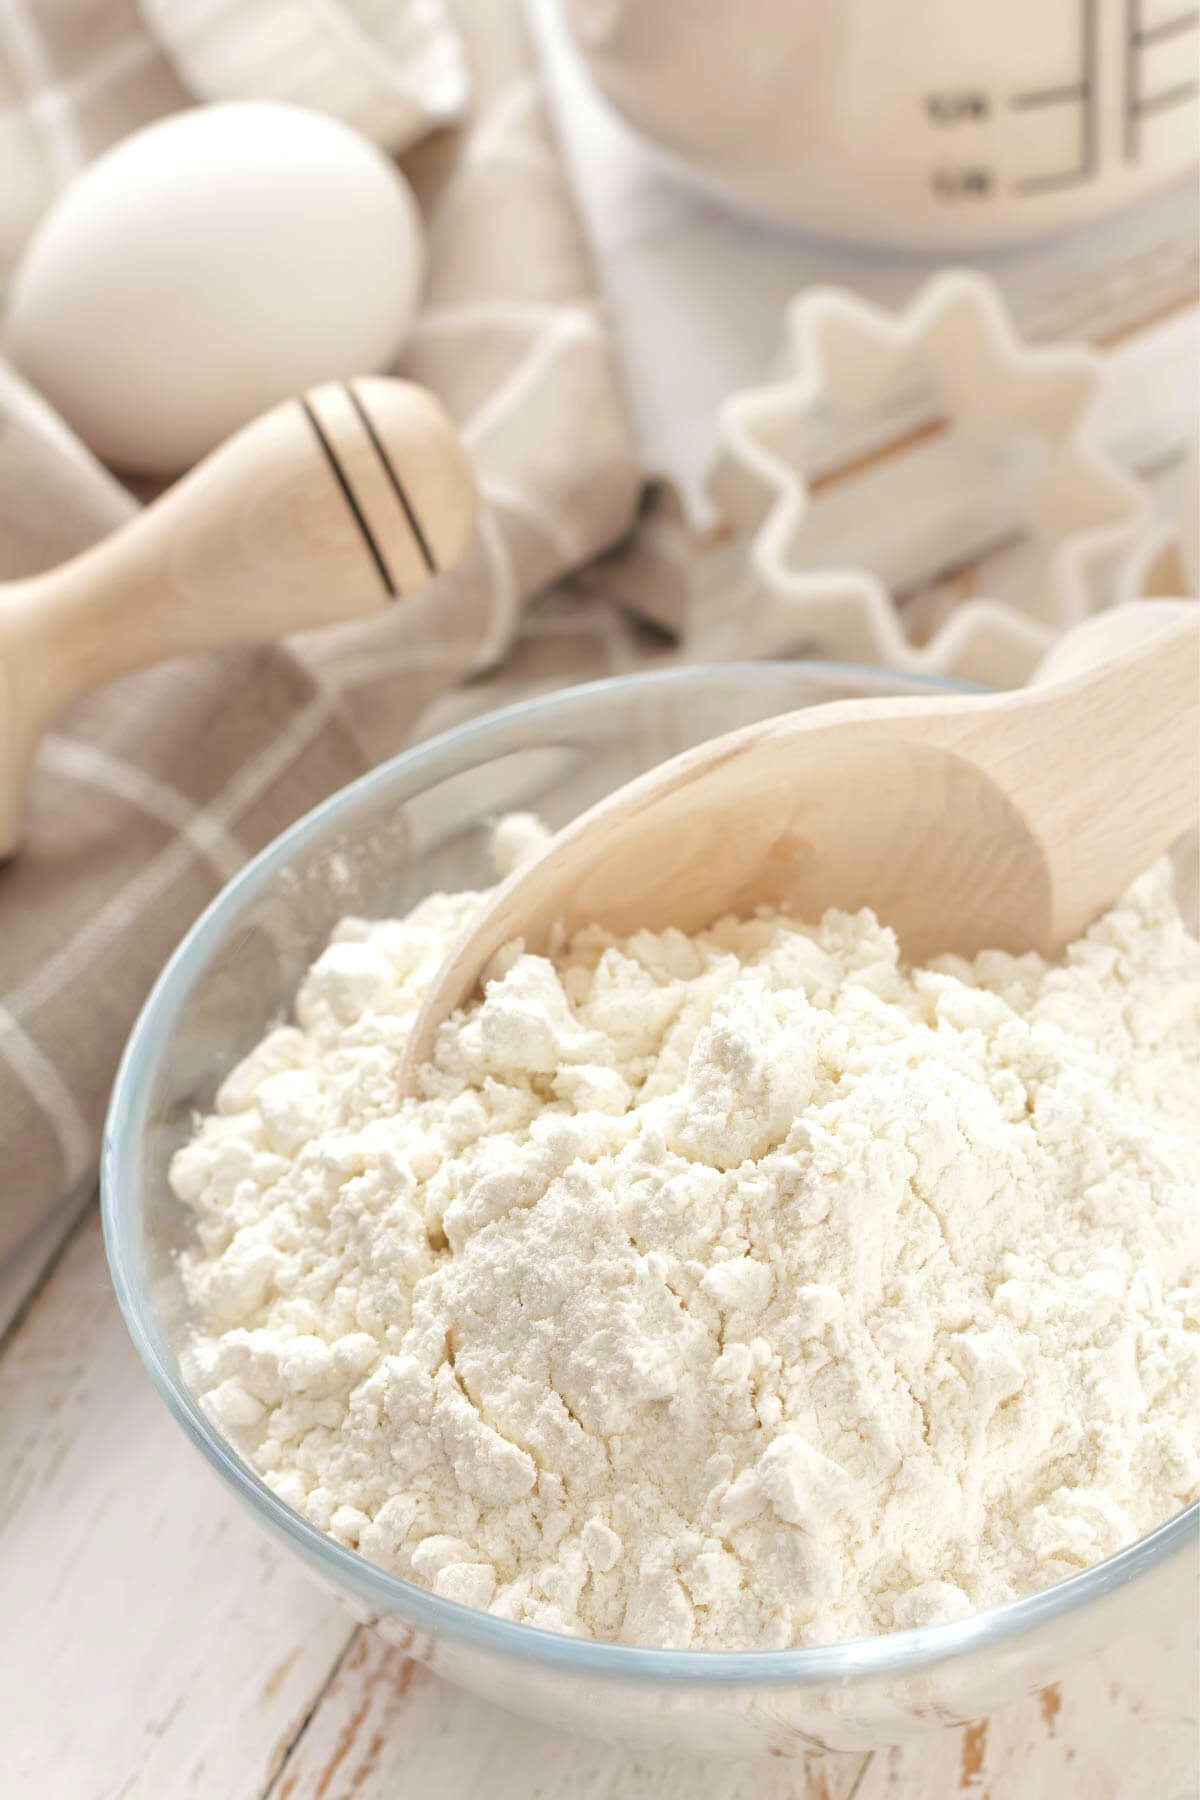
Check Your Flour
With a little care and experimentation, there’s no flour in a recipe that can’t be replaced with another! Simply substituting all-purpose flour in a recipe with no prior preparation can result in cookies that spread or fall apart. There is nothing worse than messing up a great recipe by making a flour swap error.
Pastry flour, for example, has less gluten when compared to all-purpose flour. Therefore, if you use this flour instead of standard AP flour in a cookie recipe, your cookies will have less structure from gluten formation. This will result in cookie spreading and a less-than-optimal cookie texture.
Instead of replacing flour in a recipe haphazardly, consider making a trip to the market for the flour specified. Alternatively, put a bit of time into researching how you might be able to replace the flour in your recipe with another flour you have on hand. For example, this could reduce the number of liquid ingredients in other parts of the recipe or change the amount of flour from the specified amount.
Also, I always recommend using a kitchen scale to measure your flour. Too much flour will result in tough cookies. Read more about the different flours and when to use them here.
Don’t Overmix Butter and Sugar
Overmixing your butter and sugar creates a huge risk of cookie spreading. This can result in essentially melted butter that is liquidy instead of creamy. It can also result in an overwhipped dough. Overwhipped dough has too much air in the mix, causing the collapse of your baked goods in the oven.
It’s heartbreaking to watch cookies rise before falling apart and leaving craters in the center! Don’t leave the stand mixer running unattended. Instead, cream your butter and sugar for only a couple of minutes with an electric mixer, or whip by hand if you have the muscle power and patience.
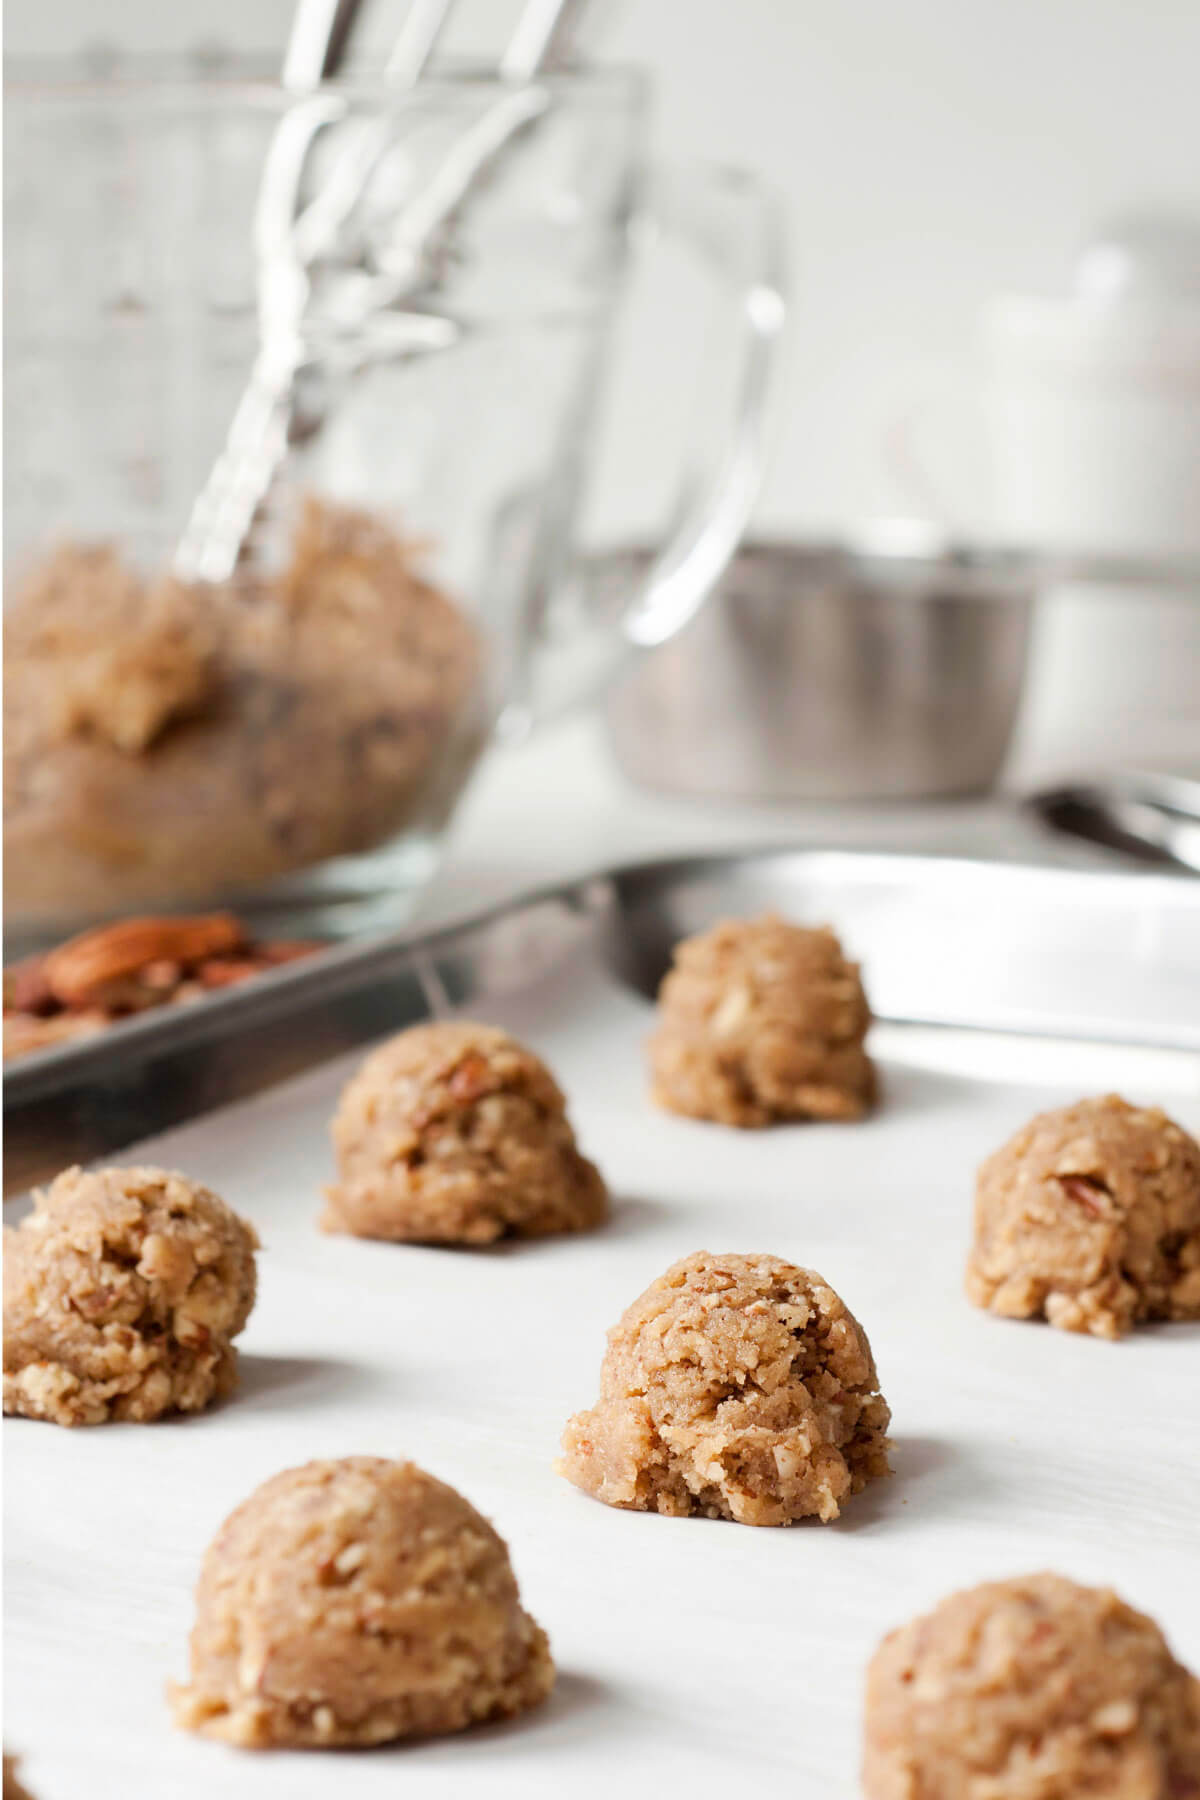
The Right Temperature For Your Cookie Dough
One of the easiest ways to give your cookies a bit of resistance to spreading is to refrigerate or freeze your raw cookie dough before baking! Warm cookie dough tends to spread in the oven. About an hour in the fridge after mixing your dough is considered the minimum amount of time to ensure that the dough is chilled all the way through. A cold cookie dough takes a bit longer in the oven to spread. Usually, you are done with the baking before they get a chance to spread. So if your recipe calls for a chilling step, don't skip it.
Some bakers also swear by freezing their cookie dough before baking, and baking them from frozen, too! This can create a cookie that is perfectly melty on the inside. The biggest downside to this method is the amount of freezer space you might need to use since you’ll have to shape your cookies ahead of time and keep them from sticking to one another.
Temperature Of Your Oven
Depending on your cookie recipe, a wide range of oven temperatures can create the perfect cookie consistency. Cookies are typically baked around 350℉. A lower temperature often requires longer baking times and more opportunities for your cookies to spread.
What’s tricky about oven temperatures is that not all ovens are made the same! So if you’re suddenly struggling with your favorite recipes, try investing in an oven thermometer. Often our ovens are brought up to approximate temperatures vs. the ones that are actually marked.
If your cookies are still coming out a bit too thin or even melty, try increasing your oven temperature to 375℉. In this scenario, you'll have to keep a closer eye on your shorter bake time, but it can be worth it for that perfect bite!
Reshaping Spreading Cookies
It may not be the neatest option, but you can force your cookies to stop spreading by using a spoon or other utensil during the baking process! It’s great to learn how to optimize your cookie batter to prevent spreading cookies, to begin with, but what about the cookies you’ve already whipped up?
Remove them from the oven as soon as you notice them starting to spread. Then use a spoon or other utensil to push the edges of each cookie back toward its center. Place your batch back in the oven and watch them (hopefully) bake as usual! You can repeat this twice during a bake, but your batter might be too liquid to hold shape if you need to do so continuously. Your best bet is to have a solid recipe for your batch of cookies.
Preventing Cookies from Spreading
Nobody likes an overspread cookie. They are often burnt on the bottom and thin throughout. This leaves you with nothing more than an enjoyable version of a cookie crisp. Thankfully, tips to prevent cookies from spreading are easy to implement and often require minor adjustments.
Use your butter at room temperature, and keep a strict time limit on creaming your butter and sugar together. Try increasing your oven temperature for a shorter bake time if they continue to spread, and it's always a good idea to test your temperature with an oven thermometer for accuracy. Use parchment paper on your baking tray and let your cooking sheet cool off if you reuse it. Never put your dough on a hot baking sheet. Finally, don’t be scared to interrupt your bake and physically push your spreading cookies back into place. You’ll have deliciously thick, chewy cookies in no time.
Looking For More Baking Tips?
Subscribe to my free newsletter to get new baking tips in your inbox monthly. Find me sharing new recipes and tips on Pinterest, Instagram, or Facebook.
As an Amazon Associate and member of other affiliate programs, I earn from qualifying purchases. What that means is if you click on one of our affiliate links, they may toss a few pennies our way for a commission.


Leave a Reply