About 297.78 million Americans used butter in 2020, and it’s no wonder! Butter provides not just an excellent base for flaky baked goods, but it also gives us that too-delicious buttery taste that makes pastries a simple delight.
Butter has been blamed for causing heart disease in the past due to it being a high-calorie food with high saturated fat content. However, many studies have failed to find a connection between heart disease and saturated fat intake. At the end of the day, any food eaten in moderation is vital.
When baking or preparing meals with butter, it’s essential to prepare it correctly for excellent buttery taste and not waste calories. Today, we’re learning how to quickly soften butter to save you from crumbling dough and burnt butter pans.
The Importance of Softened Butter
We’ve all run into a recipe (or multiple) that calls for room temperature butter. Butter is a crucial ingredient for flaky pastries and baked goods, as the ingredient can hold air but also expand, creating tiny air pockets of buttery goodness.
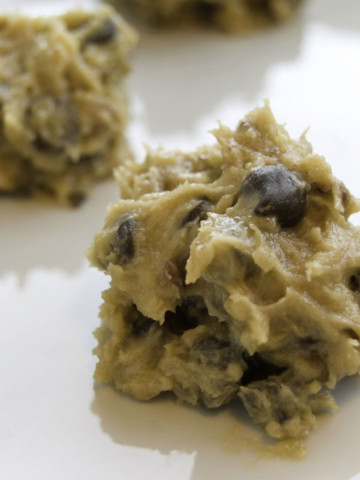
Countless baking recipes, think of your favorite cookie recipes or pie doughs, ask for you to “cream together butter and sugar” as a first step. This process produces fluffy mounds of buttery and sugary goodness but can be confusing to achieve for new and veteran bakers alike.
When creaming together butter and sugar, your butter needs to be soft enough to react with the sugar properly. This is because of the fat content in butter, which responds perfectly with the jagged edges of sugar crystals to take in air into your mix. This creates a light and fluffy texture in minutes with an electric mixer and a few more minutes when beaten by hand.
If your butter isn’t properly softened ahead of time, the sugar crystals will start cutting into your cold pieces of butter and create small granules of chunky butter/sugar bits. This is unappetizing, but if you continue with this mix and try to make any sort of dough to follow, you’re bound to have an uneven bake and random globs of butter after the fact. Yuck!
Thankfully, softened butter isn’t as soft as you first might believe. It should still feel cool to the touch, and many use a finger indentation to tell when their butter is ready! Here are some other easy methods to soften butter ahead of your baking.
Softening Butter at Room Temperature
The most obvious and classic way to soften butter at room temperature is to let it sit at room temperature on your kitchen counter! When softening a whole stick of butter from the fridge, it will take about an hour or more of sitting time to soften. It depends on your room temperature, but an hour is a good rule of thumb. This method will give you the most consistent results with minimal effort. But it does take the most extended amount of time.
This seems like a lot of time, but it might be the easiest way and no big deal for those who like butter on our toast and take the ingredient out before preparing breakfast. Take out a bit extra, and you’ll be ready when it comes time to bake with soft butter.
Slicing Butter at Room Temperature
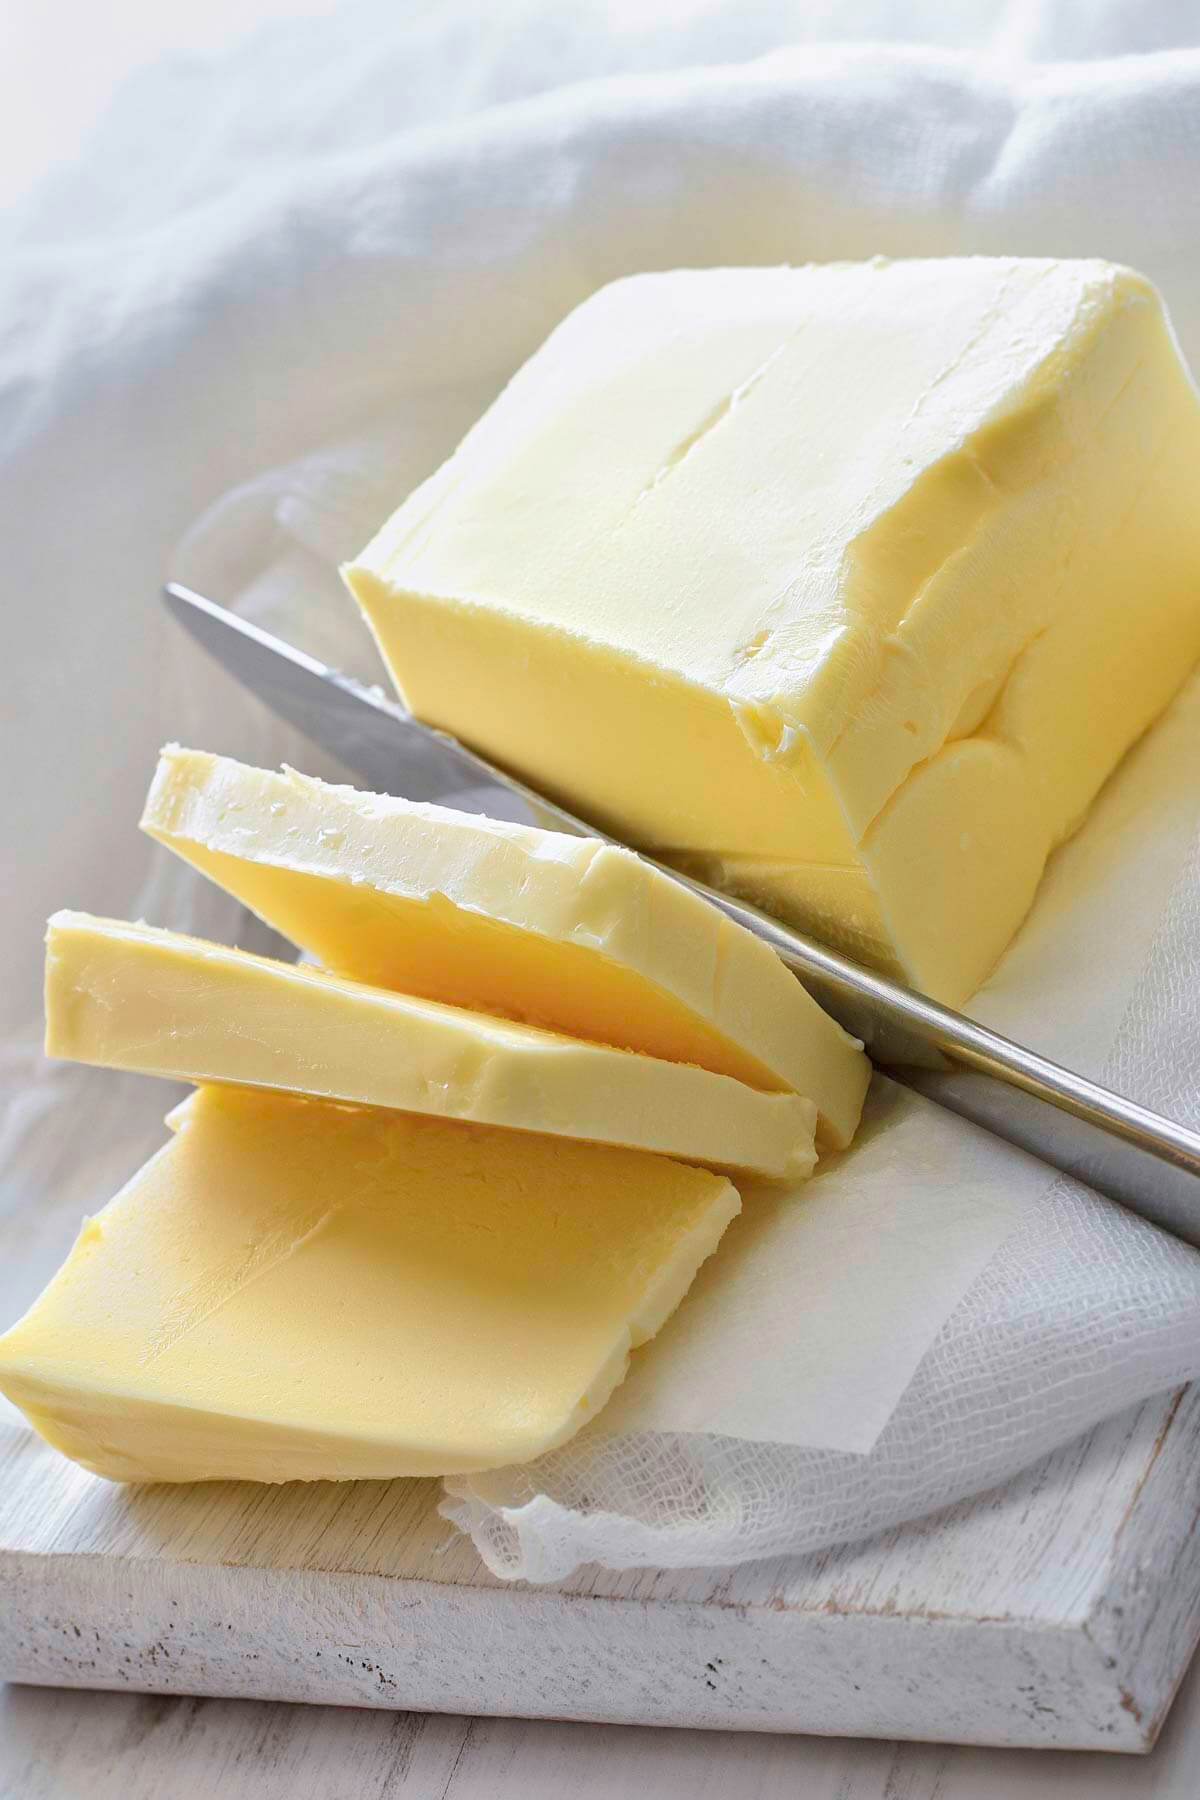
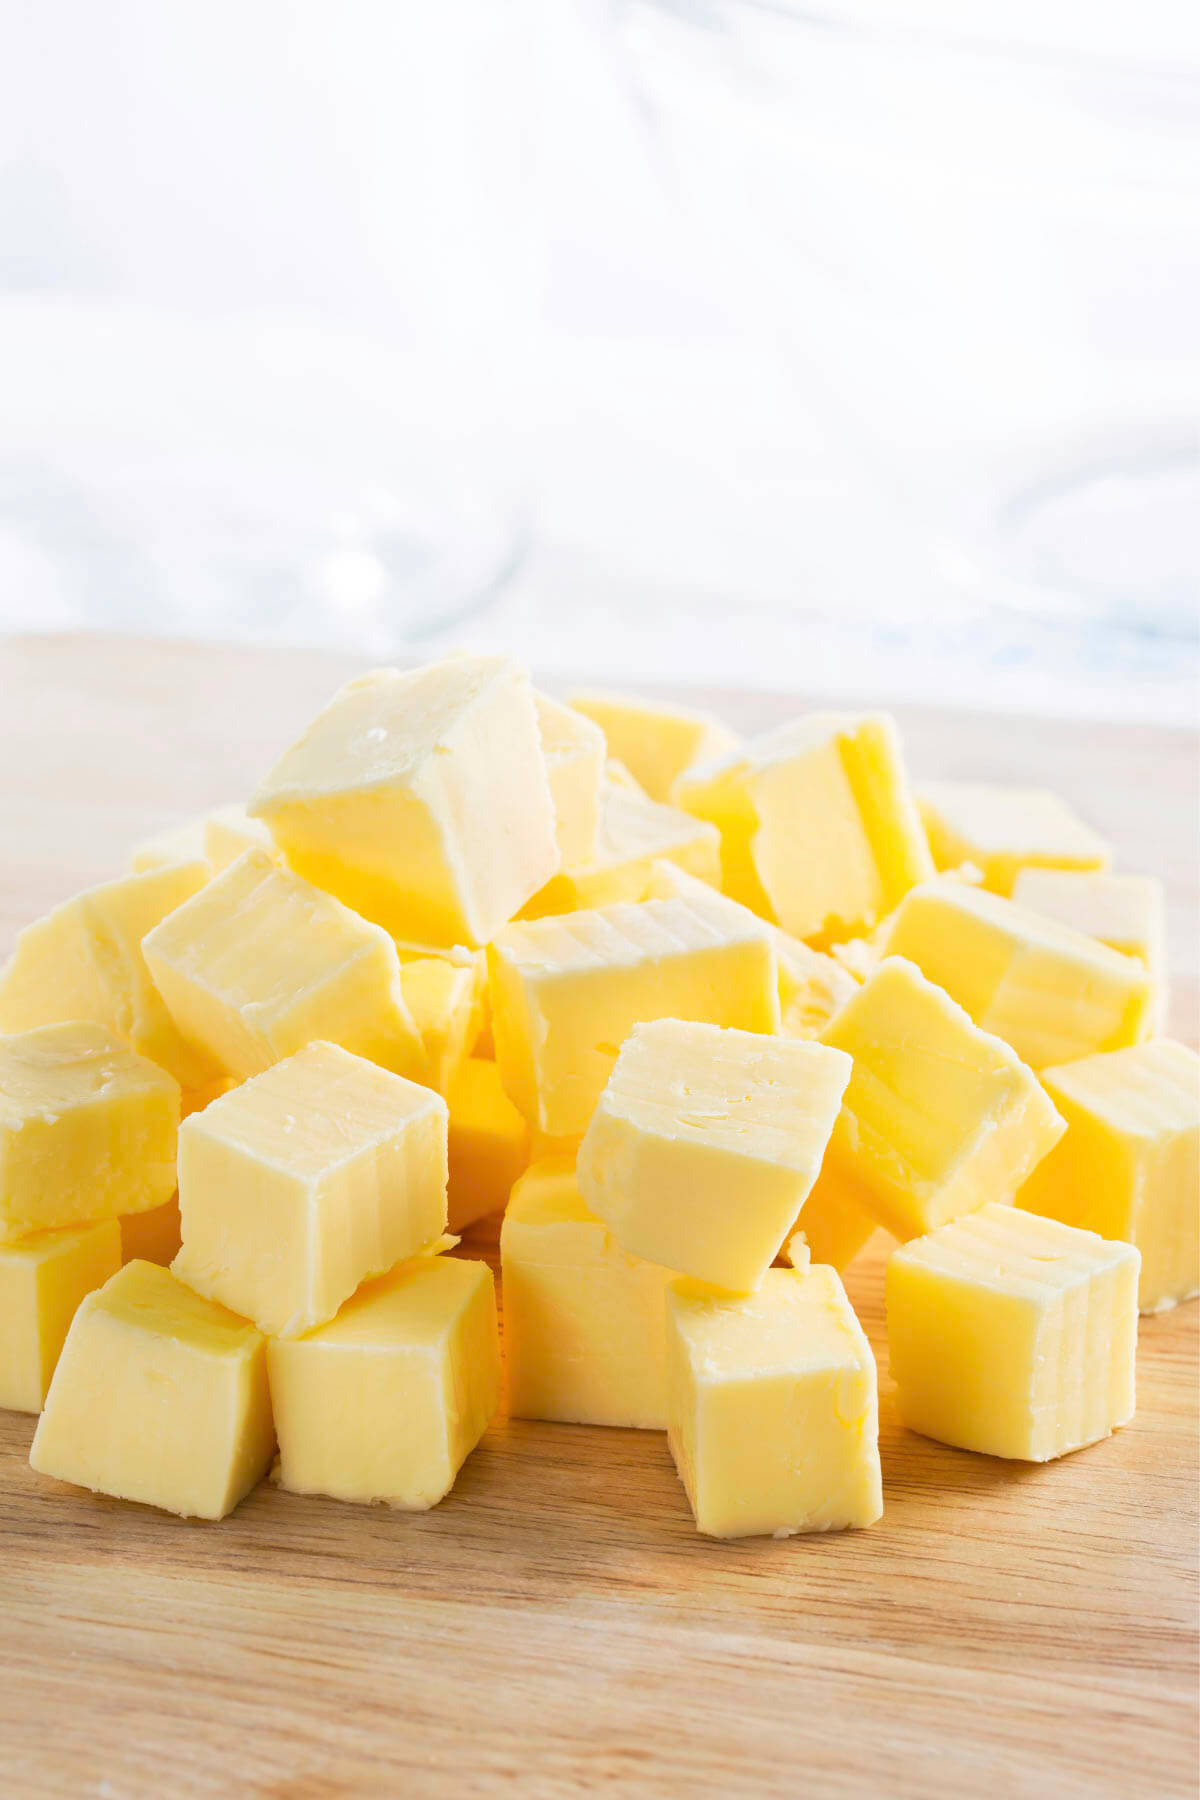
For many recipes, particularly those in baking, creaming your butter and sugar together will be your first step. But if you take the time to cut your cold butter into small cubes and measure out your other ingredients afterward, you might find that your butter softens to the perfect consistency just before you need it! In addition, cutting butter ahead of time in smaller pieces increases its surface area, letting your room’s warmer temperature heat it a bit faster.
A similar method to soften your butter involves more labor, a rolling pin, and wax or parchment paper. First, place your pre-measured or cut butter between two pieces of wax paper. Next, grab your rolling pin, and get to work flattening and spreading out those sticks of butter! Finally, lift off the top piece of wax paper and let your softened butter sit for a few minutes until room temperature.
If you put enough time and muscle into this step, your butter might be room temperature already after rolling out. So, this is the faster softening method for impatient bakers.

Softening Butter With the Microwave Method
Another common yet riskier way to soften butter is to pop it in the microwave and heat it. You’ll only want to do this for a few seconds, and it might take some testing to get the right amount of time, depending on your butter amount.
When tackling this method, place your butter in the microwave, and heat it for a few seconds. I usually use a low power level on the microwave to ensure I don't overcook it. Then attempt to mix the butter into a creamy consistency in its bowl. Repeat until the butter is malleable.
You can try an easy kitchen hack known as an indirect microwaving method if you have a smaller amount of butter to work with. Instead of microwaving the butter directly, microwave a small bowl or cup of water for a few minutes. Immediately remove the water bowl and place your butter inside the microwave with residual heat. Close the door, and let it sit in the microwave for a bit. This method can produce room temperature butter at a higher success rate if you're quick enough.
Indirectly Heating Butter
Yet another great way to indirectly heat your butter to room temperature is to heat some water in a large bowl or container. Next, place your butter in a smaller bowl or container. This could even be something as simple as a zip-top plastic bag. Let it lightly sit inside the bowl of hot water to dethaw and warm.
Submerging the smaller bowl into the larger one will quicken this process. This is a great option to speed the softening of your butter ingredient without the risk of melting it too quickly or messily.
When heating butter in this way, it should take only 5-10 minutes to soften butter if your water is hot enough. Super quick and easy to tackle while you prepare and pre-measure other ingredients!
How To Test When Butter Is Properly Softened
The quickest and most accurate method is to insert the probe of an instant-read thermometer into the stick of butter. You are looking for the temperature of the butter to be between 68F and 72F if the recipe calls for room temperature butter. This also works with cubed butter if you have cut the butter into small chunks. Another reliable method is to poke your finger onto the butter's surface. It should leave an indent but not stick to your finger.
How to Quickly Soften Butter
Softening butter is all about preparation, surface area, and heat! Leave your pre-measured butter out at room temperature if you have time to plan. If you don’t, give one of our microwave or water submersion methods a try if you are looking for quick ways to soften butter!
You’re ready to tackle some of our most delicious recipes here at SerenaLissy.com. Enjoy our Dulce de Leche Sandwich Cookies and Homemade Girl Scout Cookie Samoas today.
More Tips To Make You A Better Baker
How To Choose The Right Pie Pan
The Function of Sugar in Baking
Looking For More Baking Tips?
Subscribe to my free newsletter to get new baking tips in your inbox monthly. Find me sharing new recipes and tips on Pinterest, Instagram, or Facebook.
As an Amazon Associate and member of other affiliate programs, I earn from qualifying purchases. What that means is if you click on one of our affiliate links, they may toss a few pennies our way for a commission.


Leave a Reply