One of the most prevalent pantry problems in baking is remembering whether or not our baking ingredients have gone bad. Why? Because in most cases, basic baking ingredients that can be stored in the pantry are technically good for 1-2 years according to the best-buy date on the box.
But that date doesn’t consider what each of our ingredients is meant to do in a bake. Or even how long it’s been since the ingredient’s container was first opened.
On average, the primary grocery shopped in U.S. households makes 1.6 shopping trips per week as of 2019. That’s over 6 grocery shop visits a month! And while baking supplies aren’t the only thing you’ll be looking for on a grocery trip, you definitely don’t need another reason to make a last-minute trip for one ingredient in the baking aisle.
Today, we’re bringing you a baker's guide to pantry problems. These tips and tricks will help you save ingredients for longer and avoid the last-minute panic of having only an expired product on hand when baking.
How To Test If Baking Soda Is Expired
Baking soda and powder are two of the most important things to keep on-hand and in usable condition for baking. After all, these ingredients are heavily responsible for the leavening of dough and the successful texture of many bakes.
To test if your baking soda is still active enough to use, you’ll need some vinegar for a quick at-home test. Baking soda reacts with vinegar to create a chemical reaction resulting in carbon dioxide gas. This is more commonly recognized as foam accompanied by a fizzing sound.
Some recommend simply throwing a pinch of baking soda onto a spoonful of vinegar. But others prefer to mix the teaspoon into half a cup of hot water first. Give whichever method seems easiest for you a try! If the baking soda fizzes, then it’s still active enough to act as a leavener in your bakes.
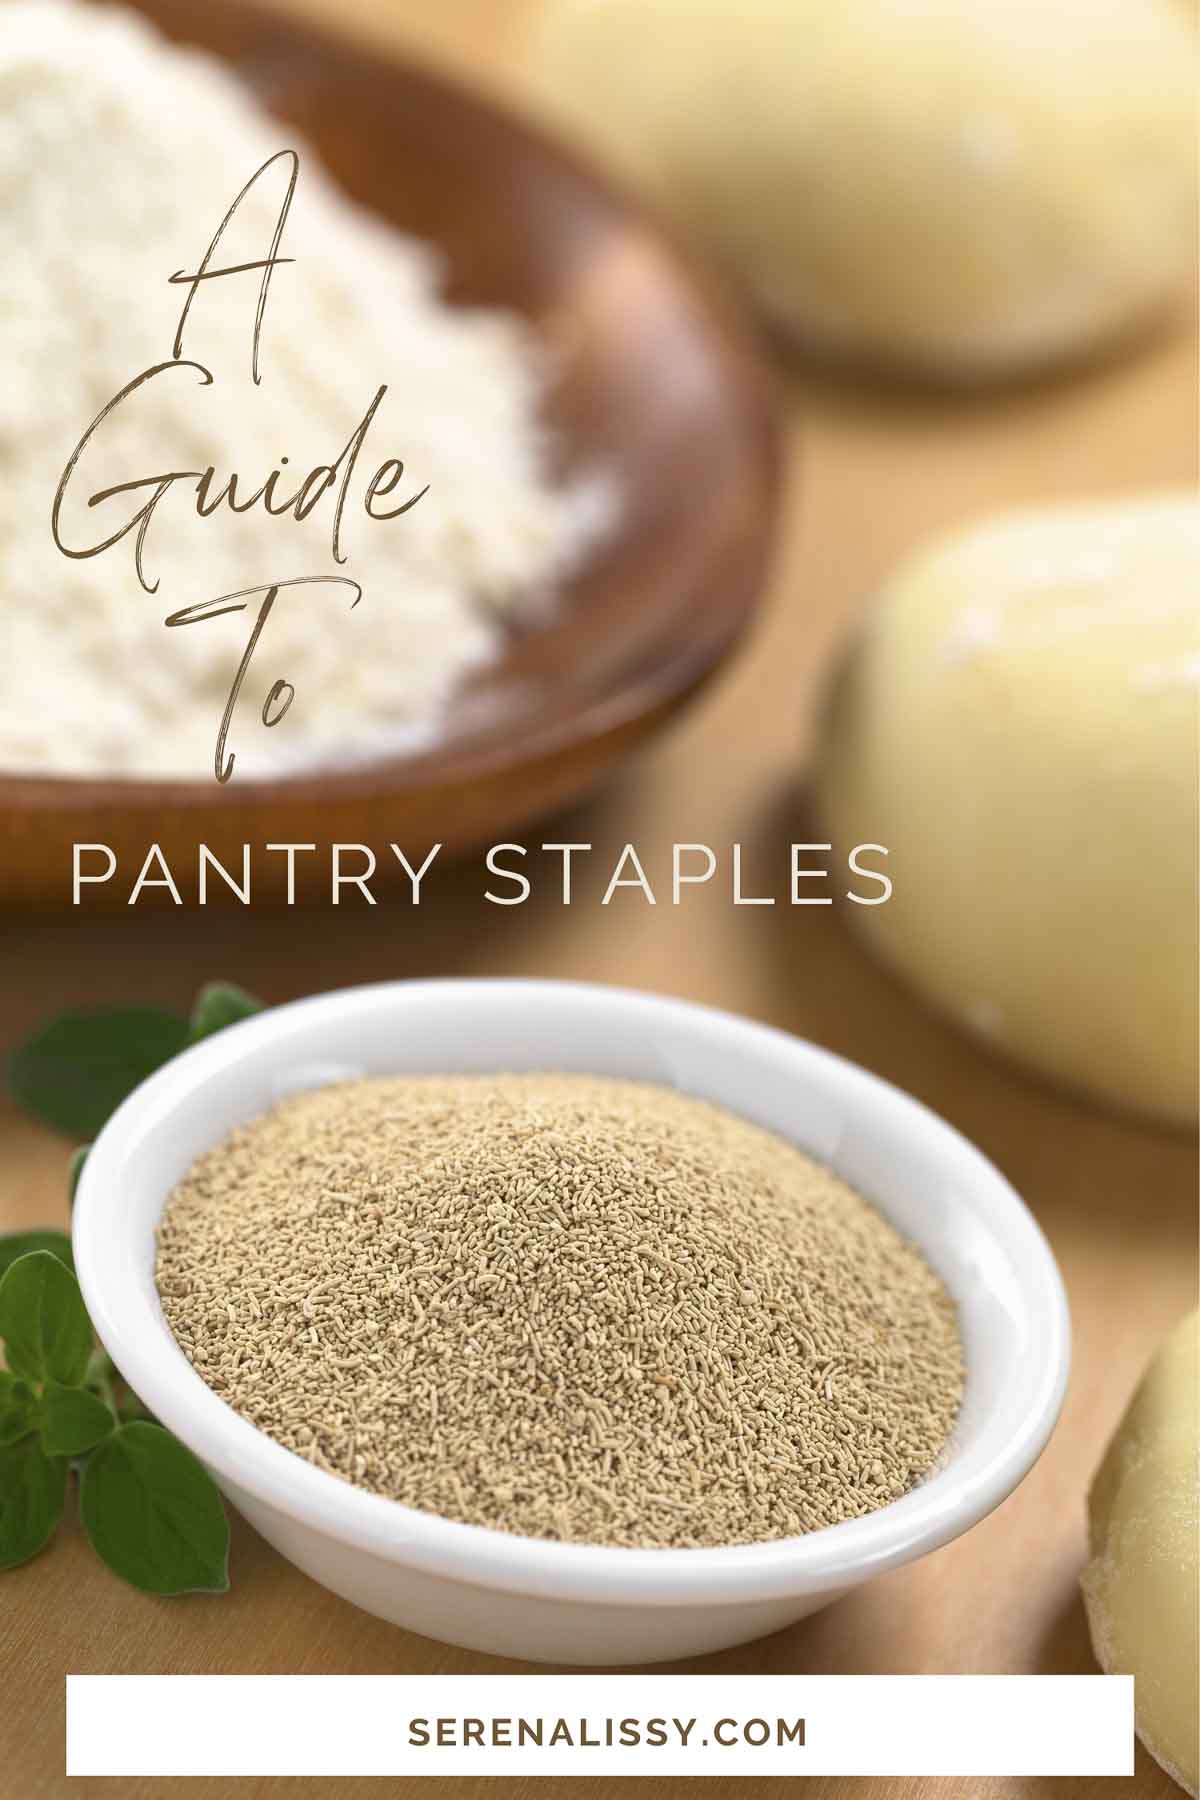
How To Tell If Dry Yeast Is Good
Don’t remember when the last time you bought dry yeast was? Unopened dry yeast packets and containers typically have a “best by” date that ends two years after being packaged. However, once your yeast has been opened and exposed to air (and re-packaged not as tightly,) dry yeast typically can last only three to four months in a refrigerator.
That being said, even yeast that is older than three to four months may still be good to use. If you have the time, testing your yeast is the best way to ensure that you don’t waste perfectly good dry yeast.
Testing your yeast is often also called “proofing” your yeast. Tested yeast can be used in your recipe right away as long as the recipe calls for ¼ to ½ cup of water. To proof or test your yeast, you’ll need 1 teaspoon of granulated sugar and ¼ cup of warm water.
Dissolve the sugar into the cup of water, then add a ¼ oz. packet or 2 ¼ teaspoon of dry yeast to the mixture. In about 10 minutes, the mixture should bubble and rise, creating a rounded top of a creamy beige color. It should also smell strongly of yeast. Surprise!
If this occurs, it means that your yeast is still active and ready to use efficiently in recipes. You can use this very proofed yeast mixture in your recipe as long as you remember to remove however much water that was included from the rest of your water in the recipe.
The sugar originally added to test the yeast is inconsequential. The yeast molecules feasted upon them to produce that bubbly effect. After all, yeast is made of living organisms that give off carbon dioxide after feasting. This gives the rise that is necessary for many bread and baked products.
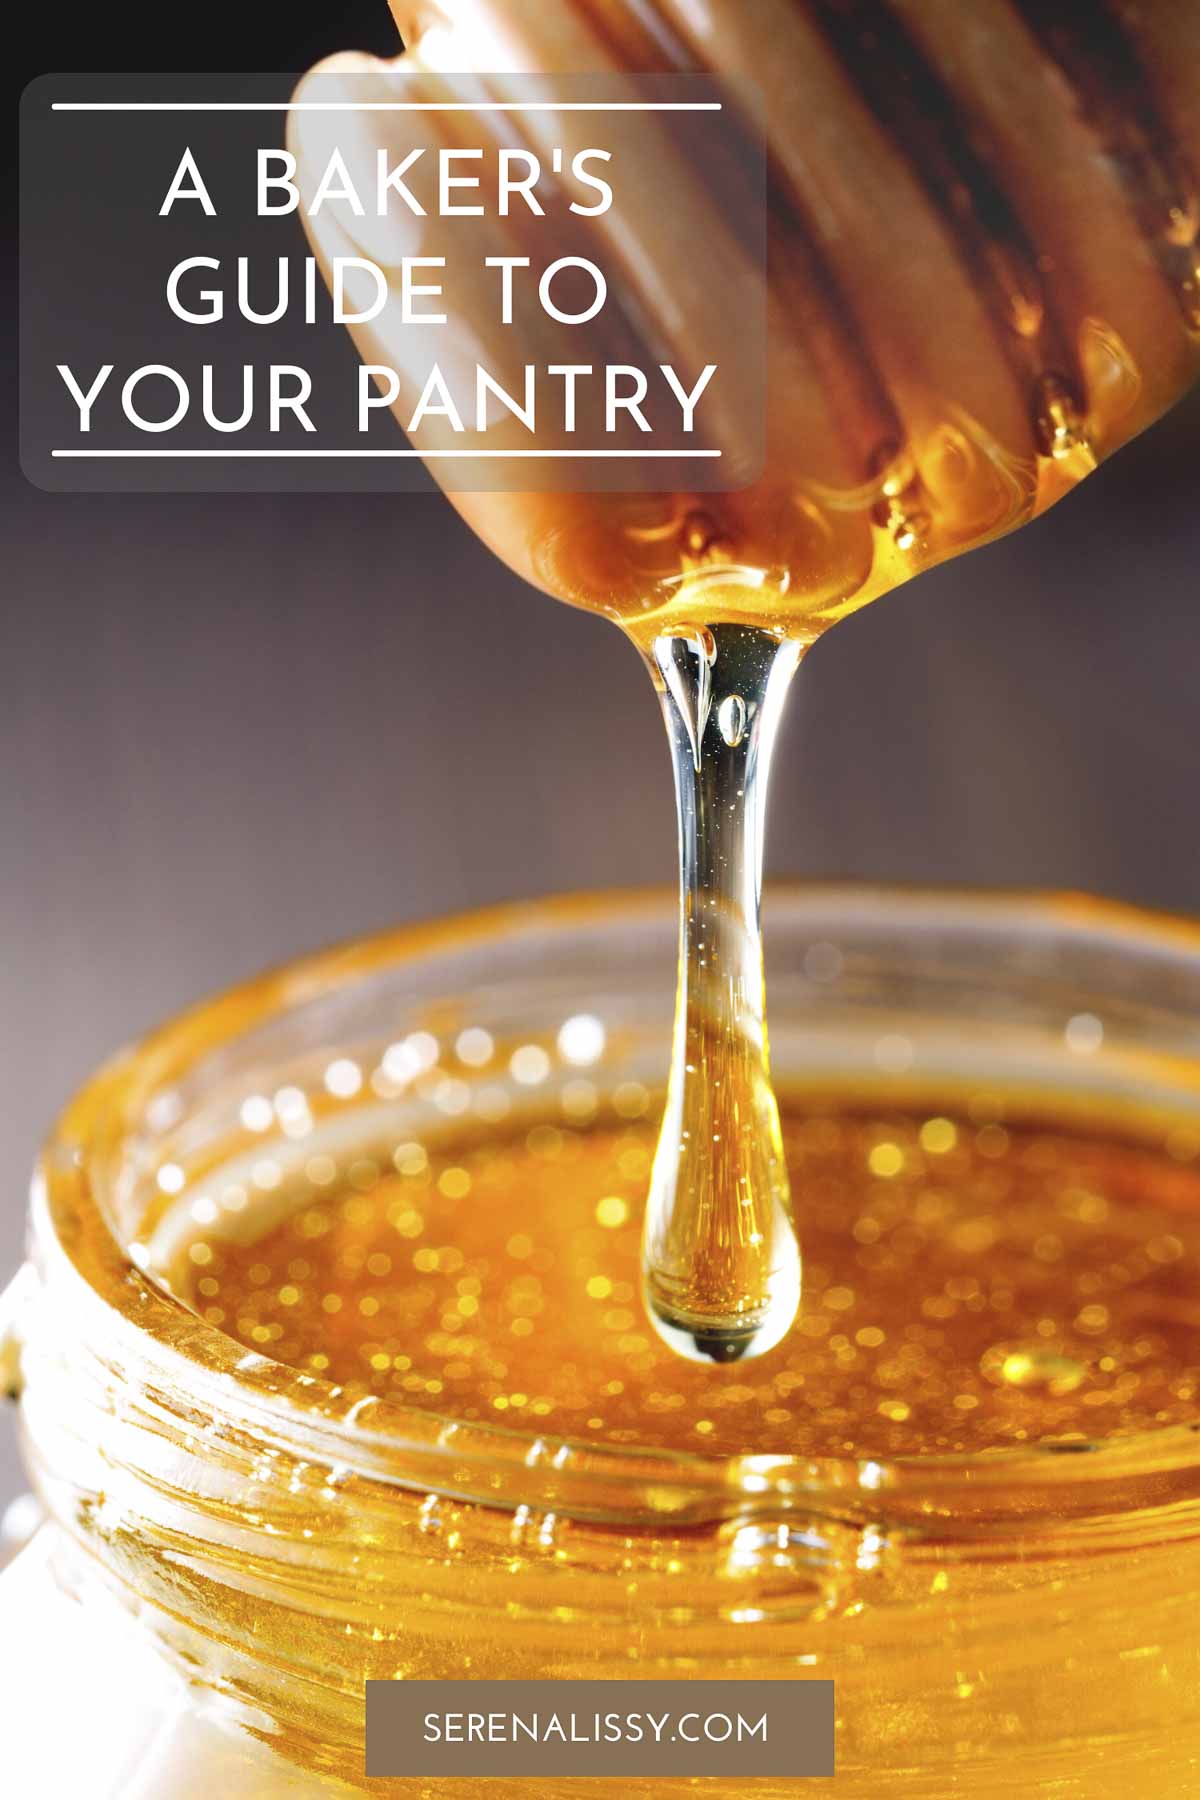
How To Fix Crystallized Honey
Besides its sweetness and delicious taste, one of the best things about honey is that it doesn’t expire. As long as your honey is stored in a sealed container, it can remain stable for weeks, months, and even years.
However, most people assume a maximum of two years of lifespan for honey since it remains susceptible to physical and chemical changes. These changes, over time, can lessen the honey’s flavor, change its color and result in crystallization.
Have you ever gone to open a jar of honey only to find it crystallized shut? That doesn’t mean that it’s spoiled, but its changed physical state can be confusing and even rage-inducing.
Thankfully, you can quickly revitalize crystallized honey by microwaving it for 30 seconds or heating it over simmering water. Depending on how often you use honey, the process of heating it may be worth avoiding wasting more money on additional jars.
But if you use larger amounts of honey for your daily cup of tea or your favorite honey cake, you’ll probably end up using the entire jar before your honey gets a chance to crystalize.
How Can I Tell If My Flour Has Gone Bad?
Flour might be the hardest item to remember to replace when it comes to a baker’s pantry. Why? Because we tend to buy bags of flour in very large sizes when we’re avid bakers! Who knows how many batches of cookies, cakes, and loaves this bag has seen by now?
Smelling your flour is one of the best and only ways to test whether or not your flour has gone bad. Whole grain flour will go bad more quickly than intact grains because it lacks its original protective bran layer.
Fresh flour has a very mute, neutral odor, while spoiled flour may smell musty or sour. In addition, it might appear discolored and is prone to forming clumps of mold if stored in a moist place.
Self-rising flour contains baking powder, which can lose its potency more quickly than flour alone. Therefore, self-rising flour should be replaced every six months.
A Baker’s Pantry Problems
Managing a pantry is often the last thing we want to do when it comes to being a baker. After all, it’d be much more fun to bake with a set-up and clean-up crew ready to go! But with some simple tips and tricks, you’ll be able to better preserve and test your basic ingredients for the long run.
Ready to learn more about the storage and science of baking? Give our article on Flour 101, The Different Types of Flour and When to Use Them a read to set yourself up for baking success no matter if it comes to breads, cakes, cookies, or all of the above.
Looking For More Recipes And Baking Tips
Subscribe to my free newsletter to get new baking tips in your inbox monthly. Find me sharing new recipes and tips on Pinterest, Instagram, or Facebook.
As an Amazon Associate and member of other affiliate programs, I earn from qualifying purchases. What that means is if you click on one of our affiliate links, they may toss a few pennies our way for a commission.
Bella says
This is so neat!! my pantry is always full and I have back stock!!! this is such a great post! thanks for sahring
Mimi says
So interesting, the only one I knew is the baking soda trick
Lindsey Harrison says
Some really helpful tips in here, especially about the crystalized honey - I always run into that issue!
serena says
Same for me with the honey.
Nadalie Bardo says
Oh my, I have so many baker problems. I'm gluten-free and egg-free so learning how to bake again is such a challenge.
serena says
It's definitely a challenge. Just be patient and practice 🙂
Amber Myers says
Thank you! I had no idea about any of this since I am terrible in the kitchen.
serena says
Thanks Amber!