Depending on who you ask, the value of purchasing a standalone new camera is easily debated. Why purchase a fancy DSLR camera when your phone camera will do just fine? We hear this debate a lot. We also hear, "I have a new camera and I want to know what settings I should use." The answer to both of these is always, it depends. Different people's photography needs are not always the same.
Sales of digital cameras took a bit of a dip due to the coronavirus pandemic. However, the volume of digital cameras sold worldwide will hit an all-time high in 2025 with a projected 128.17 million units to be sold.
And yet many of us continue to shamefully resort to the automatic camera mode 24/7 because, no one has time to learn about the other available settings.
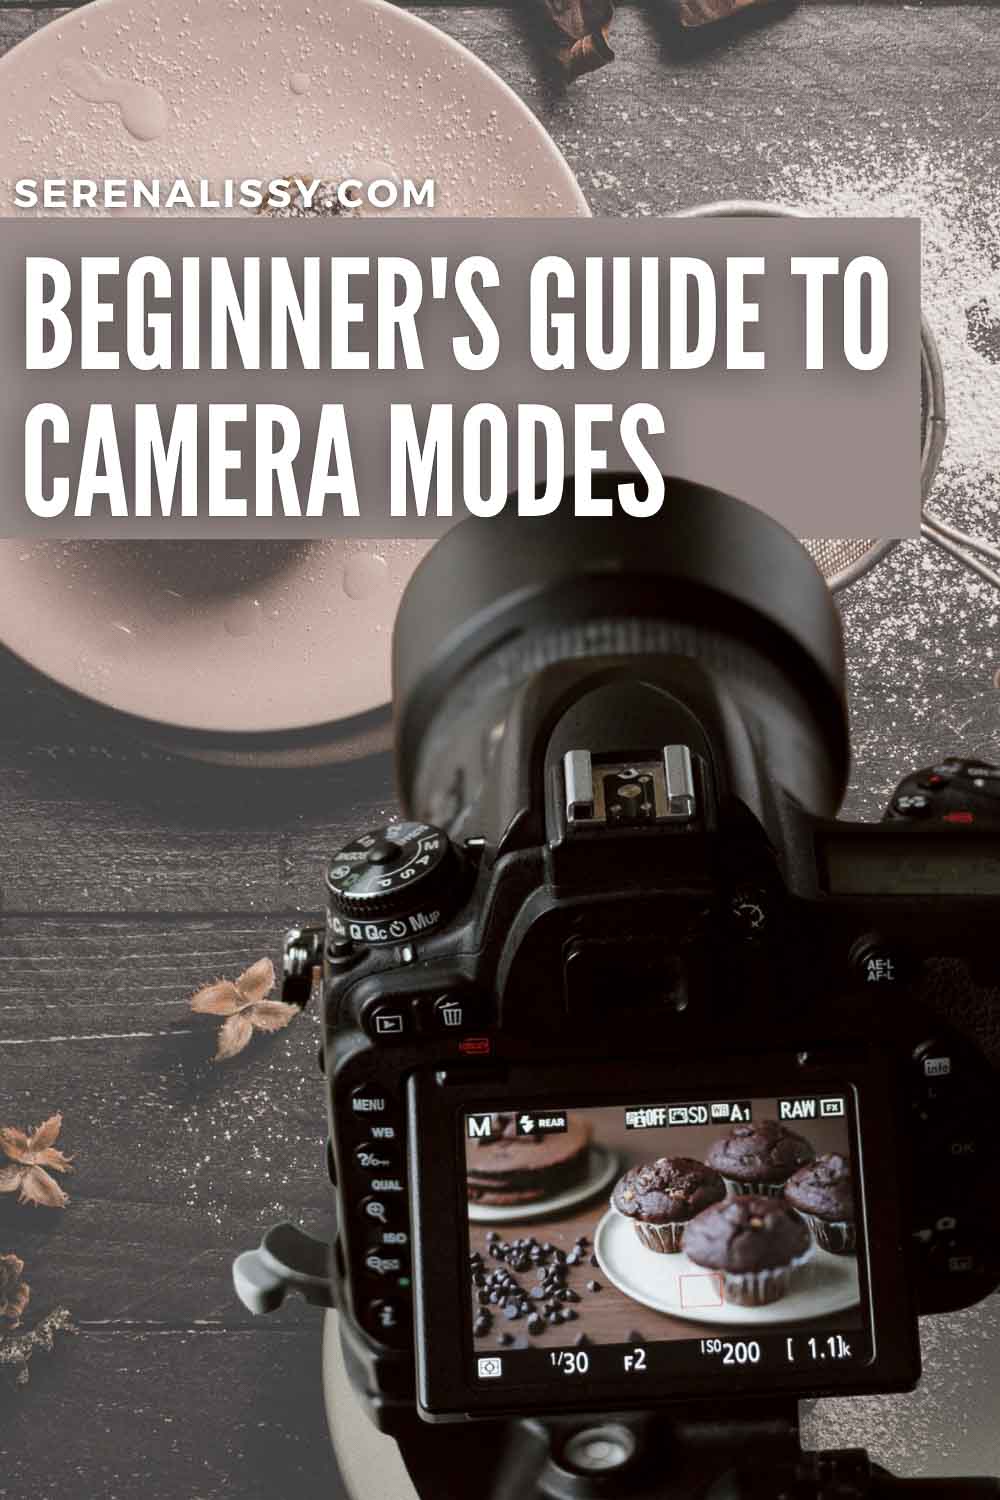
If you have a camera, chances are that it has more than one setting. Today's post is a beginner's guide for camera settings and what each setting is used for. We'll cover how to use camera modes properly and how each one can make your photos better. I bet you'll have a more enjoyable experience behind the camera too after learning more about camera modes!
Guide to Camera Settings
Don’t worry, there’s no shame in relying on the reliable automatic mode! But having more tools up your sleeve can widen your artistic range and portfolio. So let's get started, the first step to better photos is understanding the exposure triangle. Next is picking your camera mode: P mode (program), A mode (aperture priority), or S mode (shutter priority).
The Exposure Triangle
As you probably know a photograph is made by capturing light. The amount of light is registered by a sensor in your digital camera. The right amount of light will determine your correct exposure. To let in the right amount of light we depend on what is known as the exposure triangle. The three pieces that make up the triangle are aperture, shutter speed and ISO. There is a fine balance between them. When you adjust one, you must make adjustments to the others to compensate for the change. Most cameras come with a full automatic mode to do the adjustments for you. Some semi-automatic modes will let you determine one of the three pieces of the triangle and the camera will determine the rest for the proper exposure compensation.
Automatic or Program Mode
The quickest camera mode will always have your back. Whenever you need to snap a quick picture before it passes, full auto mode is your best bet! Most cameras are set to this mode upon powering on, so a simple press of the shutter button can capture fleeting moments. The benefit of this mode is that it's easy and quick. This can be great for beginner photographers who need help with exposure time or want an easier way to take pictures in average lighting situations without any prior knowledge about photography settings.
Automatic mode means your camera will automatically choose the optimum shutter speed, aperture, ISO, and flash settings at the time of shooting the picture. Think of when you’ve used a digital camera and heard the lens quickly spin and adjust itself. This is probably a result of the camera automatically shifting to let in more light or less light depending on your subject.
While automatic modes are extremely convenient, they do have their downsides. The automatic function does mean there will be some loss of creative control over things like exposure time, ISO sensitivity and white balance which may result in photographs that aren't as good as desired. For example, letting your camera auto-choose an aperture setting can mess up your shot in darker settings. The aperture setting of a camera determines how much light can enter your lens.
Aperture is measured in F stops that often range from 1.4 to 16. Lower numbers represent larger apertures and therefore larger diameters of the light-entering area. When shooting in an unlit or poorly-lit room, allowing more light into your lens will allow you to capture subjects artfully. Ready to learn more about aperture? Give our in-depth article on Understanding Aperture in Photography a read.
Shutter Priority Mode
Shutter priority mode will appear on your camera marked by either "TV" or "S." This mode, as the name implies, prioritizes the shutter speed you’ve manually set over anything else. In fact, prioritization is a weak word for it. Your camera won’t deviate from the speed you’ve set at all!
If you are experimenting with motion blur or long exposures, or need to avoid camera shake this is the mode you want. Think of shutter priority mode as the ideal setting for catching subjects in motion. Often, your camera’s automatic shutter speed won’t be fast enough to catch a racing cat or a moving train. Try to capture one of these on automatic mode, and you’ll hear a long shutter sound only to reveal blurry images.
Instead, manually forcing your shutter speed to be as quick as possible will create cleaner images of moving subjects. On the other hand, you can have a slower shutter speed to explore more dreamy and symbolic effects with motion blur.
A big benefit to this mode is that it can allow for taking pictures in low light without a tripod. In the food photography world, I always advocate for using a tripod. However, if you are doing something like street photography, a tripod isn't a good fit.
Aperture Priority Mode
Conversely, aperture priority mode is a camera setting that sets the aperture and automatically adjusts the shutter speed. While shutter priority mode can help you forcibly focus on a moving subject, aperture priority mode can help you in setting a depth of field.
Consider a portrait photographer learning how to best frame their subject. You’ll probably want a solid focus on your human subject, instead of on the detailed forest trees behind them. Using aperture priority mode, you can manually set an aperture and F stop size that creates crisp pictures of your subject.
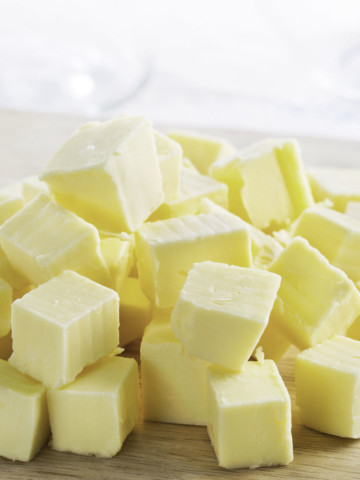
Think about your most recent food photographs. Depending on what's important in that image, you could go with a wide aperture or a small aperture. A wide aperture would be F stops in the range of F1.4, F2, F2.8, which result in a shallow depth of field. This is really useful when you want to direct your viewers eye to a specific focal point in the image. Let's say you have an image of a donut, with blurred flowers in the background. The flowers add a nice photographic prop but are not the hero in the image.
A small aperture would be F stops in the range of F11, F16, F22, which result in a deep depth of field. Let’s say your donut was sitting next to a milk carton. Maybe the milk company is paying you for the image. You want to make sure everything is in focus to capture that product in all it's glory.
After snapping a photo, your camera won’t automatically adjust to focus on the more textured trees behind your subject. It will stay where it was and allow you to take even more photos. Perfect! No more fussing with automatic camera settings and wasting minutes hoping for the sun to tell your camera what to do.
Manual Mode
The most intricate camera mode is appropriately named manual mode. In this mode, you set the shutter speed, aperture and ISO setting before taking a photo. Your camera will not deviate from these settings, even if you alternate between quickly-moving and still subjects. This mode gives you the most creative freedom since you have full control over the camera. It's a good idea to work your way up to full manual mode.
The only downside to this mode, is you need more experience with photography to figure out how the camera settings will affect your pictures. Practice makes progress. The technology with cameras today really helps you to slowly work your way into this mode. Once you are comfortable with the semi automatic modes, it will become easier for you to pick the best camera settings for your work flow.
Creating Art and Memories with Camera Modes
The next time you’re creating beautiful art and memories with your camera, play around with different camera modes. This will greatly widen your portfolio and effects. Choosing a manual shutter speed using either shutter priority or manual mode can capture an artful blur of a roller coaster or a fleeting smile on a child’s face.
Remember that creation and art are forms of expression and using different camera modes can give you more tools to expressing yourself! Are you ready to dive back into picture-taking but feeling a bit tired of technical terms? My previous post on The Creative Eye: What Inspires Your Photography can help you dive into your past favorite photos to find inspiration for your next groundbreaking pieces.
Five Day Food Photography Challenge
Want to take your food photography up a notch?
I’ve been photographing food for years and have learned some tricks of the trade. Join me on this 5-day challenge where you’ll learn how to master the art of food photography, one bite at a time. You’ll be amazed by what you can do with just a few simple tips. You will learn how to make your photos pop with color, texture, and lighting. Sign up today!
As an Amazon Associate and member of other affiliate programs, I earn from qualifying purchases. What that means is if you click on one of our affiliate links, they may toss a few pennies our way for a commission.
Looking For More Recipes?
Subscribe to my free newsletter to get new baking tips in your inbox monthly. Find me sharing new recipes and tips on Pinterest, Instagram, or Facebook.

Jen @ JENRON DESIGNS says
This is such a great post I am always looking for great tips and tricks for my photography! Thank you so much for the insight on Aperture it has always been challenging.
serena says
Thanks so much 🙂
rachel says
I am SUCH a newbie! And this is amazingly helpful.
serena says
Thanks Rachel!
Sharon says
Thank you so much for this lesson on camera modes. Learning your way around a camera can be daunting so it's great to have handy guides like this.
serena says
Thanks so much Sharon!
Artney says
I am a self-taught camera user and have learned so much and I'm still learning. This is extremely helpful!
serena says
Thanks Artney 🙂
Mimi says
I'm currently using my phone but I'm definitely planning on buying a camera so this will be so helpful since Il literally don't know a thing about them
serena says
Sometimes you can get some really great things with a phone camera, but it's always nice to have a DSLR to use 🙂