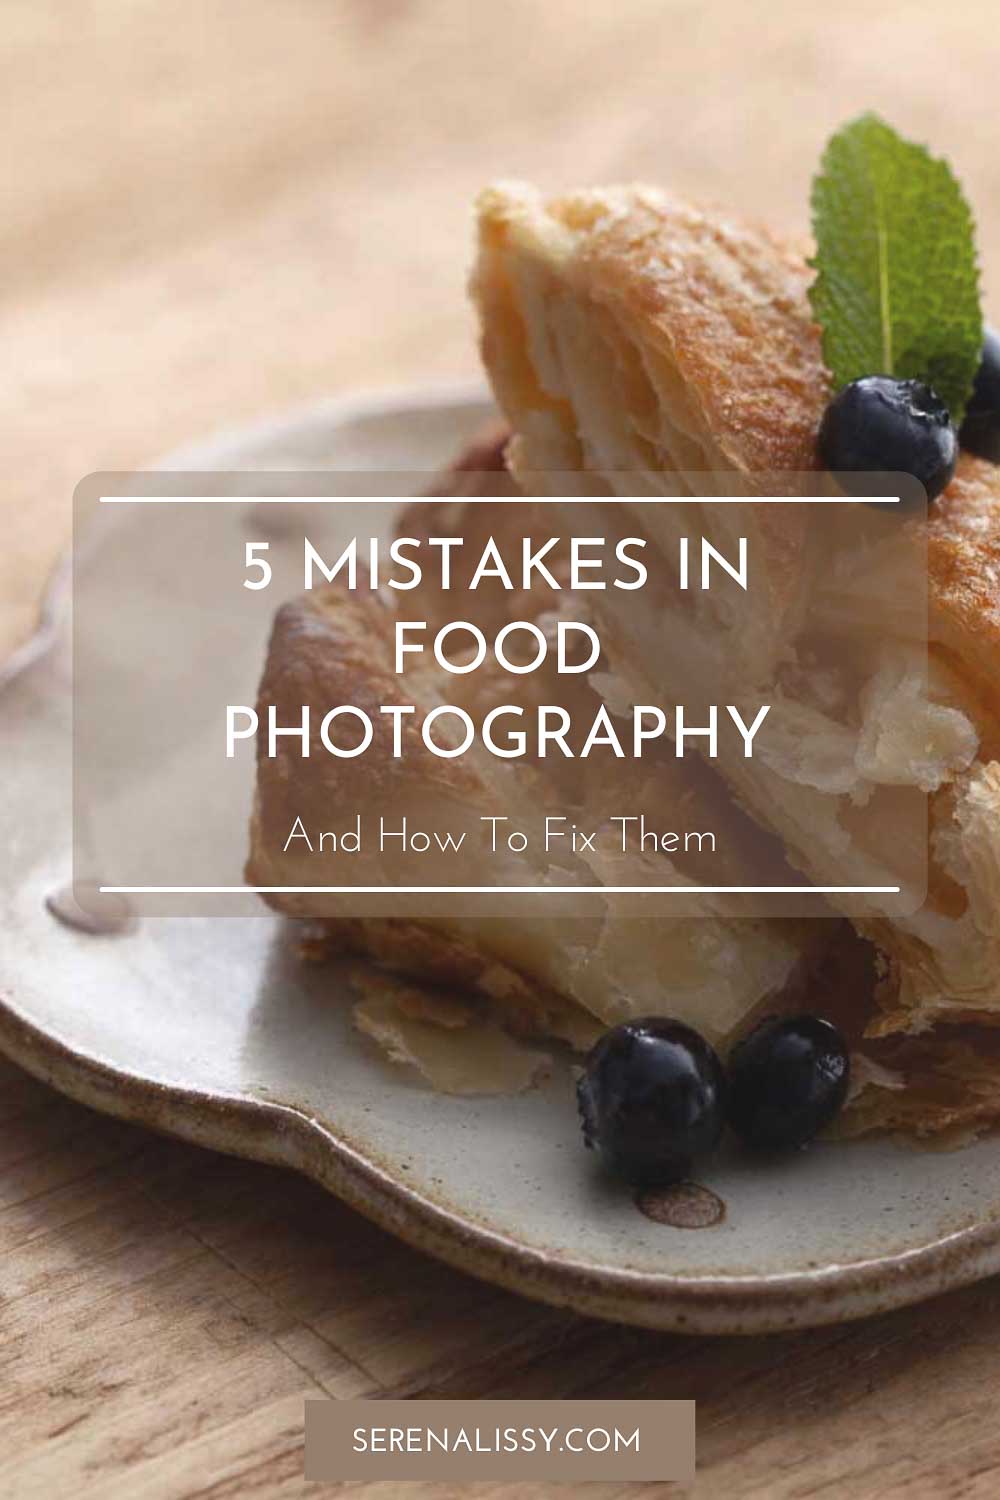
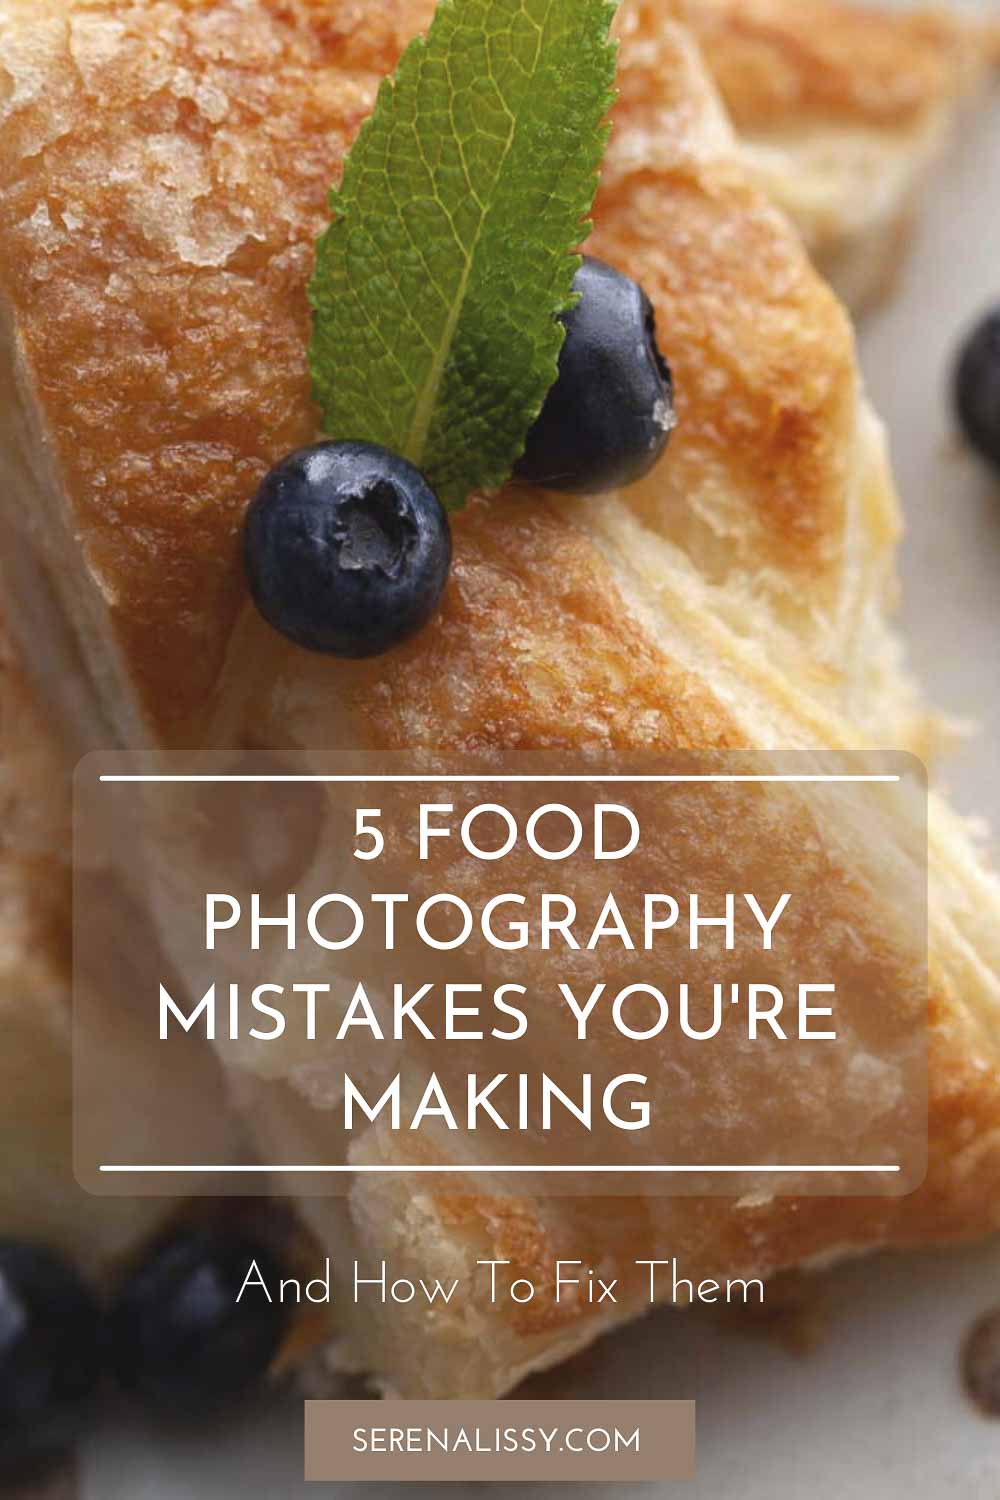
I'm not telling you anything new when I say food photography is a tricky business. The food has to look delicious, the photographer has to be creative and skilled in all sorts of lighting situations, and the light doesn't always cooperate. For these reasons, it's easy for mistakes to happen on set - even for professional photographers. We will review five common food photography mistakes that many people make and how you can avoid them on your journey to becoming a master photographer.
We all know photography is powerful. Food photos can make you salivate and even heighten your profit margin, whether you benefit from selling baked goods directly or from sharing your knowledge with others. Marketers who create their own original photographs reach their goals faster than those using stock imagery, with 40% of the previous hitting their goals on time compared to only 13% of the latter. Personality and authenticity are at the core of almost every product and creation, and your audience responds to that!
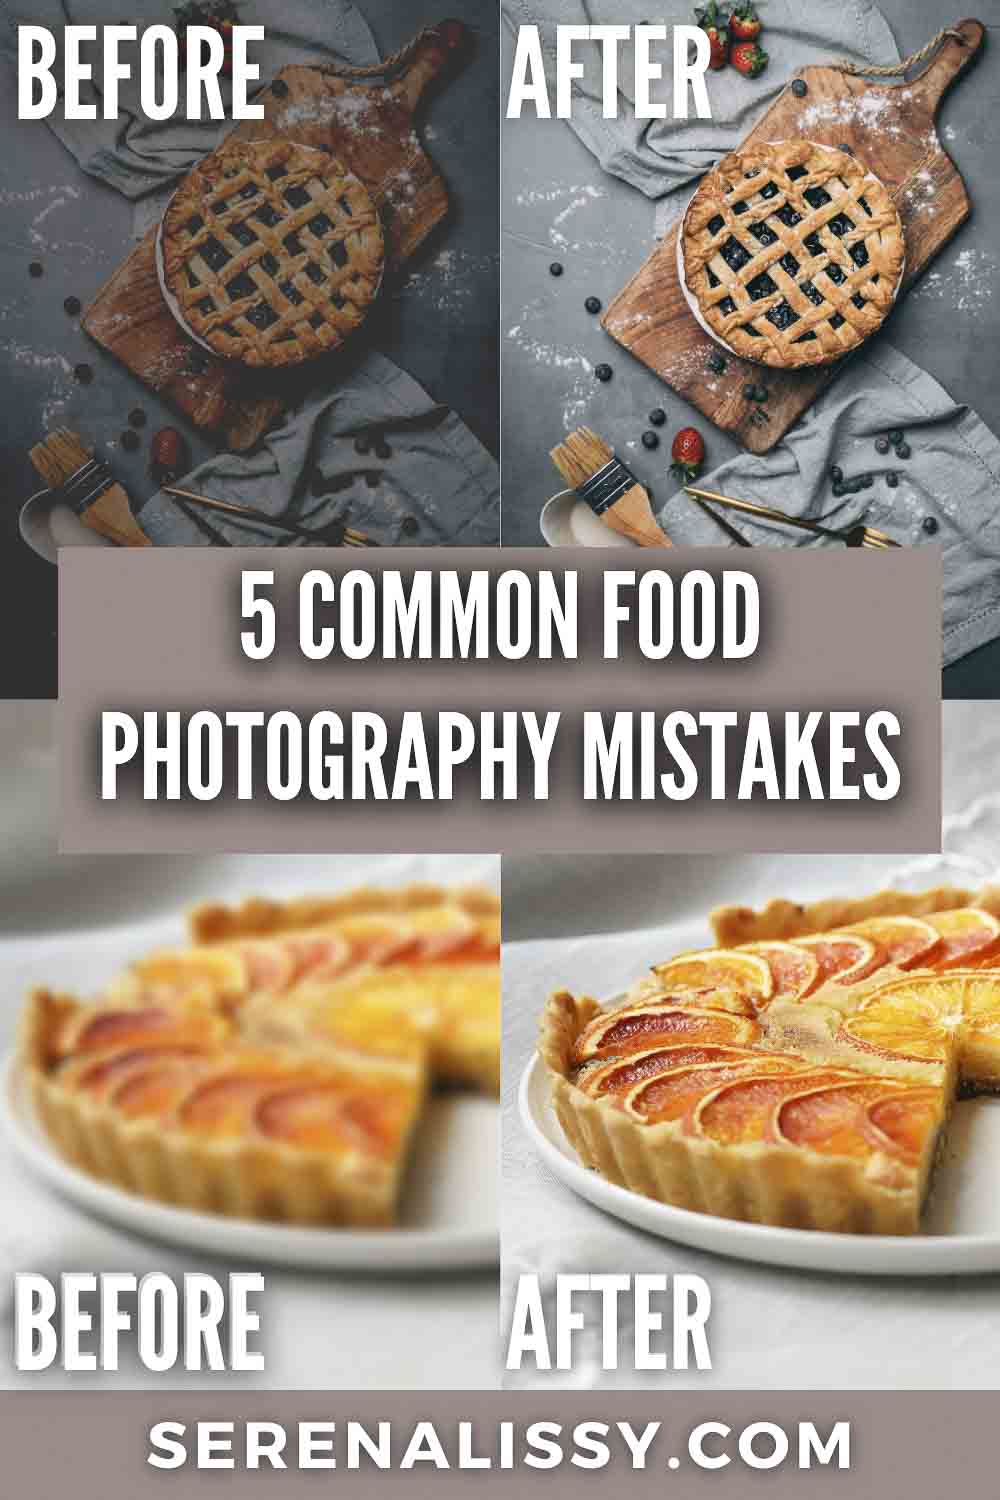
1. The Most Common Mistake is Bad Lighting
It would be hard to overestimate the importance of lighting in photography in general, including food photography. Unfortunately for many of us, our kitchen or living room overhead lights aren’t suitable for proper lighting.
Many lights are tinted yellow, which can change your beautiful wedding cake from looking like a frosted dream to a week-old crust. If you are someone that photographs in the evenings or live in places where you don't always get great sunlight, one of the simplest ways to fix bad lighting is to invest in a lightbox.
What's A Lightbox?
A lightbox is an empty box with all-white sides, and a white backdrop, often with white LED or other lights attached to the top. This creates an insulated photography box for your items and is the most reliable way to get good lighting in every shot. It's great for small-scale food photographs. Most of these economical lightboxes are only 20" x 20". So when I say small-scale, that's what I mean.
A lightbox lets you control the light sources and any color cast from your kitchen making it both affordable AND effective! Now that's a win-win.
Lightboxes range from $20 to hundreds of dollars and are definitely worth a buy if you are planning to take food photos regularly. It's an easy way to make sure you have enough light to take a quality photo.
You Can Use Natural Light
Another way to up your image quality is to work with natural light and it's free! Many food photographers use natural light, and it can be gorgeous. The most important thing to learn about natural light is how to tame it and work with it.
While color mistakes and some lighting can be fixed when editing photos, this is time-consuming, and editing for white balance can throw off non-white sections of a photo. It's always best to capture it properly in the camera than trying to fix it later.
In a pinch? While it may take a bit more work on your part, you can make a makeshift lightbox at home using white poster boards and natural sunlight. The best way to use this is to set these up at a natural light source, such as by a window, and you’ll be set. Just make sure that the cake doesn’t fall!
2. Hazy or Fuzzy Photos without Focus
Another common mistake in food photography is having an improper focus on the food or props around your subject. This can become more difficult with food items that come in many pieces, such as a set of cookies vs. a slice of cake. It can also come from just typical mistakes with camera usage. I'm a firm believer in the use of tripods to help to keep things in focus. Now sometimes, a bit of blur can be great to guide a viewer's eye. Blur that is created from your aperture settings is not the blur I'm speaking of here when I say fuzzy images.
With a slice of cake or even a full pie, it’s easy to tell if your food item is in focus! But with a plate of macaroons or a tray of brownies, a few pieces may be in focus while others fall to the wayside. And there is nothing worse than taking your SD card to the computer to discover your hero is blurry. Most of the time, your editing process can not fix this.
Practice Your Compositions
If you are new to photography, one way to fix this problem is to dedicate your photo session to one type of photography composition. This keeps you from constantly moving around and having to reset your shot. Determine what you want to be the focal point of the image, then, for example, take photos from The Diner’s View composition, viewing food as you would while sitting at a restaurant at a slight angle, will help the camera naturally focus on items in the forefront of the photo.
Taking a top-down shot of a plate of cookies might be more difficult since a camera in automatic shooting mode may struggle to hold all of the cookies in focus. Learning how to shoot in more manual camera modes, such as shutter or aperture priority modes, is ideal for more intricate shoots.
However, choosing and sticking with a shot composition can get you extremely far. “Dehaze” and “clarity” tools in your photo editing software can fix slight problems with camera focus, but nothing can beat a properly focused photo.
3. Zero-Effort Plating
It can be hard to convince ourselves to buy things we don’t "need." But unfortunately, our 5+ year old plates with small cracks and stains won’t cut it when it comes to food photography. Neither will our coffee table with stains or our dinged kitchen counter!
Thankfully, beautiful food plating doesn’t have to cost a fortune. Look for vintage neutral plates and cutlery at a thrift store near you, or consider buying a new, unstained, but affordable plate from a discount dollar store or a neighborhood Walmart. There are so many great places to get economical props and plates.
Sure, plating, silverware, and cute lace backdrops may cost you some money upfront, but they can be used over and over again or for beautiful layerings of food photos. With proper care and storage away from regular eating supplies, you can use them for years to come.
4. Overcropping Photos
One of the biggest beginner mistakes in food photography is taking photos too close to the food. Yes, we want to see the details of your acai bowl or finely decorated strawberry cake, but if a single banana slice or icing frill takes up ⅛th of the photo, you might be too close!
Make sure that your baked goods are identifiable in each of your photoshoots. This will often mean that you have to include some plating and backdrops in your photo with the help of your thrift and affordable shopping.
It’s perfectly fine (and even preferable) to include a super close-up photo or two in recipes or descriptive parts of a blog post. Still, you always want your main photos to be identifiable great photos.
5. Over Styling Photo Compositions
Are we supposed to look at that glorious, sequined napkin or the simple vanilla cupcake? Sometimes, we all get a bit overzealous in our decorating of a shot that we end up overshadowing the main subject! Remember, we can only have one hero in our image. And it's a good idea that it be the food. It's a food image we are working on, not a product shot for the napkin company.
I know; we just talked about zero-effort plating as a problem. But there’s a balance to be had, and it’s not too challenging to achieve it!
When styling your photos, ensure that your food products are the first thing that stands out to a viewer. Grab a friend or coworker to double-check this. Another rule of thumb is to make sure that your food items are the most vibrant items in the photo. Stay away from pattern-heavy props or useless gadgets that provide no purpose to the image. And only use one or maybe two splashes of different colors.
Acing Your Food Photography
Whether you are a professional baker, beginning chef, or food photographer, acing your food photography is all about practice and a smart assembly of tools. Now that you know of five of the most common mistakes in food photography dive into our best tips for taking great food photos here on SerenaLissy.com.
Five Day Food Photography Challenge
Want to take your food photography up a notch?
I’ve been photographing food for years and have learned some tricks of the trade. Join me on this 5-day challenge where you’ll learn how to master the art of food photography, one bite at a time. You’ll be amazed by what you can do with just a few simple tips. You will learn how to make your photos pop with color, texture, and lighting. Sign up today!
Looking For More Photography Tips or Recipes?
Subscribe to my free newsletter to get new baking tips in your inbox monthly. Find me sharing new recipes and tips on Pinterest, Instagram, or Facebook.
As an Amazon Associate and member of other affiliate programs, I earn from qualifying purchases. What that means is if you click on one of our affiliate links, they may toss a few pennies our way for a commission.
Lisa says
Lighting makes a huge difference. I've noticed some food pictures just look unappetizing in the wrong light. Thanks for the great tips.
serena says
Thanks Lisa!
Mae says
These are wonderful tips! Bad lighting and focus are the main culprits! Although I also need to give more effort on my plating! hahaha
serena says
It's a never ending process Mae 🙂
Helen Little says
Thanks for these tips. I find food photography the quite challenging, somehow it doesn't look as tempting as it does it my eyes! I think lighting is key and knowing this is essential. Styling takes practise, but it's really worth it!
serena says
You are right, styling takes so much practice. But once you get it! Gorgeous!
Marta says
Great tips! I've been an avid antique cutlery hunter for years. It adds so much personality to the image.
serena says
The antique pieces have so much character. I love using them.
Deborah Brooks says
I am still working on my food photos. I agree lighting makes a huge difference. Thanks for the great tips
serena says
Thanks Deborah!