Today, we’re looking at 6 tips for food photography with your smartphone. Whether you’re just getting started with food pictures and using a tool you already have or are looking for a way to fix up your shaky shots, these tips will upgrade your portfolio.
In 2017, 85% of all photos taken worldwide were taken with smartphone cameras. And it’s no wonder: while professional cameras can cost you hundreds of additional dollars, many of us already have smartphones for personal and professional use and it's hard to beat the convenience of always having a camera with you.
So why not put that smartphone to use outside of your day-to-day life? When it comes to food photography, a professional or a fancier DSLR camera can upgrade your website or business but are never mandatory for getting started. You can definitely use your cell phone to get a great photo.
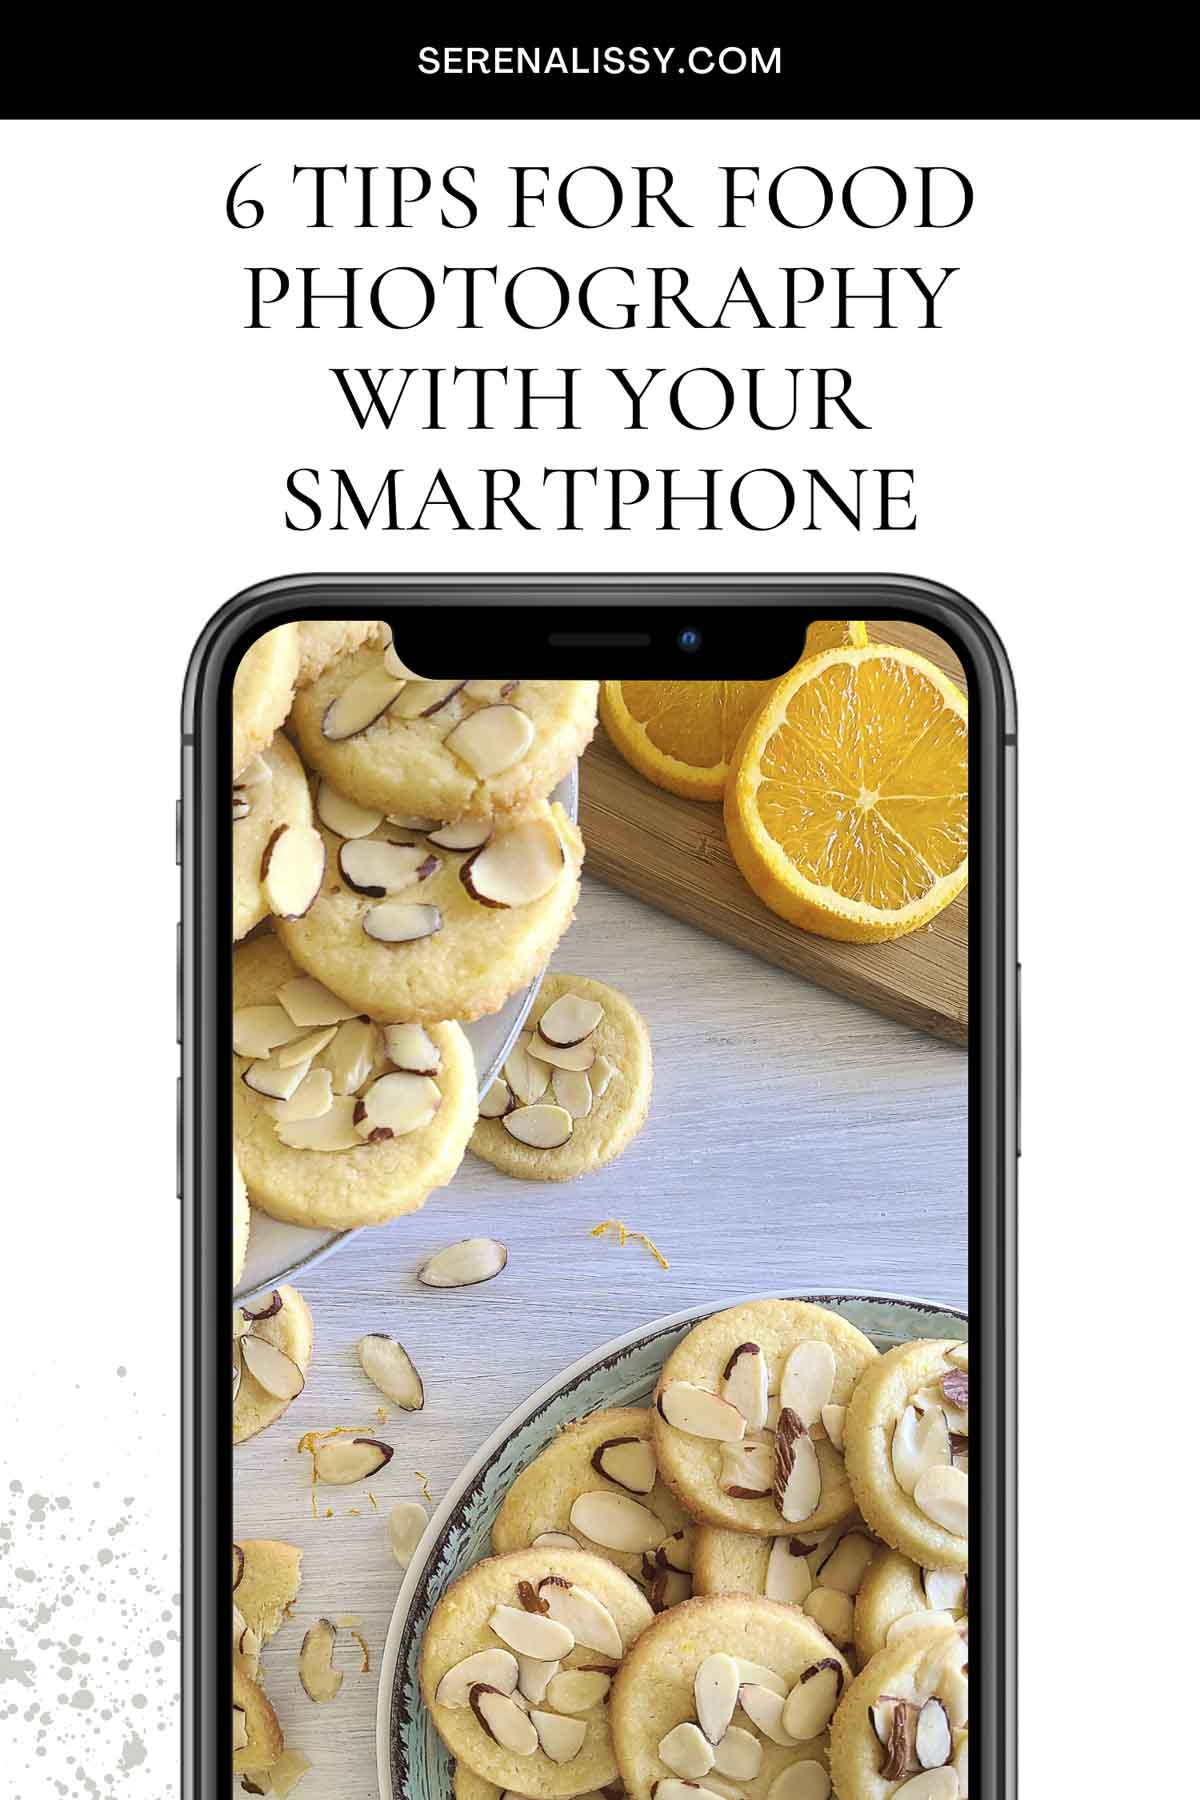
Natural Lighting Is Your Friend
Lighting is your best friend when it comes to photography in general, and especially when it comes to critiquing “bad” shots. Many unsatisfactory photos of food are not a result of subject matter or placement, but simply bad lighting.
Natural lighting is your best friend when it comes to staying on a budget but still producing clear photos similar to real life. I usually take the minimalist approach and set up a photography area directly on a wide window ledge, or on a table that receives natural lighting from a nearby window.
East and west-facing windows tend to be the brightest in the morning and evening. In evening times the light will be more of a warm golden tone. South-facing windows get a lot of direct sunlight and tend to be the brightest during the day. I will use any facing window for my light source. But you will quickly learn, the best light is the one that works with the story you are trying to tell with the photograph. You have to think it through. Do you need soft light, direct light, side light? What amount of light do you need? How are you using the light to capture the viewer's eye in the final image?
Remember that you can flip photos after they are taken, which can help when your window ledge has limited space. Finally, take your shot.
Ambiance lighting is an alternative name for natural lighting and defines any lighting that isn’t manually added by you. Alternatively, you can invest in artificial lighting sources such as a lightbox or standing lamp. Give our article on 5 Tips For Getting Started In Food Photography a read for more food photography lighting tips and guidelines!

Composition for Food Photography: Recognizable Yet Detailed
The concept of composition in good food photography can be overwhelming. After all, the term refers to how elements are arranged within your photo’s frame. And that can refer to one item or hundreds.
When it comes to food photography, you’ll want to choose a composition that lets your creation stay recognizable. At the same time, you’ll want to get close enough to your baked goods to show gorgeous buttery flake details or flower frosting details.
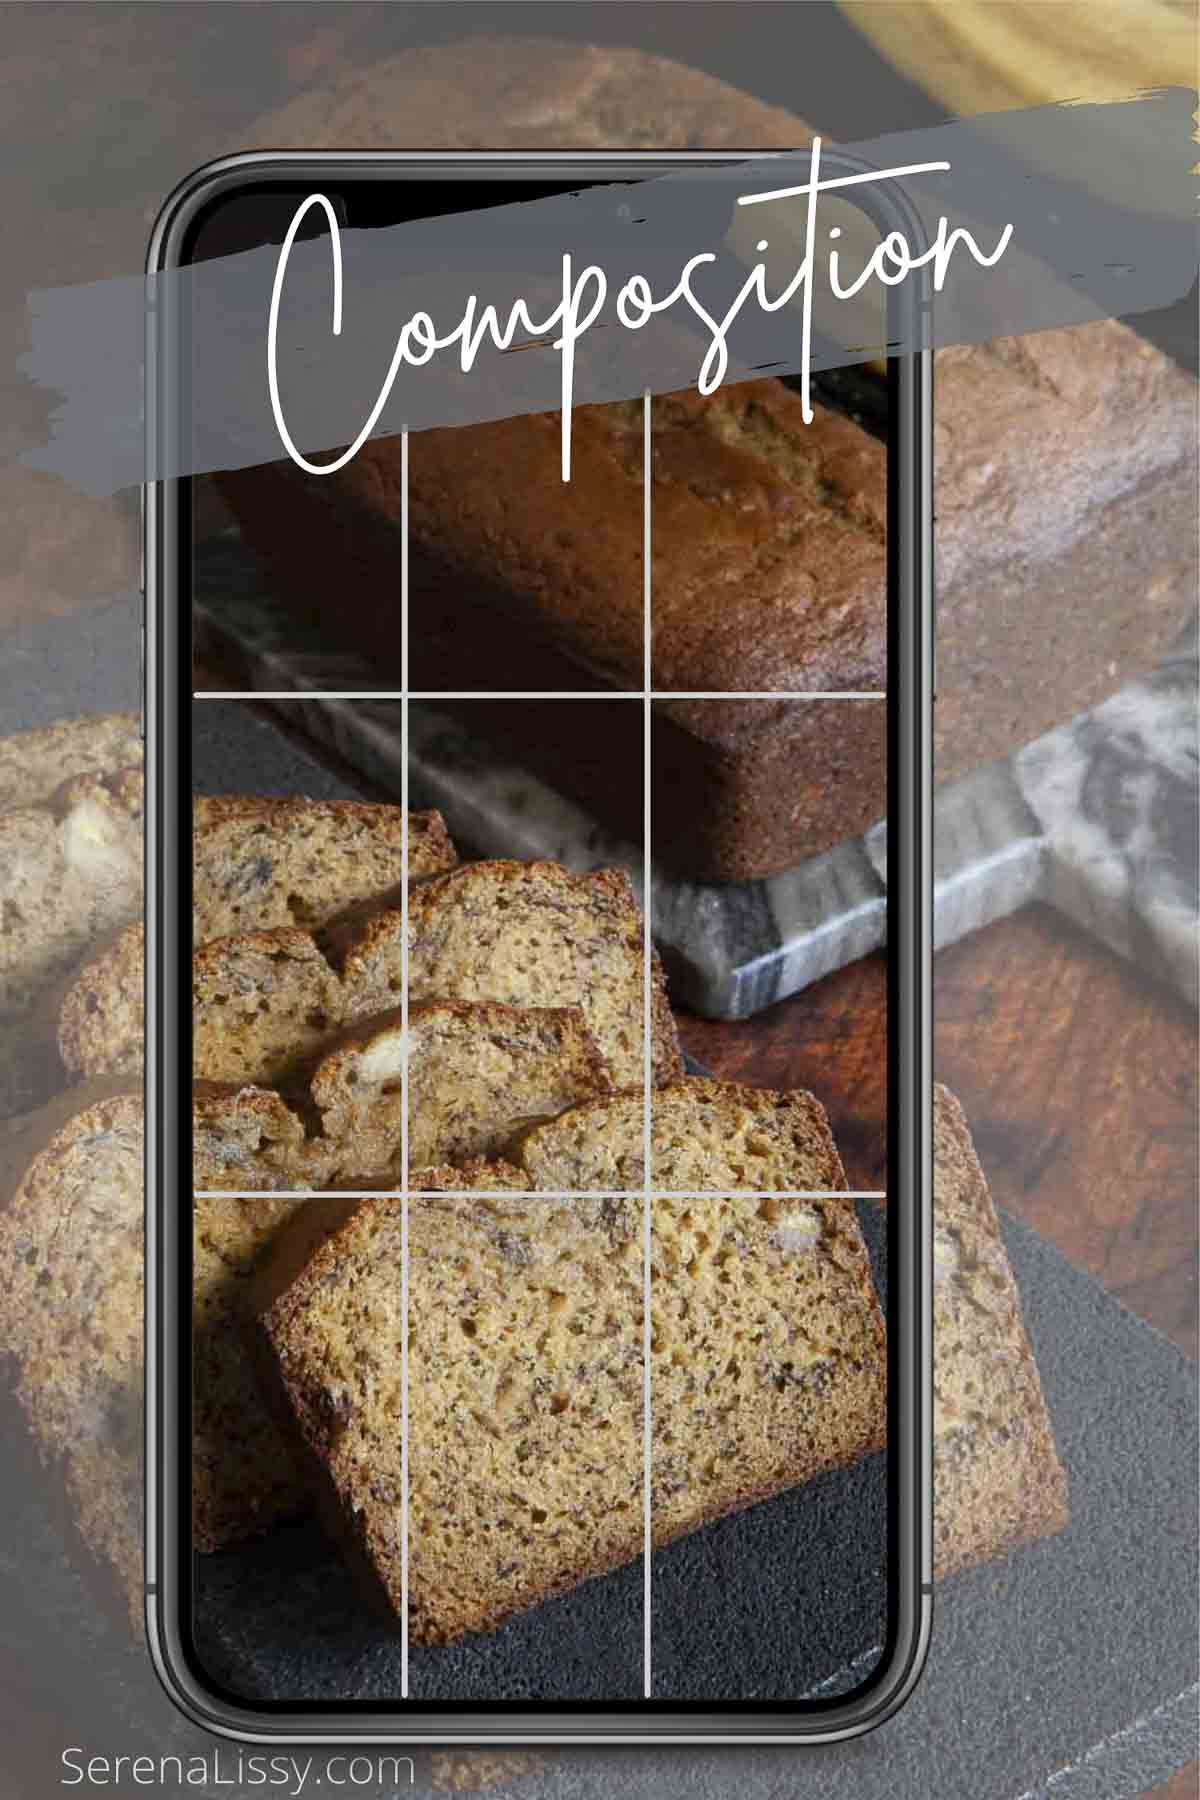
This means that a lot of trial and error will take place to make sure that the balance is correct. Depending on what you’re using your food photos for, it can be a good idea to have both detailed and full-body shots of your dish. One of the simplest tools for composition is using the grid lines on your cell phone. This set of horizontal lines and vertical lines enable you to utilize the rule of thirds and get your main subject in the viewer's eye.
You can even get away with unrecognizable detailed photos if they’re the second photo in an album. So play around with what compositions make your mouth water! Practice with different angles, and establishing your focal point for visual interest.
Camera Zoom Options
When balancing recognizability with close-ups, the question of how to properly execute a camera zoom is an important one.
An optical zoom relies on your camera’s ability to physically change its focal length. On large, professional cameras, this is often accomplished with a zoom lens. This kind of zoom does not result in quality loss.
Digital zoom, however, which is commonly the only zoom mode available on camera phones, does result in quality loss. This is accomplished by your phone’s photo software literally taking pixels on the screen and enlarging them. You won’t get as much detail, but this zoom can be used in a pinch when you’re short on a photo or two.
Finally, an alternative option to using zoom is, of course, to simply get closer to whatever you’re taking a photo of! This can result in some inconsistencies in angles if you aren’t using a tripod. Plan your shots to be purposefully different or use a smartphone tripod for consistent food picture galleries.
Using a Tripod With Your Smartphone
We briefly talked about tripods earlier, but smartphone tripods do in fact exist. They can play an important role when it comes to making or breaking a photo! Imagine getting the perfect photo, before realizing as you upload it to your editing software that it wasn’t lined up perfectly to your window or table ledge, or most likely, it's out of focus.
Sure, you can crop it, but now you’re forced to cut out other parts of the image simply to maintain the right image ratio. Using a tripod prevents this unfortunate event. It allows you to consistently choose the angle and stability of your shot beforehand. While camera tripods often screw into the bottom of a camera, phone tripods usually latch around the edges of your phone to hold it in place. This is such a useful tool to ensure that you don't end up with a bunch of blurry photos.
The Shutter Button On Your Cellphone
Tapping your smartphone screen to take a photo is arguably an even worse practice compared to not using a tripod. Why? Because it’s virtually impossible to do so without shaking the screen and therefore reducing the clarity of your images.
Thankfully, many smartphones these days, including the Galaxy Note line come with styluses that double as drawing tools and a remote shutter button. This means that you can line up your shot with a smartphone tripod and then take your photos consistently with a remote shutter button that eliminates any shake to your phone. Most phones now also come with voice commands. And just saying the word "shoot" lets me take a photograph with my Samsung phone.
If you don’t have a smartphone that comes with a convenient shutter button feature, you can purchase one for as little as $7 on Amazon. Combined, you can purchase a phone tripod and Bluetooth-operated shutter button for less than $30. This can significantly increase the quality of your shots without breaking the bank and is a great way to ensure great food photos.
Clean Your Lens
We hate to think about it, but our smartphones are probably one of the dirtiest things we touch daily. Why? Precisely because we use it every day and bring it everywhere we go. It’s bound to acquire dust, dirt, and our own hand oils throughout each day.
To take clear photos, your camera lens must be cleaned regularly and correctly. The easiest way to clean the lenses is to flip your phone over and wipe the camera lens with cleaning fluid or glasses cleaning microfiber wipes.
Resist the urge to wipe the lens with your clothing or hand. Doing so can actually add tiny scratches to the lens or only add more oil.
Food Photography With Your Smartphone
You don’t need to have the most expensive gear to get started with food photography. All you need is a working camera, such as your smartphone, and some gorgeous food. Learn to use natural lighting and composition guidelines to your advantage! Remember the best camera is the one you always have with you.
Ready to learn even more nitty-gritty food photography details? Give our article on Camera Modes: A Beginner’s Guide to Camera Settings a read today.
Join Us In A Five Day Photo Challenge
Want to take your food photography up a notch?
I’ve been photographing food for years and have learned some tricks of the trade. Join me on this 5-day challenge where you’ll learn how to master the art of food photography, one bite at a time. You’ll be amazed by what you can do with just a few simple tips. You will learn how to make your photos pop with color, texture, and lighting. Sign up today!
Looking For More Recipes & Tips
Subscribe to my free newsletter to get new baking tips in your inbox monthly. Find me sharing new recipes and tips on Pinterest, Instagram, or Facebook.
As an Amazon Associate and member of other affiliate programs, I earn from qualifying purchases. What that means is if you click on one of our affiliate links, they may toss a few pennies our way for a commission.




Nadalie Bardo says
Such great tips for taking beautiful photos on your phone. I am all about always finding the natural light.
serena says
Great lighting is so important.
Helen Little says
Fantastic tips! I didn't think about pressing the smartphone leading to shake but it makes sense. I'll check out the links you recommend.
serena says
Thanks Helen!
Bella says
These are great tips, phones can take such good photos these day!!! thanks for sharing these tips.
serena says
Thanks Bella!
Mimi says
Since I actually take phots with my phone these tips are super helpful, thank you
serena says
Thanks!
Amber Myers says
Thank you for these tips. I have been wanting to get better when taking photos. I mainly use my phone!
serena says
I hope they help and are easy to implement Amber!