The food we eat is a daily part of our lives. We take photos of food, post them on our websites and social media, and talk about it with friends and family – so why not make the experience as great as possible? But how do you take the perfect picture with just a smartphone camera? With these 7 tips for beautiful food photography with your phone, you’ll be able to create mouthwatering food pictures for social media or your website in no time!
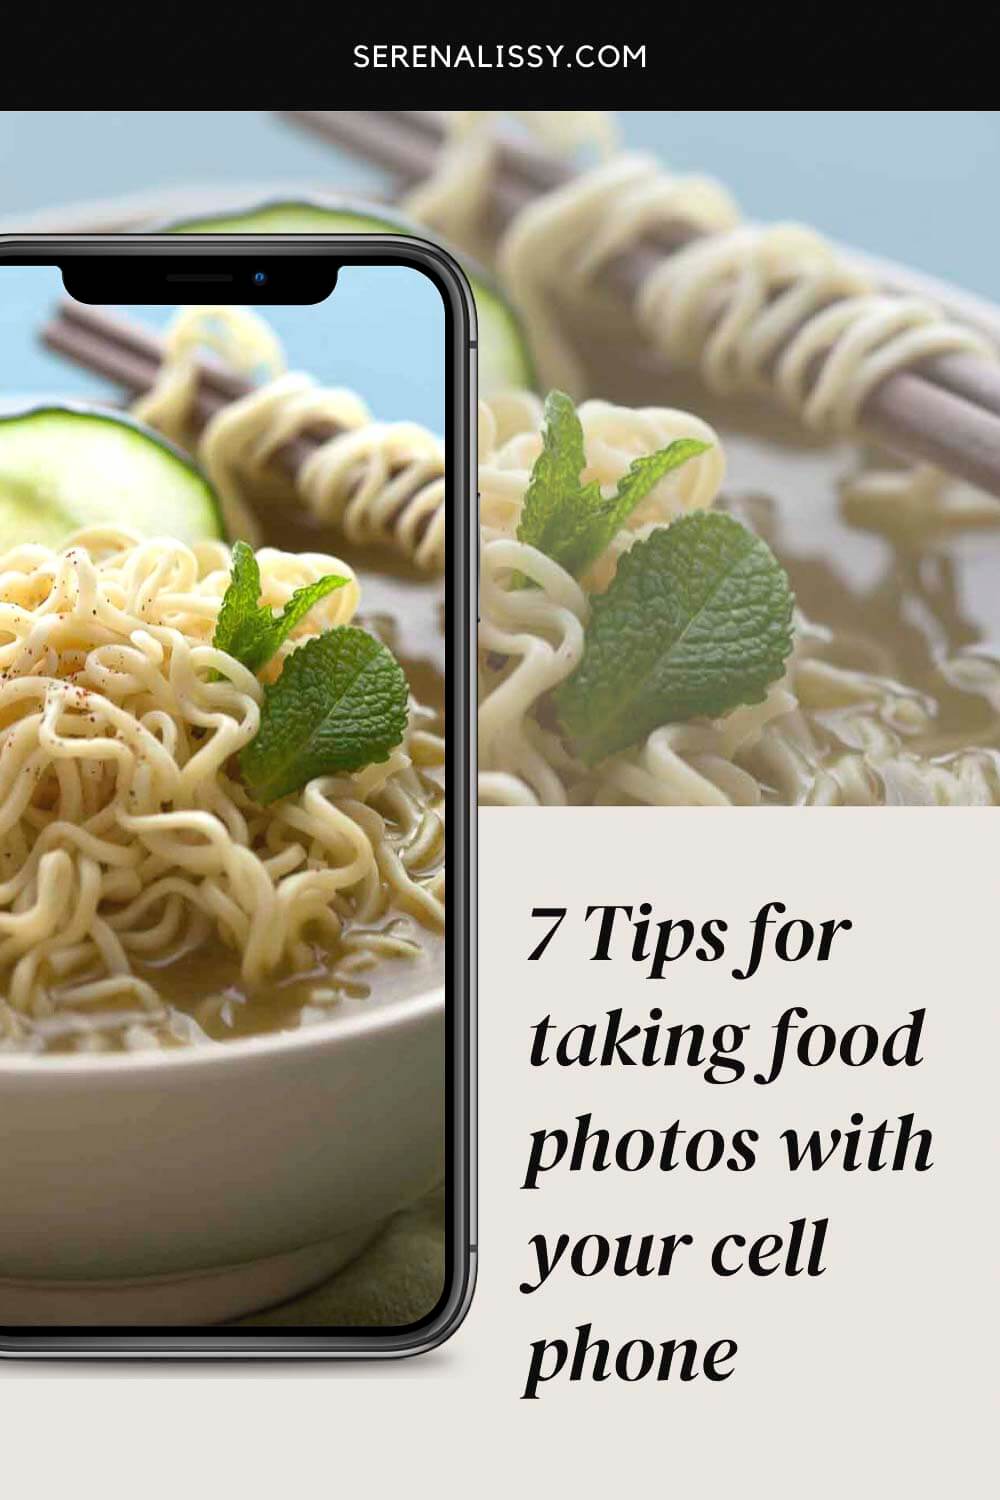
Clean The Lens On Your Smartphone
The first step to taking great food photos with your phone is keeping your camera’s lens clean. The last thing you want is a smudge on the glass that will interfere with the image! Be sure to wipe it down before photographing any of your meals. Try not to touch it again until after you have taken all of your shots. This is one of the best ways to ensure you don't have bad photos.
Get Closer Instead Of Zooming In
Digital zoom is a double-edged sword, you might end up with very poor image quality when viewing your photo close. Try to get closer to your subject (I mean walk over and get closer, don't zoom in with the camera) and crop in later in post production. I like to make sure I also stand back a bit to make room for cropping the picture instead of using the entire frame. Food photography with your phone is definitely different than using your DSLR camera with a wide variety of lenses. You can get creative with camera angles, but you won't get the best results by zooming in on camera with the limited lenses on your phone.
Turn on the Grid Lines
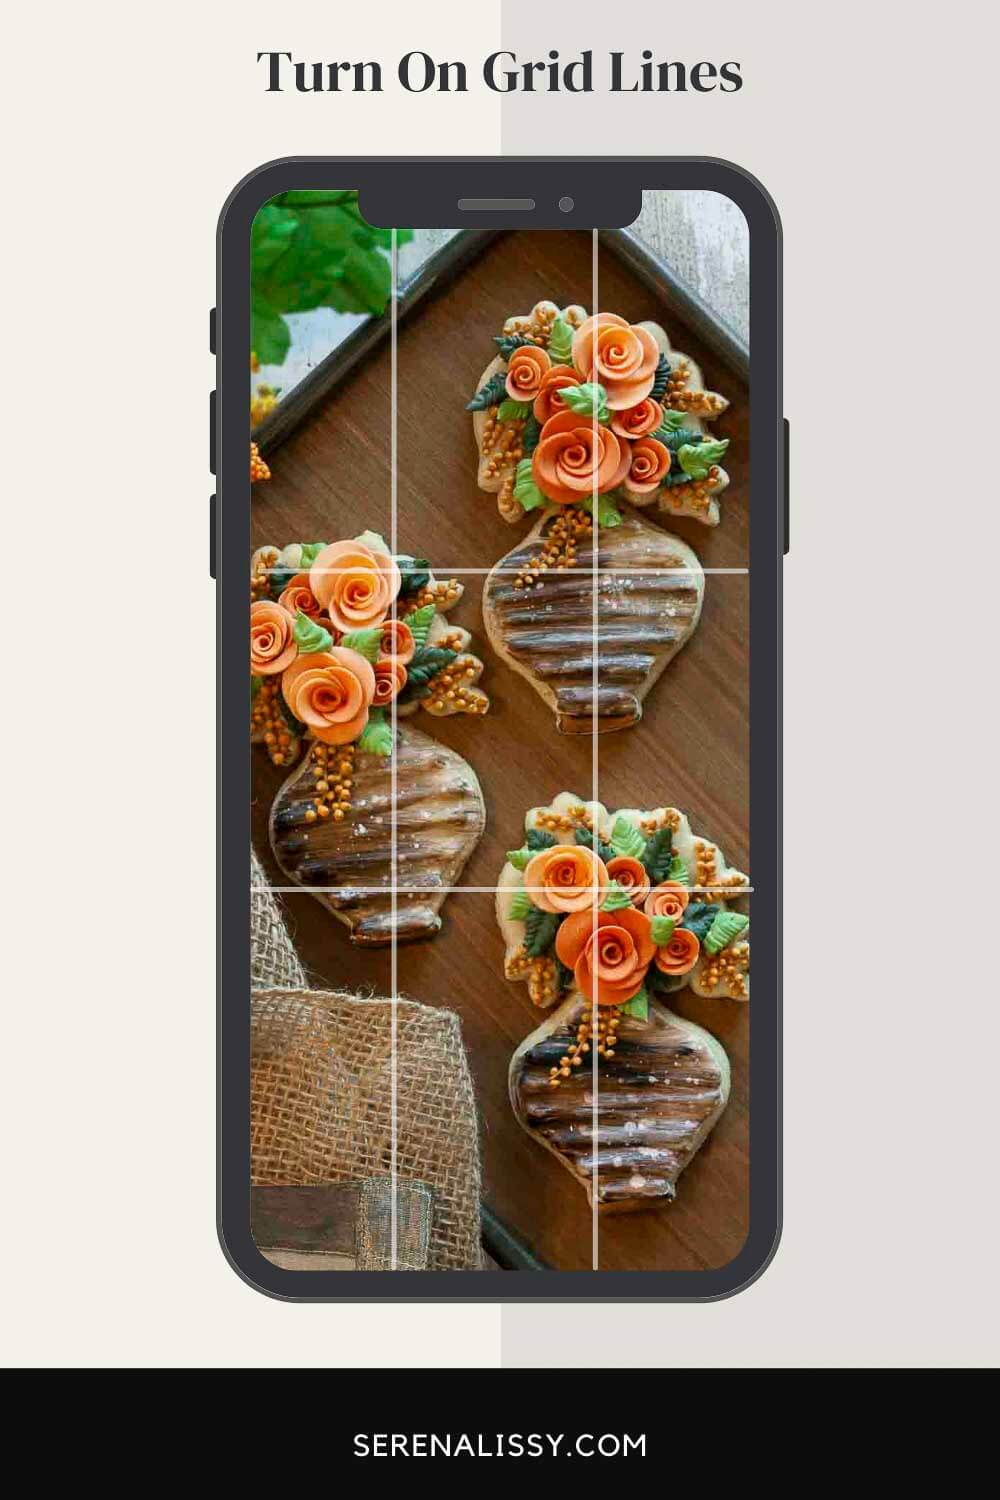
I'm not sure how many people are familiar with what a "grid" is or does. So let's lay down some groundwork before jumping into that topic! A grid can be defined as an arrangement of horizontal lines and vertical lines forming any number of intersecting square spaces arranged in rows and columns - like those seen above. They're most commonly used to help us line things up evenly (or un-evenly!). This helps make our pictures more balanced looking. With this grid, your camera is set up into thirds. Then, the image's subject is placed at the intersection of those dividing lines or along with one of the lines itself.
The grid lines can help you compose your food photos to be evenly spaced, with no empty white space to distract the eye. In addition, the lines can help you decide where to balance out your compositions. They are extremely helpful if you want that perfect shot of the cake on the table in front of guests at an event!
I am always looking for new ways to compose my photography. I love using the grid overlay in the phone's camera settings for this. This allows me to balance out an image before taking it, saving time when editing later on! In addition, they make setting up shots even quicker and easier than ever before.
Tap On The Main Subject To Focus
In photography, the focus point is called a "subject." This means to capture your subject well; you need to make sure it's sharp and the main focus. And while this sounds like common sense many people struggle with it. Lots of times, it's because their eyes are drawn away from what's important and onto other things instead!
One way to make your food photography more appealing is by strategically placing the focal point of your camera on the main subject to draw your viewer's eye to where you want. For example, if you're taking a photo with flowers and a cake in it, put the main focus on either one or both, depending on what's most important for that particular moment. (Hint, we all know it's the cake)
Shoot In RAW
If you want to get the most out of your camera, shoot in RAW! The raw format is a lot like digital film because it contains all the information from an image. However, JPEGs are compressed and lose some photo data when they're saved. This means that even if shot with incredible quality settings on your phone (which many phones can do), this info will be lost forever during compression. This also has consequences for edits later. At the same time, smart adjustments make photos look better automatically after shooting them as JPEG. These changes won't show up in those same images if taken as RAW files since there's no lossy conversion at any stage before editing begins.
In a nutshell, shooting in RAW basically means that the most information possible is retained, meaning you can do a lot of post-processing. On the other hand, JPEGs are compressed and lose some photo data when they're saved - which means copies made from your phone would be less preservable than if taken as raw files since the device's settings will have already stripped them of their detail during compression.
Find a Great Light Source
From baking cookies in your kitchen with natural light streaming through windows to that perfect plate of food on the dinner table, there's no denying you'll want plenty of light when capturing all those delicious moments!
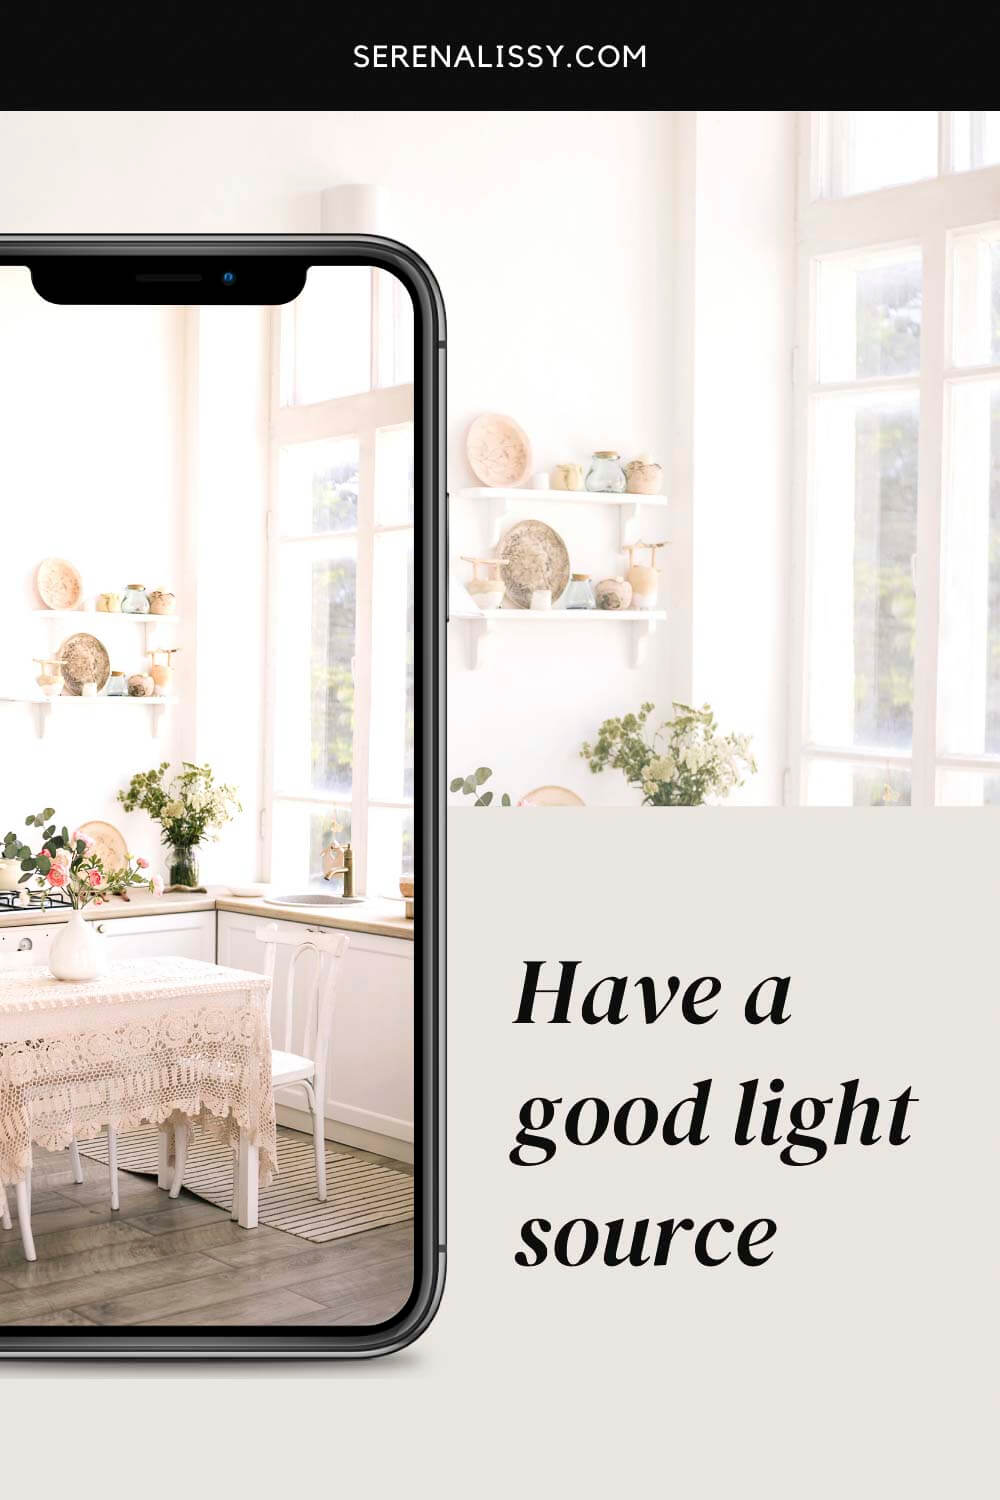
If you're looking for something more affordable than investing in expensive professional artificial lighting and equipment (although it certainly can be worth the investment!) I recommend natural lighting. One, it's free, and two, it's beautiful and some of the best light you can get.
Find a window with good direct sunlight coming through. If it's too bright, try placing a large diffusor like this one between any window or doorway--even a white shower curtain will do. And voila - perfect lighting will highlight every detail on either side of each bite-sized morsel!
If you're into food photography, it's essential to have the right tools at hand. And I can't stress enough how important it is to have plenty of light! If you find yourself in a low-light situation with no hope of bright light, I recommend a tripod like this one to avoid any blurry photos and camera shake. Cell phones are not very forgiving when it comes to low light. So you want to have every advantage you can when you find yourself in this situation.
Great Photo Apps
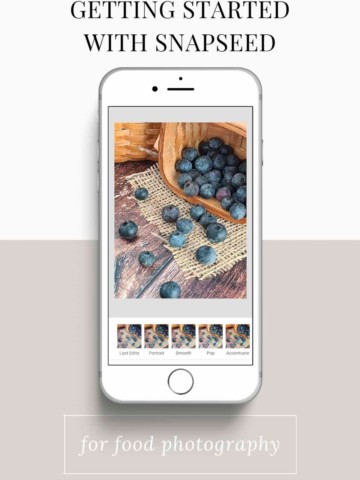
If you are going to take food photography with your phone, post-processing is the perfect way to enhance your food compositions and make them more vibrant, sharper, and more refined. There are a variety of great smartphone apps for professional looking photography that you can try out! I usually stick with three, but again, there are so many out there to use and they play an important role in your finished image. All three of these apps will work on iPhone or Android phones.
If you’re looking for ways to take better photos of your food and make the experience as great as possible with a minimalist approach, then these 7 tips will help. With a little patience and some creativity, you can create mouthwatering images that are perfect for social media. You may not be able to afford expensive cameras or gadgets just yet – but with a good camera app on your phone, anyone can take stunning pictures.
If you are ready to up your food photography skills, then make sure to practice daily. Experiment with lighting and try using these apps. Also, check out our post on five common food photography mistakes and how to avoid them. Sign up below to learn more about food photography and get notified with new tips.
Looking For More Food Photography Tips?
Subscribe to my free newsletter to get new baking tips in your inbox monthly. Find me sharing new recipes and tips on Pinterest, Instagram, or Facebook.
As an Amazon Associate and member of other affiliate programs, I earn from qualifying purchases. What that means is if you click on one of our affiliate links, they may toss a few pennies our way for a commission.


Jessie says
These are great tips for all kinds of photos! I usually take photos with my phone as it is so much easier to carry.
serena says
I love that I can just keep my phone in my purse or pocket. It's so nice to always have
Nathan says
These are such helpful tips for food photography and also in general! I can't tell you how many pictures have come out blurry because my lens was smudged!
serena says
My newest cellphone actually warns me that the lens is dirty 🙂
Beth Sachs says
Some great tips on phone food photography!
serena says
Thanks Beth!
Alison says
Light is always the tricky part for me! I can't find a good spot with a nice light source in my home! Using a tripod was a game changer for me!
serena says
I hear ya on that light, I feel like I'm constantly relocating in my house to work with the light.
Catherine says
These are great tips. I remember starting out with just my iphone before I could invest in a DSLR. You can still take great, clear shots on your phone despite what some may think. Even so, I like to shoot on my phone for social media so these are still helpful! Love the idea of using the grid lines too...that's really helpful!
serena says
I love using my phone for social. The phones have definitely come such a long way in terms of quality photography.