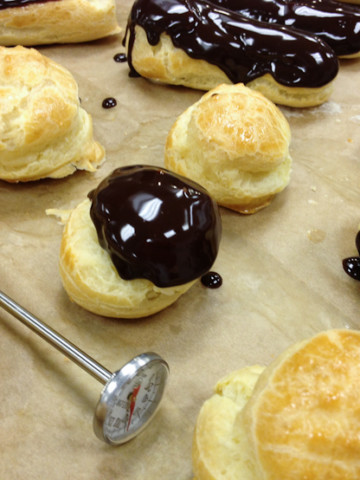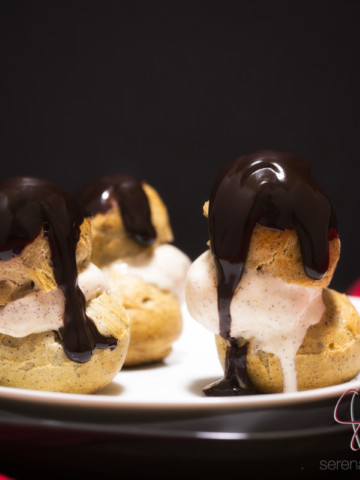
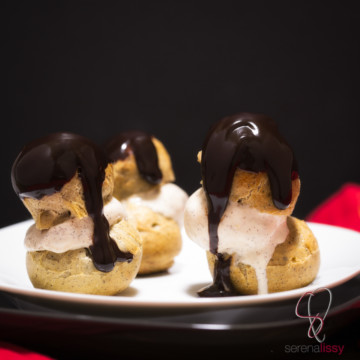
Espresso Profiteroles are small, crisp, hollow rounds of pate a choux pastry. They are then split in half and filled with a pastry cream or ice cream. I wanted an nice easy afternoon snack and figured I would stray slightly from the original pate a choux recipe and add some espresso for a little bit different flavor. I made two varieties of this pastry. One filled with cinnamon ice cream to go with the espresso, and the second batch I filled with pastry cream.
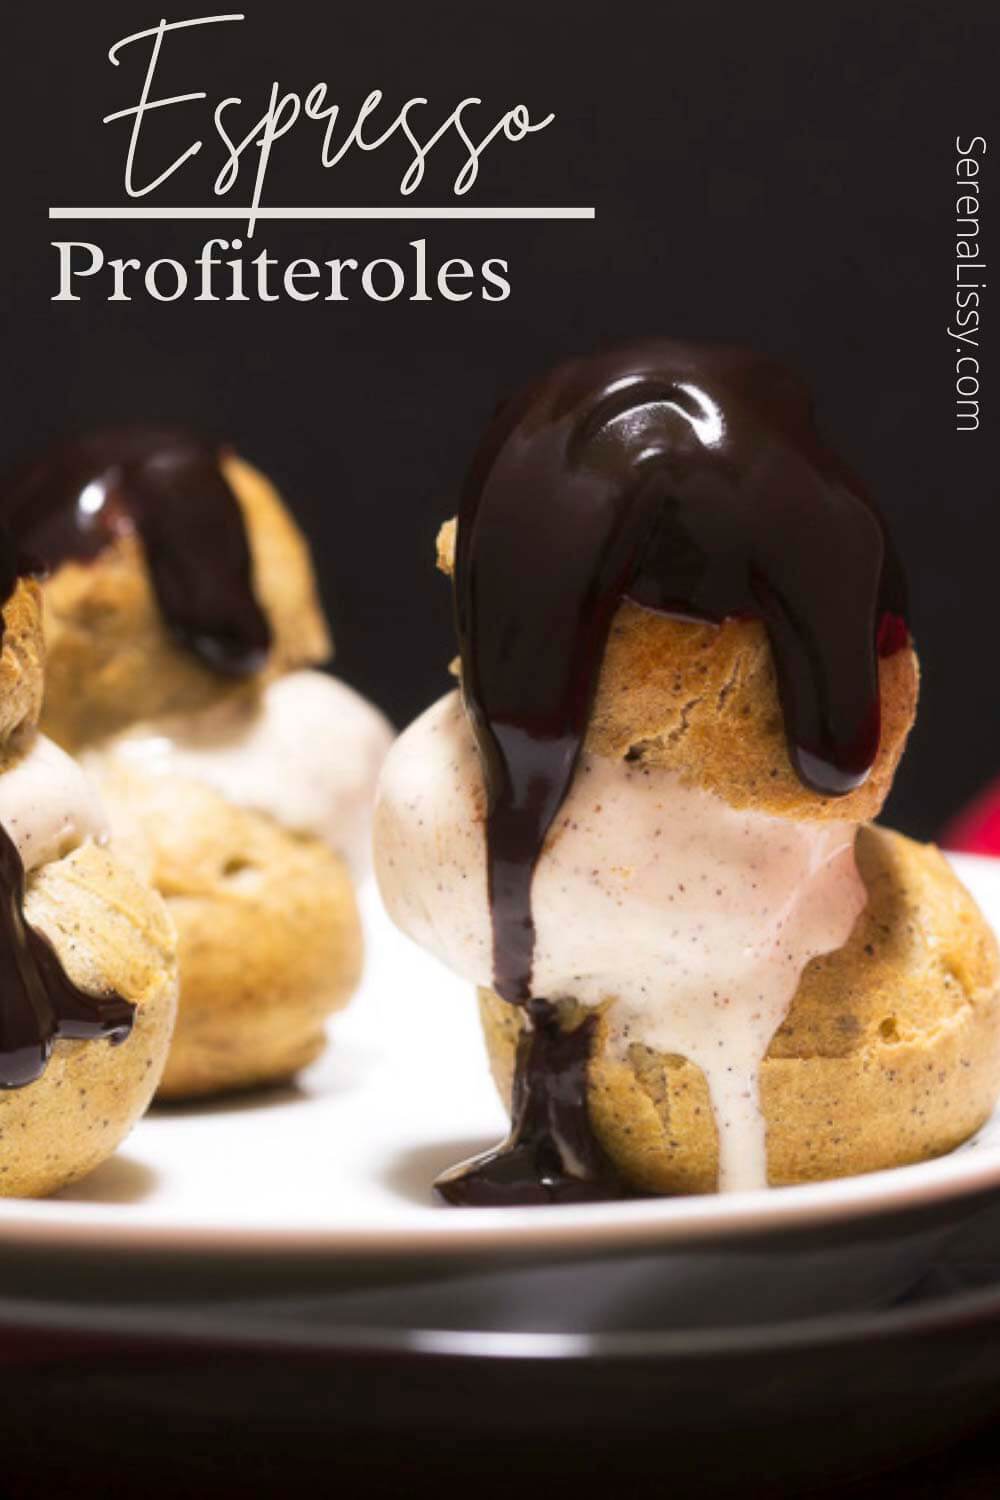
Don't be intimidated by the name, Espresso Profiteroles. It's not as complicated to make as it sounds and will have your guests impressed with how you're able to prepare such a delicacy at home!
Espresso is one of my favorite flavors because it has that rich flavor that you get from coffee beans but without the bitterness. These profiteroles are made with brewed coffee and ground espresso beans which gives them an extra punch of flavor and makes for a decadent dessert.
Espresso Profiteroles
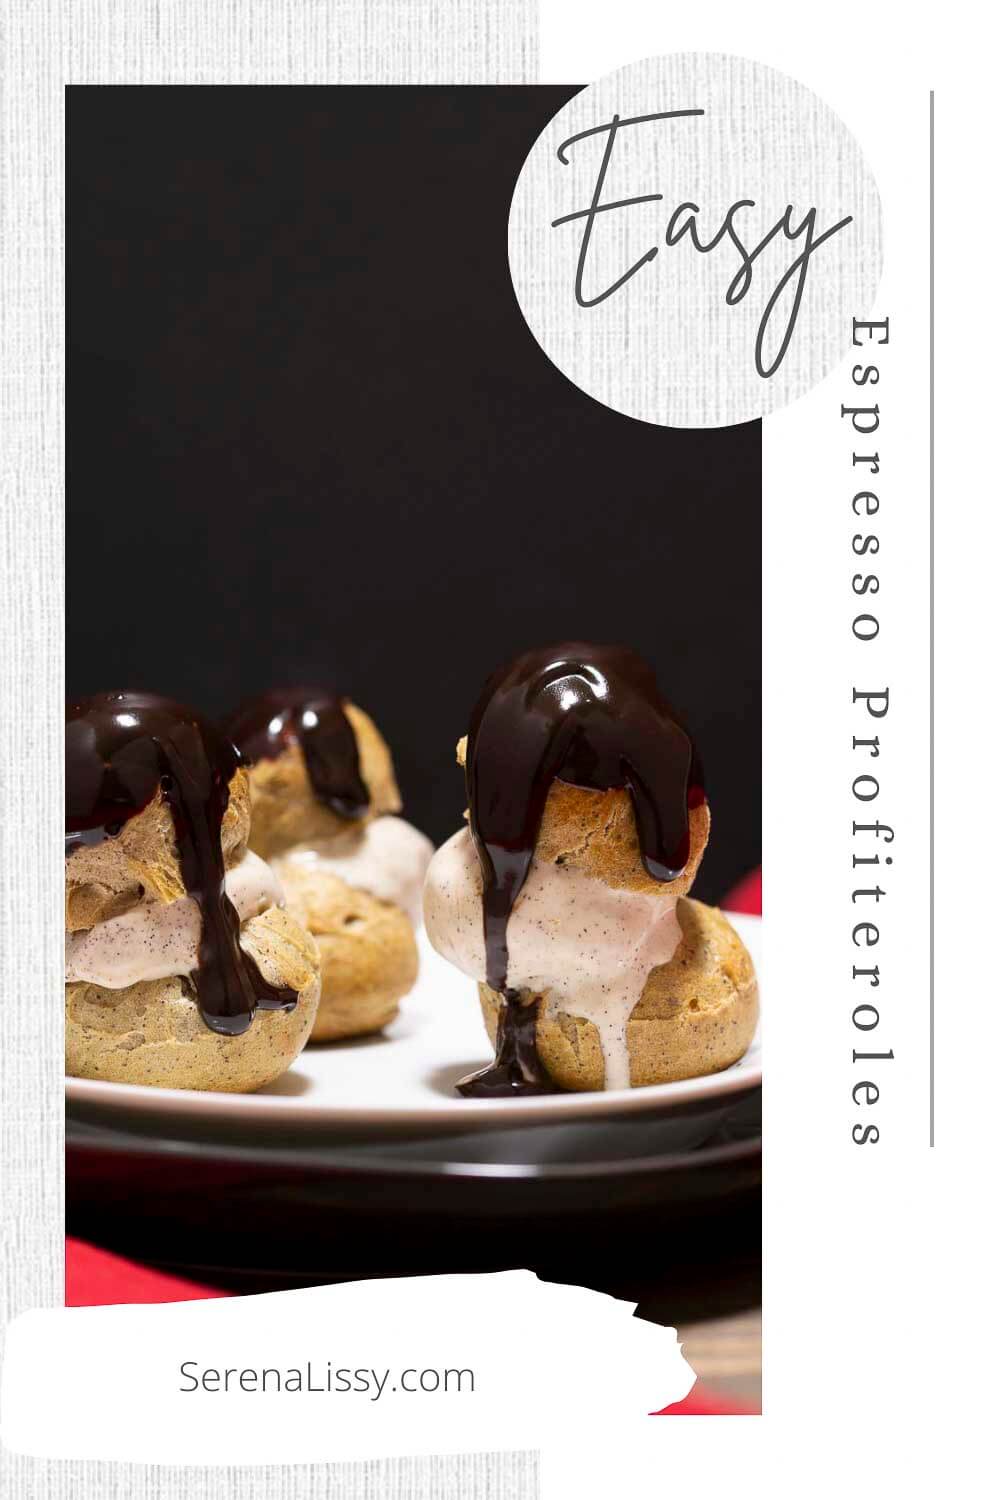
If you have never had a profiterole, I must warn you they are dangerous. These little treats are bite size and the recipe makes a lot. So it's easy to "sneak" one here or there. And if you are stealthy, you can usually grab one and enjoy in one mouthful. I try to always take two bites, then I mentally notice I'm eating them. These espresso profiteroles go down easy and are delicious.
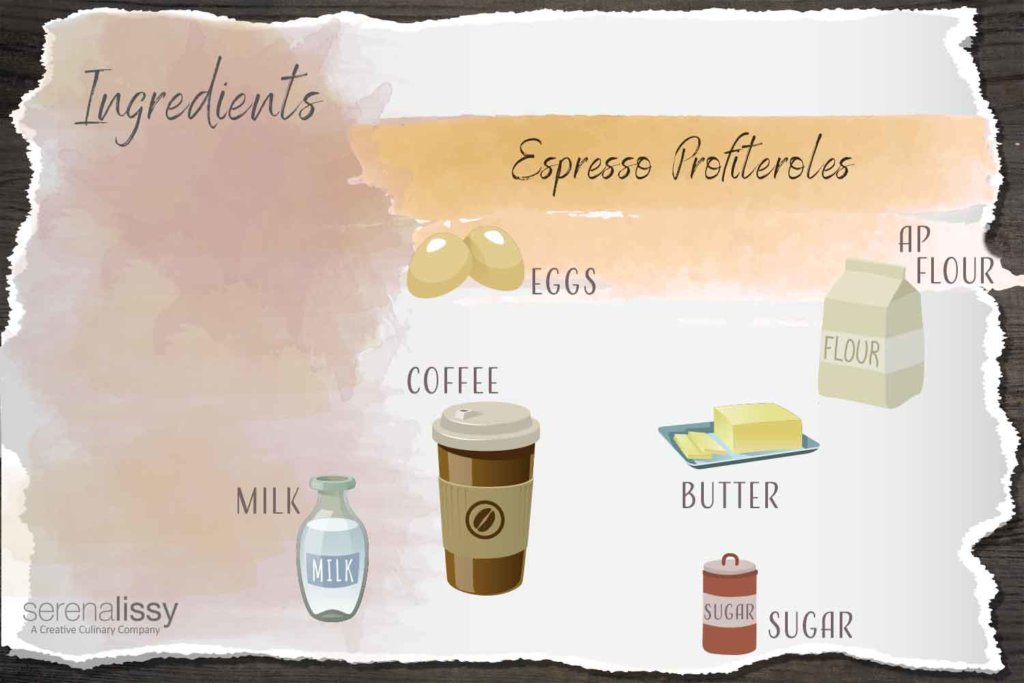
Espresso Profiteroles Ingredients
It takes just a handful of pantry items to make these profiteroles. I'm sure you probably already have everything you need.
- Whole Milk
- Brewed Coffee
- Unsalted Butter
- Sugar
- Espresso Beans
- AP Flour
- Eggs
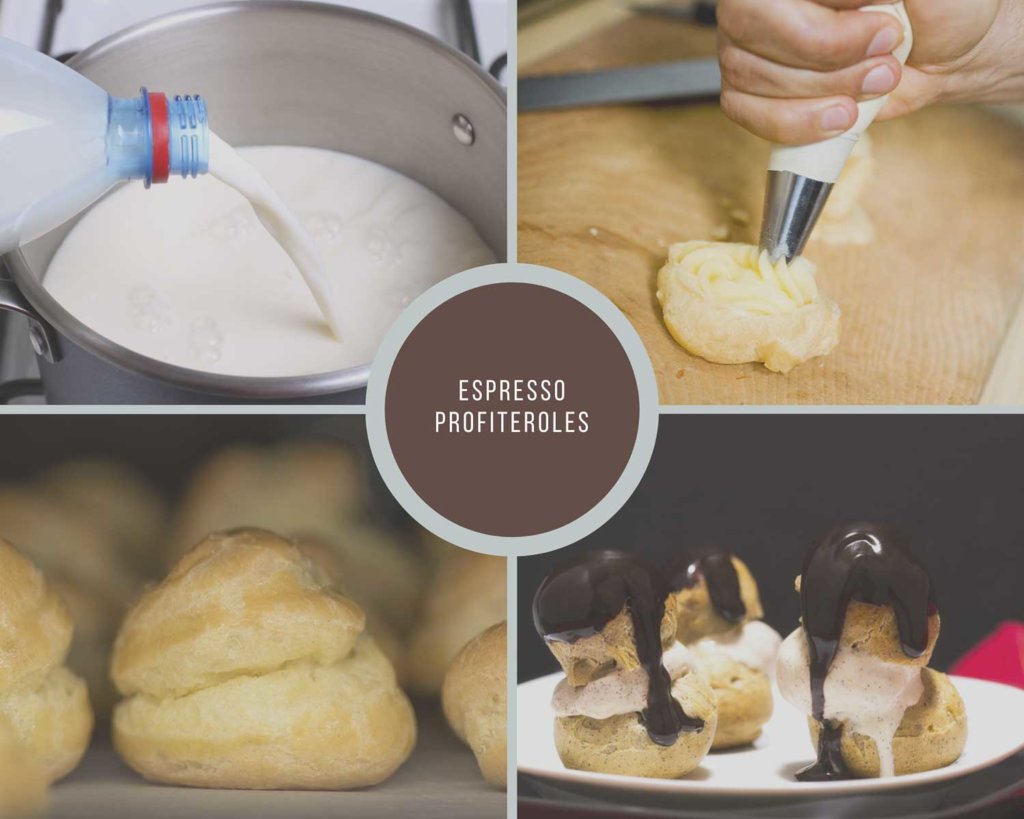
Steps to Make the Pate a Choux
Put the milk, coffee, butter, sugar, and espresso into a 2-quart saucepan and bring to a full boil over medium heat, stirring frequently with a spatula until the butter melts. Still stirring, add the flour all at once. Vigorously stir until the flour is thoroughly incorporated, then continue to cook and stir for another 30 to 45 seconds, or until the dough forms a ball and a light crust is visible on the bottom of the pan.
Add The Eggs, Pipe & Bake
Remove the pan from the heat and scrape the paste into a medium bowl. Immediately, while the dough is still hot, beat in the eggs one at a time with a mixer using the paddle attachment, on low speed. After you have incorporated the five eggs, take a good look at the mixture. Continue to beat until you can place the dough between your thumb and index finger and pull apart about an inch without the dough tearing.
Once blended, spoon the choux paste into a pastry bag fitted with a ½ inch plain tip and pipe quarter sized puffs onto parchment lined baking sheets, leaving about 1 inch between puffs. Use a moistened fingertip to poke down and adjust any small imperfections. Brush each of the pastries with a little egg wash.
Bake for 20 minutes; lower the temperature to 350°F and bake 5 to 7 minutes longer until the pastries are golden brown and feel hollow.
Pate a Choux FAQ
Choux pastry is like the dough of your favorite buttery pastries, and when you fill it with a light-as-air cream custard sauce that we call crème pâtissière ー or French for "pastry cream" in English - well then you've got yourself some delicious profiteroles.
The French call cream puff dough pâte à choux because they resemble little cabbages when piped out of a piping bag onto sheets of parchment paper to be baked into delicious bites.
Sadly, yes you can. If you leave these in the oven too long, they will just dry out and not be worth the calories.
Beat it vigorously with a wooden spoon, slapping it against the side of the saucepan. You know it's done when the dough forms a thick film on the bottom of the pan. We use to call it a carpet in pastry school.
Yes, these pastry balls can be made months in advance and frozen. Just a few minutes in a warmed up oven, will make the shells crispy again. Then just pipe in your favorite center or cut and make sandwiches like we did with ice cream.
Looking for Other Great Desserts?
Looking For More Recipes?
Subscribe to my free newsletter to get new baking tips in your inbox monthly. Find me sharing new recipes and tips on Pinterest, Instagram, or Facebook.
Espresso Profiteroles
Ingredients
- ½ cup whole milk
- ½ cup brewed coffee
- ¾ stick (3 ounces) unsalted butter
- 2 tablespoons sugar
- 1 tablespoon finely ground espresso beans
- 1 ½ cups all purpose flour
- 5 large eggs
- 1 large egg beaten with 1 teaspoon cold water for egg wash
Instructions
- Preheat oven to 400° F.
- Put the milk, coffee, butter, sugar, and espresso into a 2-quart saucepan and bring to a full boil over medium heat, stirring frequently with a spatula until the butter melts. Still stirring, add the flour all at once. Vigorously stir until the flour is thoroughly incorporated, then continue to cook and stir for another 30 to 45 seconds, or until the dough forms a ball and a light crust is visible on the bottom of the pan.
- Remove the pan from the heat and scrape the paste into a medium bowl. Immediately, while the dough is still hot, beat in the eggs one at a time with a mixer using the paddle attachment, on low speed.
- After you have incorporated the five eggs, take a good look at the mixture. Continue to beat until you can place the dough between your thumb and index finger and pull apart about an inch without the dough tearing.
- Once blended, spoon the choux paste into a pastry bag fitted with a ½ inch plain tip and pipe quarter sized puffs onto parchment lined baking sheets, leaving about 1 inch between puffs. Use a moistened fingertip to poke down and adjust any small imperfections. Brush each of the pastries with a little egg wash.
- Bake for 20 minutes; lower the temperature to 350°F and bake 5 to 7 minutes longer until the pastries are golden brown and feel hollow. Halfway through the baking period, rotate the baking sheets. Once completed, transfer sheets to cooling racks and allow the puffs to cool to room temperature before cutting and filling.
Notes
Nutrition
As an Amazon Associate and member of other affiliate programs, I earn from qualifying purchases. What that means is if you click on one of our affiliate links, they may toss a few pennies our way for a commission.