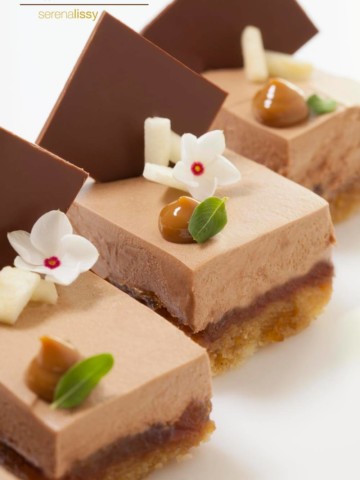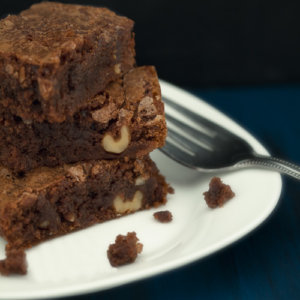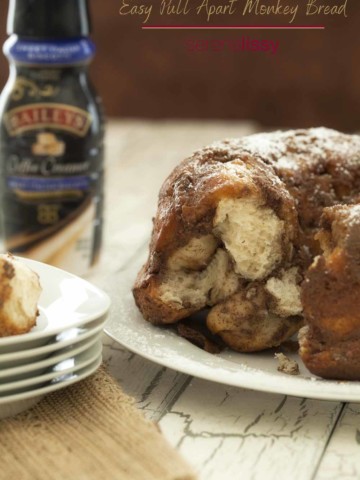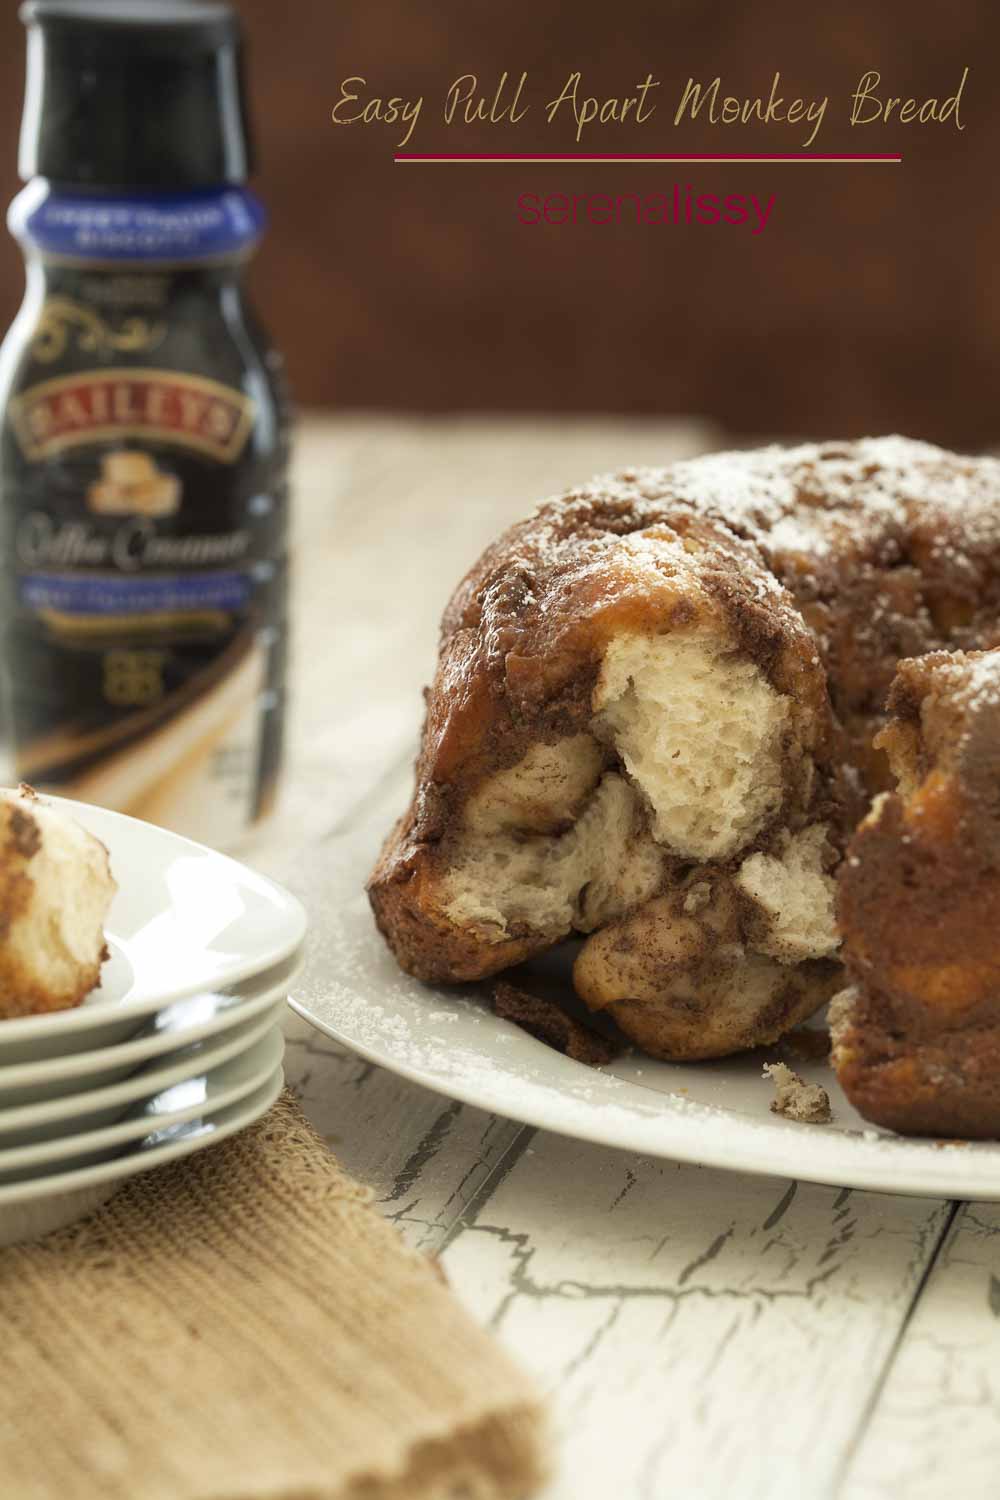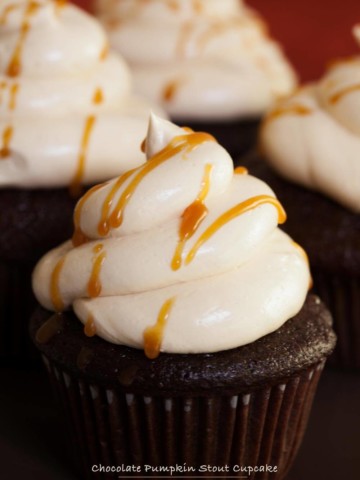
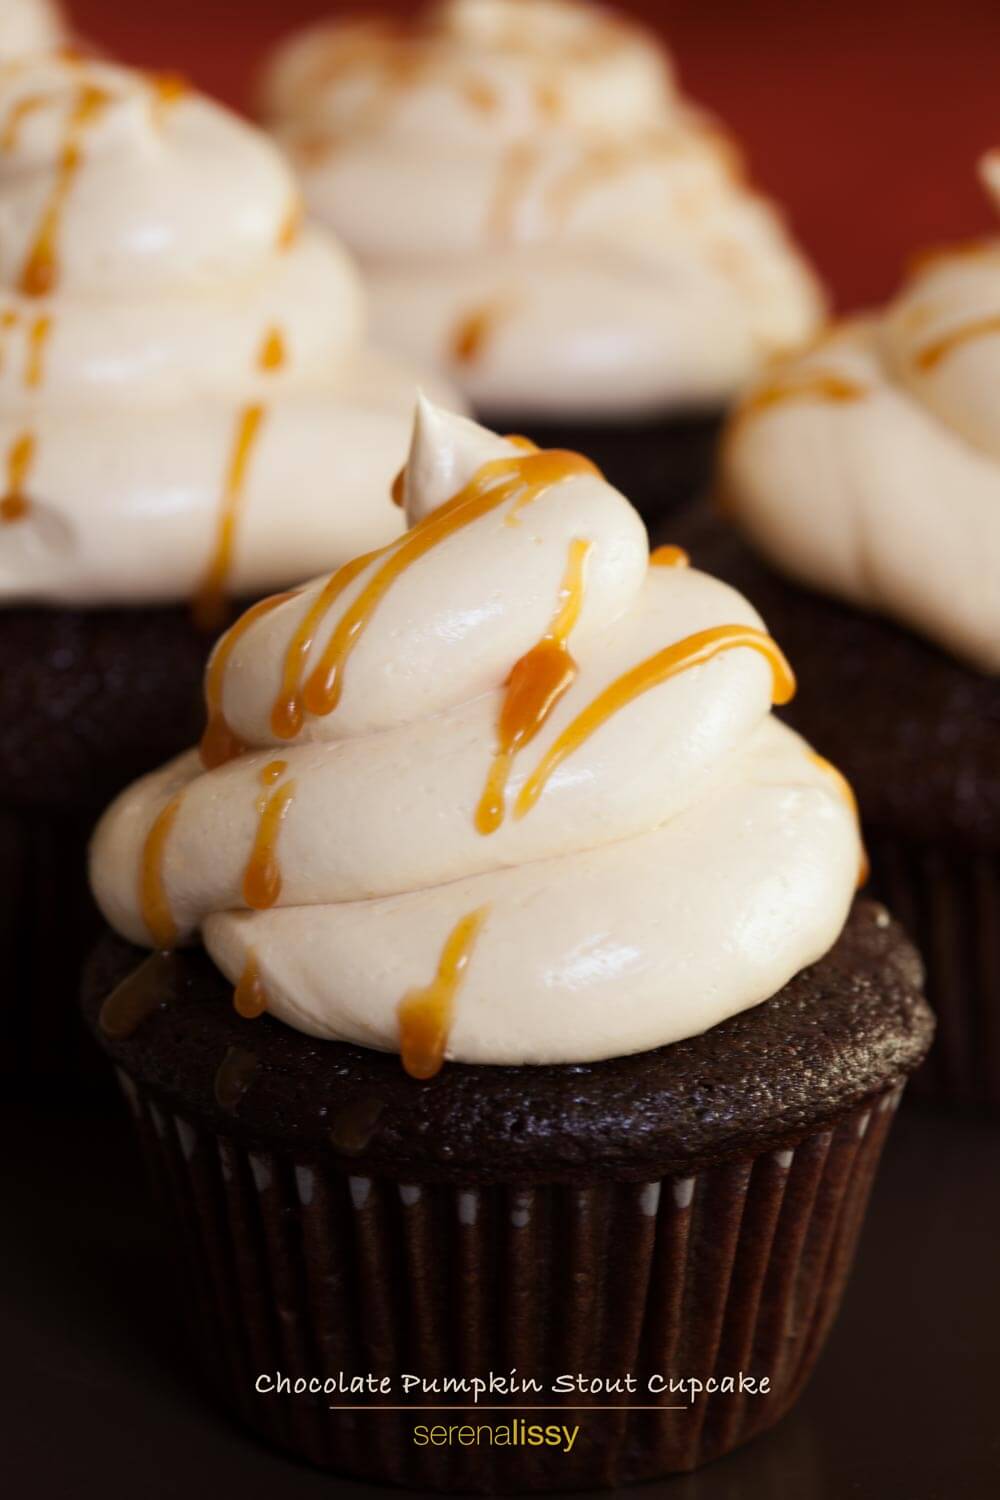
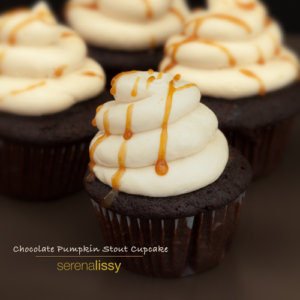
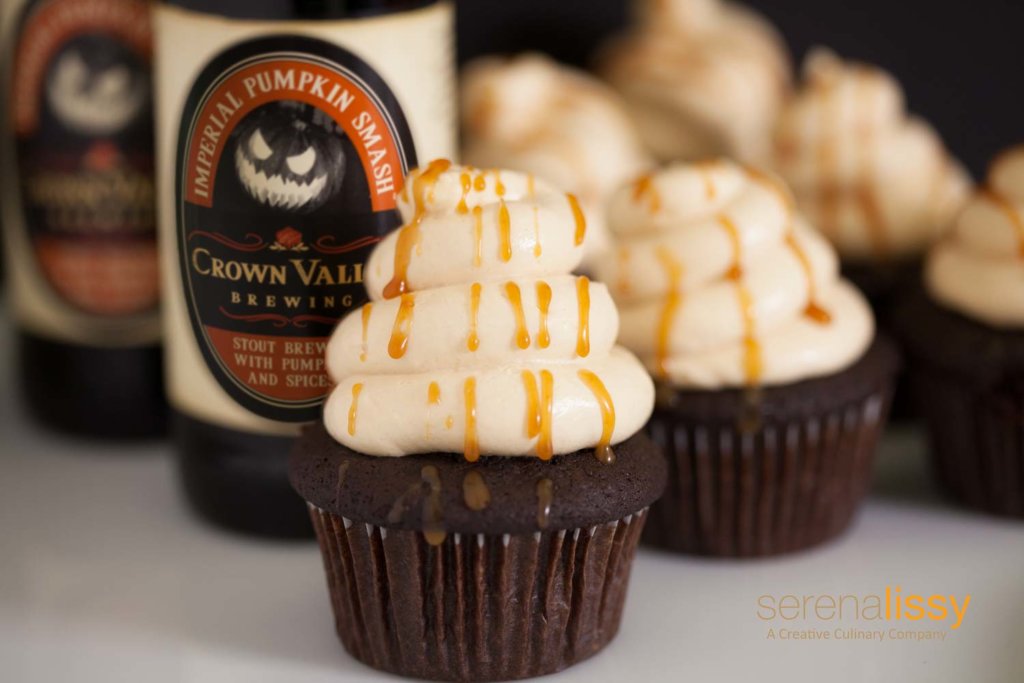
For all you beer lovers out there, this fall inspired chocolate pumpkin stout cupcake recipe is perfect for you! The cupcakes are made with pumpkin stout, which gives it that extra kick. It's then topped with an ooey gooey caramel buttercream frosting that will make your taste buds scream for more!
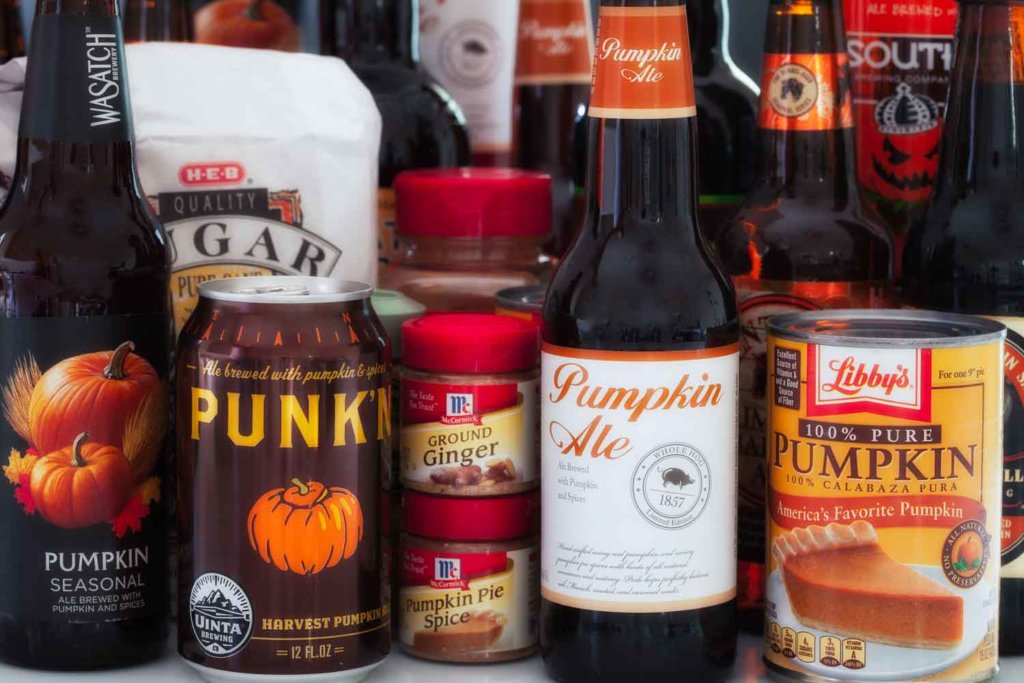
It's that time of year again, my favorite quarter. Fall is coming, and pumpkin is everywhere. We figured we might as well make an adult themed cupcake with all the pumpkin beer and ale that I have seen everywhere. Even if you aren't a beer lover, you are going to appreciate the flavor it adds!
Using Beer in Cupcakes
Testing stout cupcakes took a little while. I don't cook with beer very often, and there was somewhat of a learning curve in understanding what the beer did to the batter. When used correctly, adding beer in baking applications can:
- Give flavor
- Add texture
- Add Moisture
- Act as a leavening agent
The Stout Cupcake Testing Process
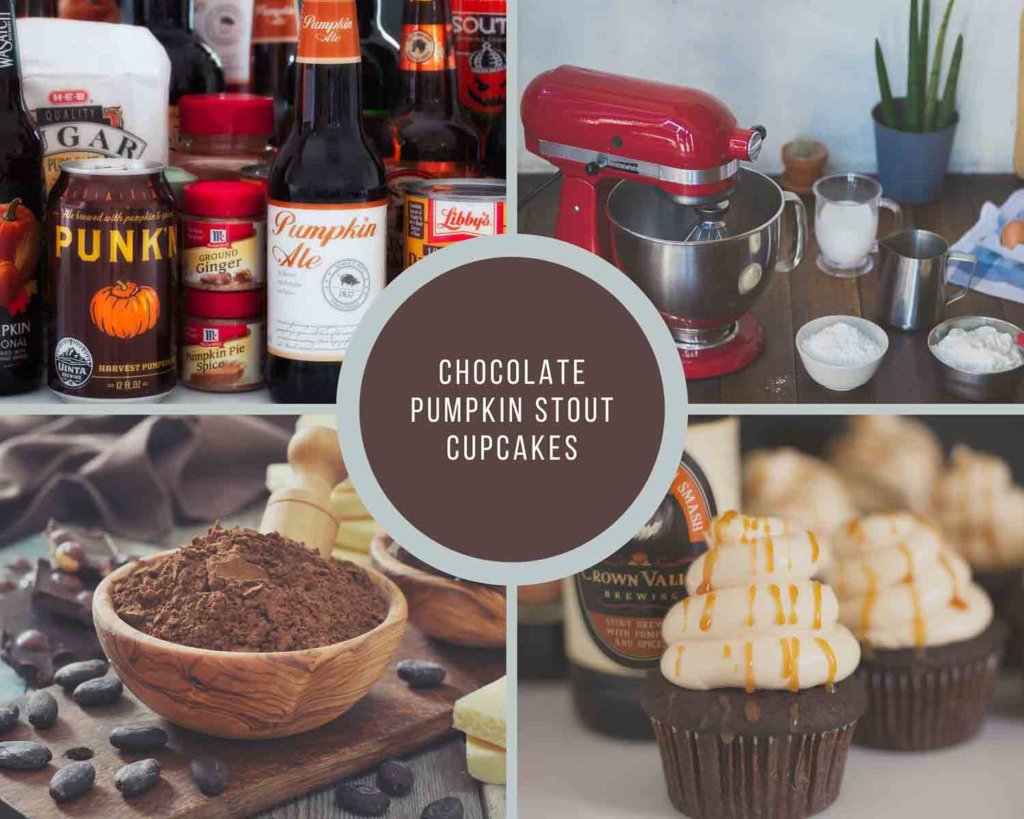
On the first go-round, we made 16 different cupcakes with a variety of 8 different beers and ales. Our two base cupcakes were chocolate and a spice yellow cupcake. It was interesting to see the results. We used a base dough and just put in the 8 different beers. Some were dry, and some were chewy; some were just not even tolerable. The beer that we liked the best ended up being a pumpkin stout by Crown Valley Brewing. It just worked great with the cupcakes. The texture was not too delicate nor too crumbly, and the flavor was decadent.
When To Use the Ganache
Once we narrowed down the stout, we then decided that it paired the best with the chocolate base cupcake. We then tested two other chocolate recipes to determine which one yielded the moistest cupcake. Once we determined the base chocolate, we wanted to find a way to get a little bit more of the stout flavor into the cupcake. What other way than to add some more chocolate, right? So we started testing a stout ganache. Once we narrowed that down with a blend of two different chocolates, we came up with the idea of adding the ganache to the cupcake before baking. What we ended up with was a moist, delicious cupcake that had melted ganache flowing through the entire cupcake once it melted during the cooking process.
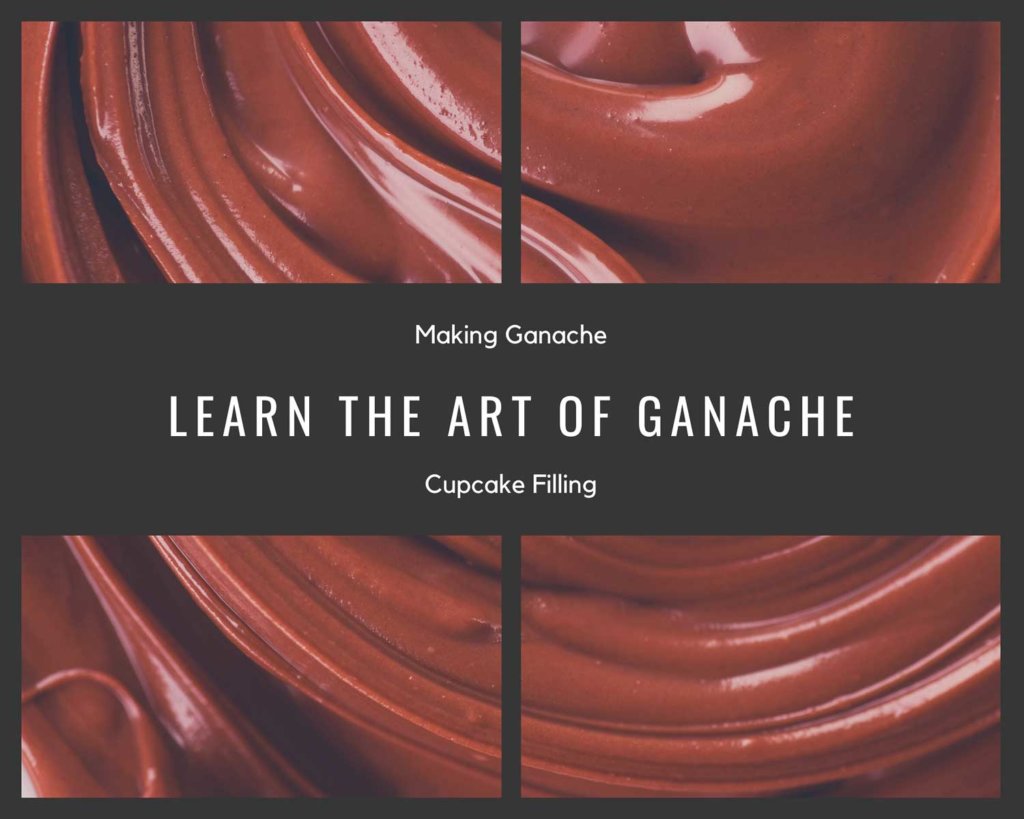
Interestingly, the cupcake right out of the oven was like a molten lava cake. The ganache was just hot molten goodness at the bottom of the cupcake, which is great but not practical for picking up a cupcake and biting into it. But after a few hours of resting, we then saw that the ganache ended up soaking up into the cupcake during the cooling. We were then left with a cupcake with a hole in the middle. Well, heck... why not just make more ganache and fill the hole. And that's how this yummy little creation came about.
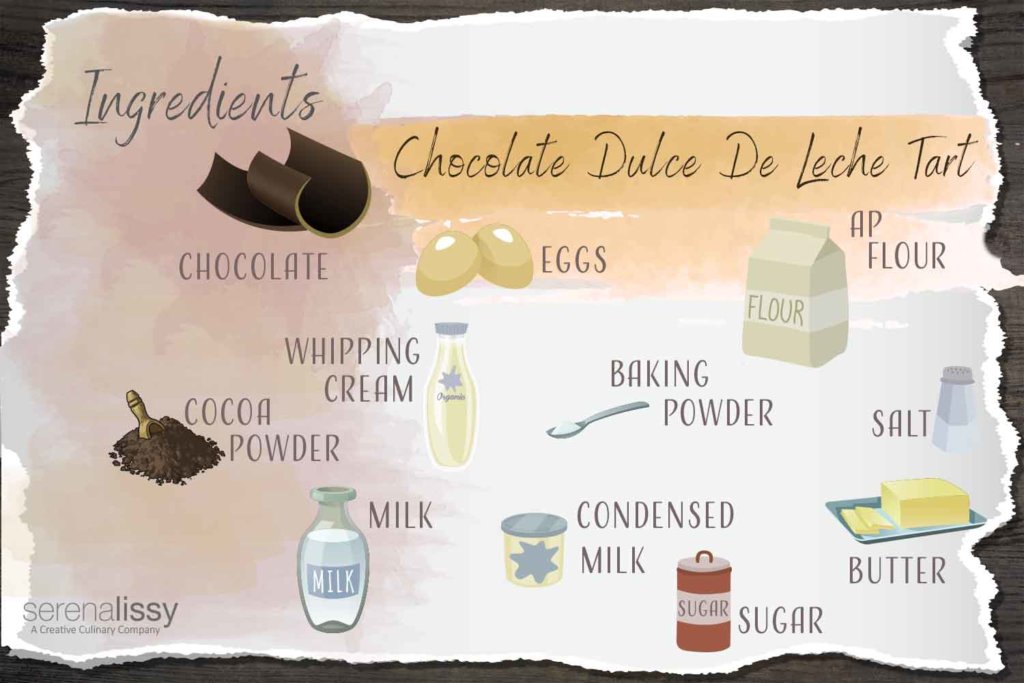
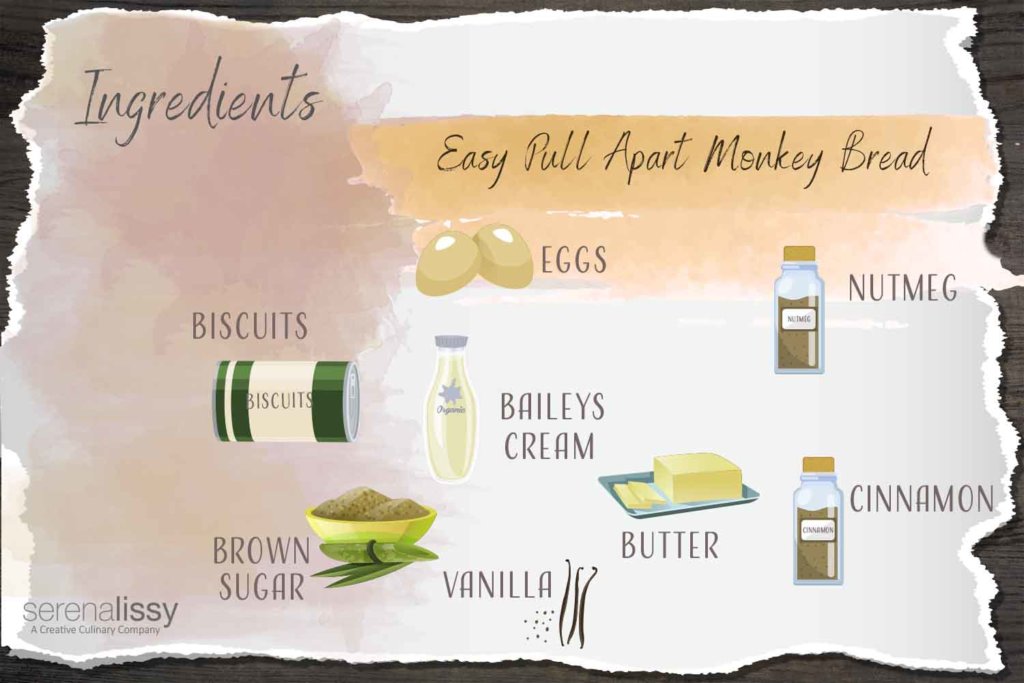
Ingredients In This Pumpkin Stout Recipe
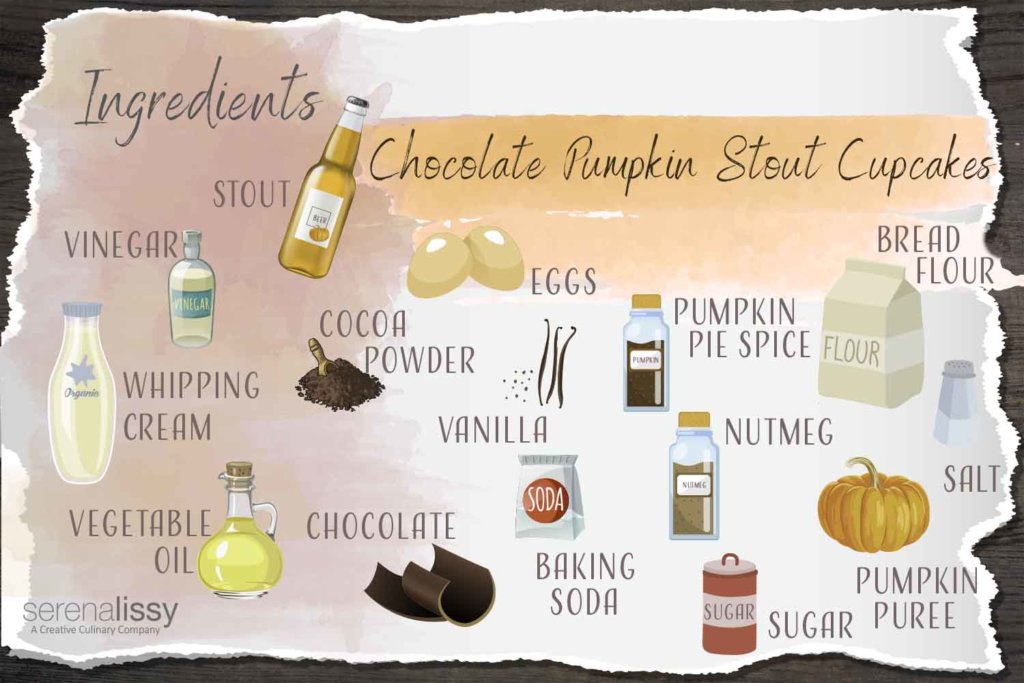
- Bittersweet chocolate
- Heavy whipping cream
- Beer
- Butter
- Dutch processed cocoa powder
- Bread flour
- Sugar
- Salt
- Baking soda
- Pumpkin pie spice
- Nutmeg
- Vegetable oil
- Pumpkin puree
- Eggs
- Egg whites
- Cider vinegar
- Vanilla
- Kosher salt
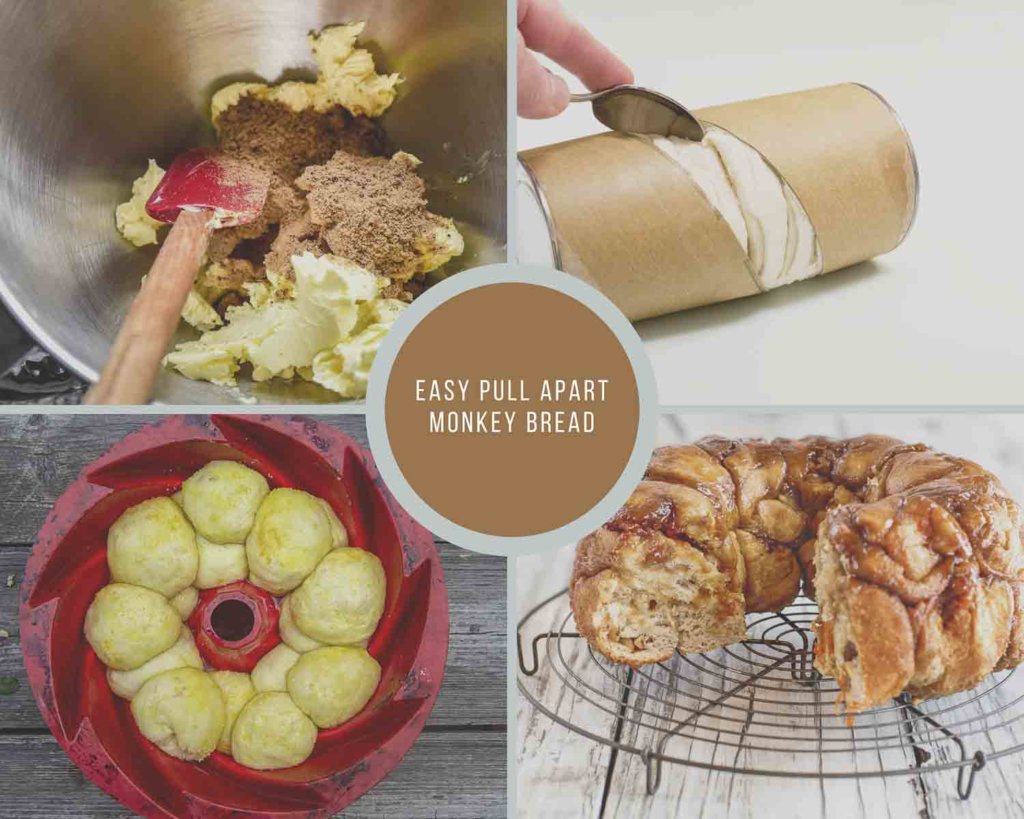
How To Make the Chocolate Stout Cupcake
- Make the ganache filling and allow it to cool in the fridge.
- Preheat the oven to 350° and prepare a cupcake pan.
- Pour hot beer over cocoa and chocolate and let sit for 5 minutes. Whisk until smooth and refrigerate until cool.
- Prepare the dry ingredients in a medium bowl.
- Whisk oil, eggs, vinegar, pumpkin puree and vanilla into the cooled beer and chocolate mixture.
- Whisk in dry ingredients.
- Fill muffin tins with batter and top each with 1 teaspoon of the ganache.
- Bake until set and let cool in the pan for 10 minutes.
- Remove to a wire rack and cool for 2 hours.
- Make the buttercream frosting and top the cupcakes before serving.
Frosting Testing
The pumpkin beer cupcake was now created. What could we possibly put on top to meld with the richness of the cake? Salted caramel seems to be everywhere, so we figured why not make it a little decadent and go with a salted caramel swiss buttercream frosting. After 20 different cupcakes, we have finally finished this recipe.
We have maximized the chocolate flavor, blended it with a great pumpkin stout, and came up with a rich, yummy dessert. Give these chocolate pumpkin stout cupcakes a try. We would love to hear how you do with them or your thoughts on this pumpkin stout recipe's flavor.
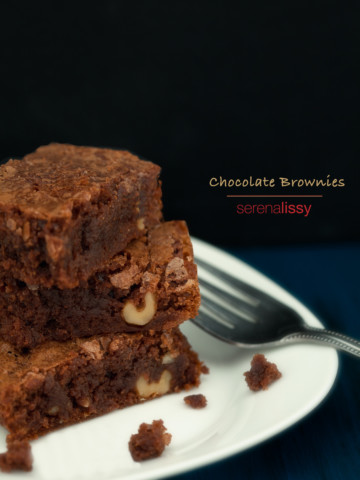
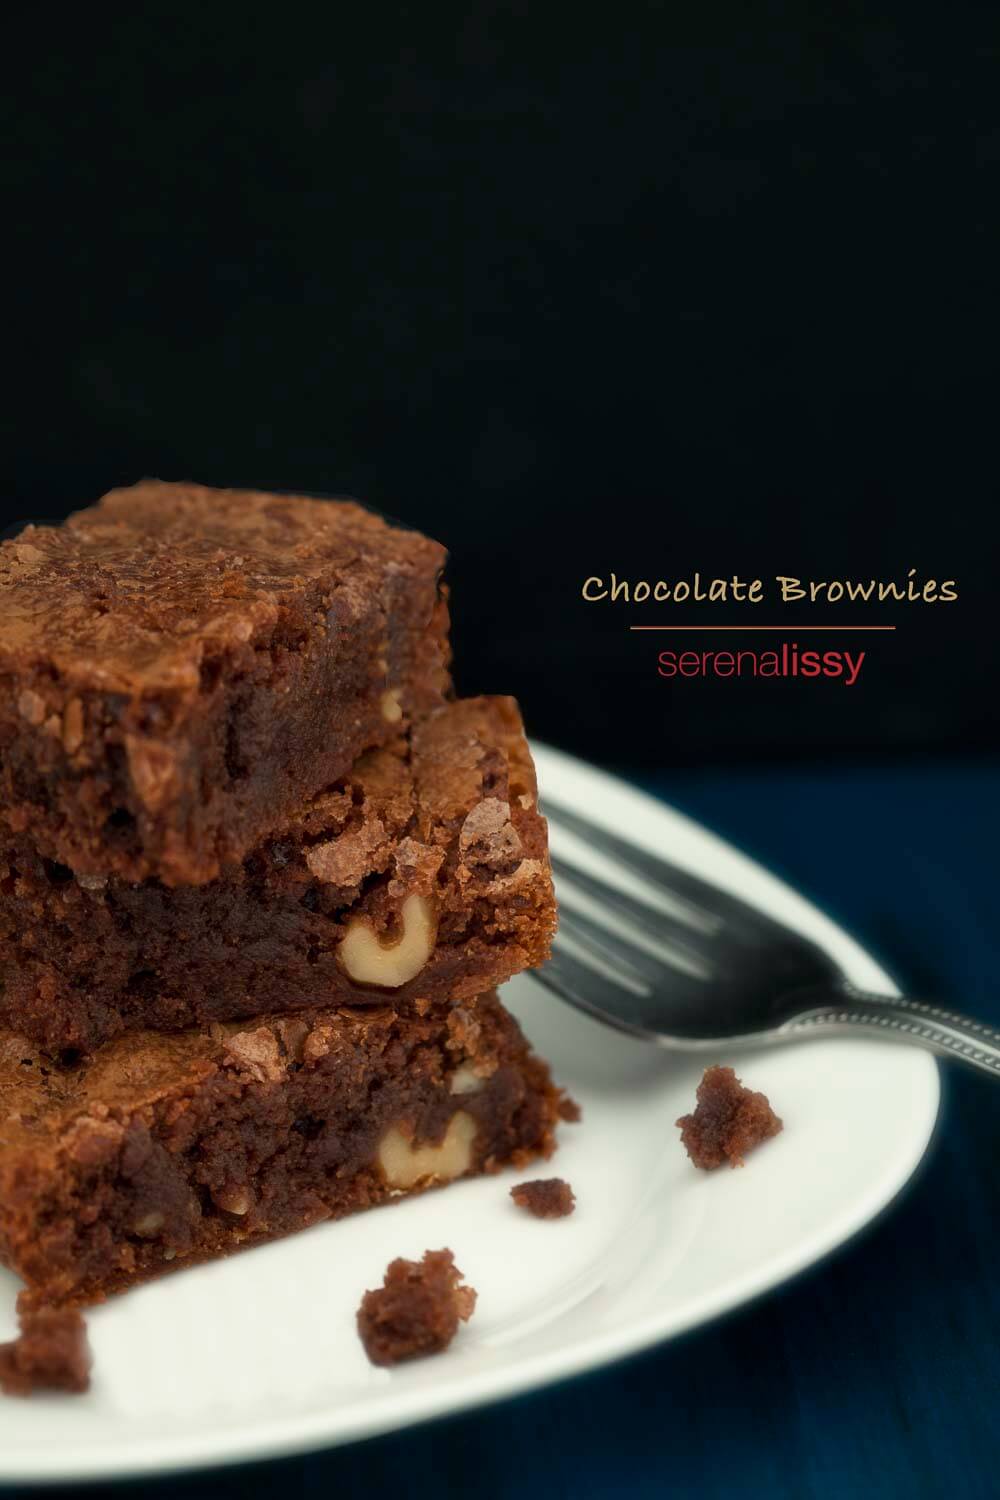
Chocolate Pumpkin Stout Cupcakes
Ingredients
Ganache
- 6 ounces bittersweet chocolate
- ½ cup heavy whipping cream
- 2 ounces beer
- 1 tablespoon butter
Cupcake
- 3 ounces bittersweet chocolate chopped fine
- 1 ounce dutch processed cocoa powder
- ¾ cup hot beer
- 4 ⅛ ounce bread flour
- 5 ¼ ounce sugar
- ½ teaspoon salt
- ½ teaspoon baking soda
- 1 tablespoon pumpkin pie spice
- ½ teaspoon nutmeg
- 6 tablespoons vegetable oil
- 2 large eggs
- 2 tablespoon pumpkin puree
- 2 teaspoons cider vinegar
- 1 teaspoon vanilla extract
Salted Caramel Buttercream
- 1 cup sugar
- ½ cup water
- ⅔ cup heavy cream
- 1 tablespoon butter
- 5 egg whites
- 5 ounce sugar
- 16 ounce butter
- ½ teaspoon kosher salt
Instructions
Ganache
- In a small saucepan heat cream to a boil.
- Put the chopped chocolate in a separate bowl.
- Once cream boils, pour over the chocolate. Let it sit and melt for about 30 seconds then stir to combine.
- Slowly add beer and stir.
- Then add butter, stir and place in refrigerator to cool.
Cupcakes
- Adjust oven rack to middle position and heat oven to 350°.
- Line 12 cup muffin tin with paper or foil liners.
- Place chocolate and cocoa in medium heatproof bowl.
- Heat the beer to boil in a small saucepan. Once hot, pour over mixture and let sit, covered for five minutes.
- Whisk mixture until smooth, then transfer to refrigerator to cool completely. About 30 minutes.
- Whisk flour, sugar, salt, pumpkin pie spice, nutmeg and baking soda together in a medium bowl.
- Whisk oil, eggs, vinegar, pumpkin puree and vanilla into cooled chocolate until smooth.
- Add flour mixture and whisk until smooth.
- Using an ice cream scoop, divide batter evenly among prepared muffin cups. Place 1 slightly rounded teaspoon ganache on top of each portion of batter.
- Bake cupcakes until set and just firm to touch, 18 to 20 minutes, rotating muffin tin halfway through baking.
- Let cupcakes cool in muffin tin on wire rack for 10 minutes. Remove from tin and let cool completely on a wire rack, about 2 hours.
- Once cool, pipe remaining ganache into the cupcakes.
Salted Caramel Swiss Buttercream
- Combine 1 cup sugar and ½ cup water in a small saucepan and cook to a deep amber.
- Remove from heat and add heavy whipping cream. Being careful not to splash.
- Add butter and salt and set aside to cool.
- In a kitchenaid bowl add 5 egg whites and 5 ounces sugar. Place over a double boiler and let it heat until it reaches 160°. Remove from heat and transfer to stand mixer.
- Using the whisk attachment, whip mixture on high until it holds stiff peaks (About 6-7 minutes).
- Continue beating and add the butter a few pieces at a time. Add salted caramel sauce. Continue beating until buttercream is thick, smooth, and glossy (about 3-5 minutes)
- Frost the cupcakes.
Notes
Nutrition
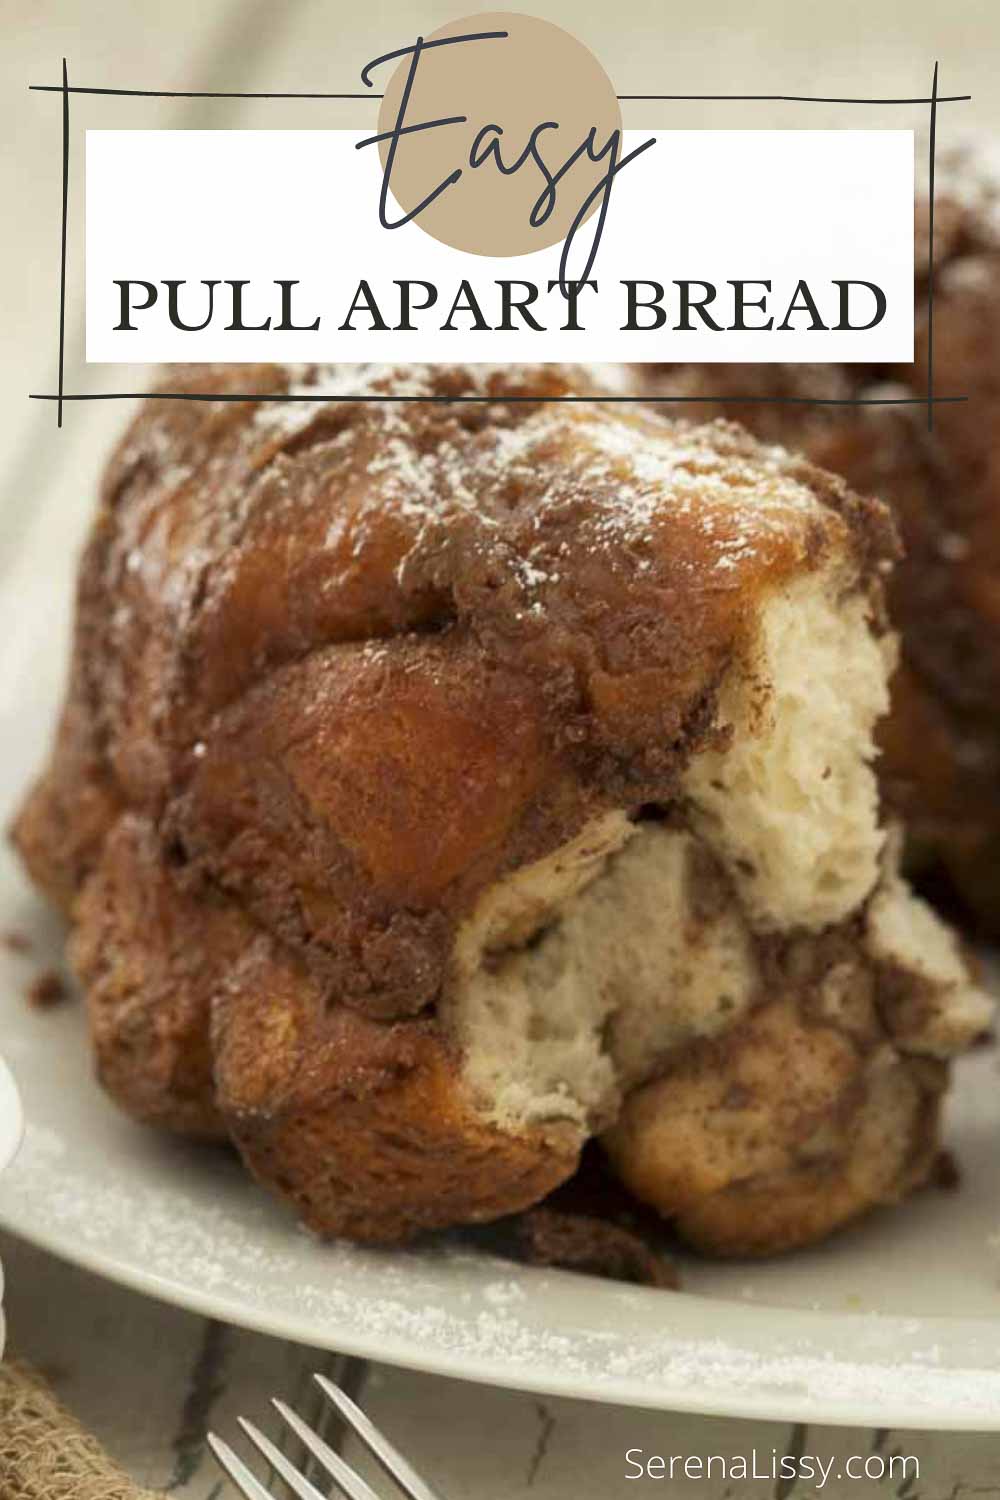
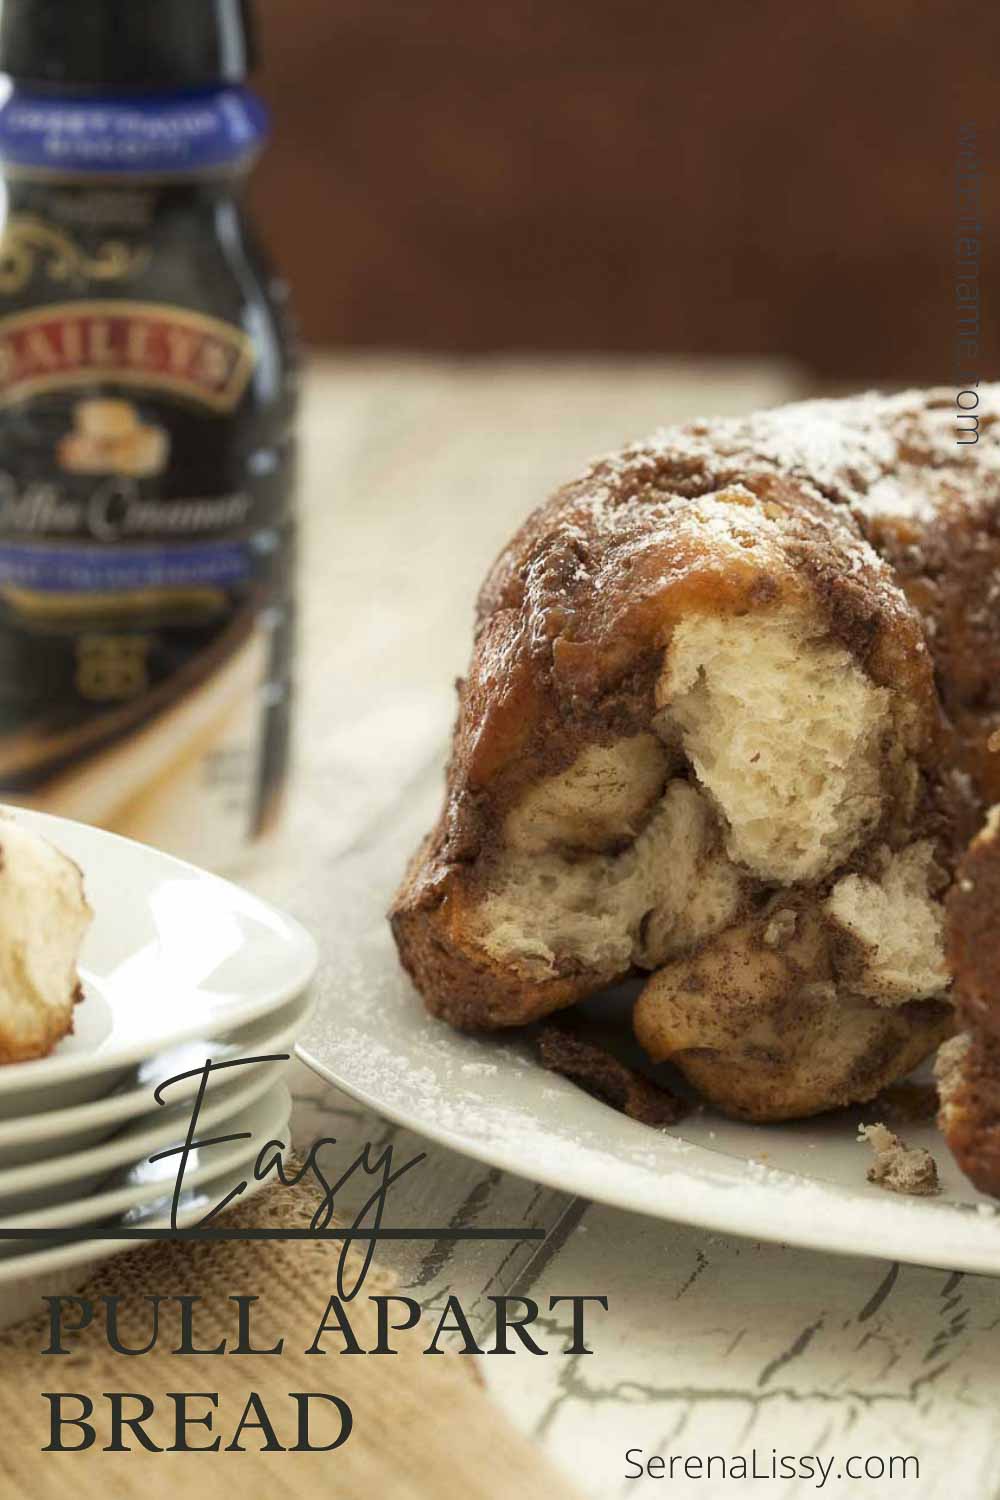
Now if pumpkin in your thing we have a few more pumpkin recipes on the website. You could try a Pumpkin Spice Pull Apart Bread or a Pumpkin Chocolate Chip Muffin or even a Pumpkin Cheesecake.
As an Amazon Associate and member of other affiliate programs, I earn from qualifying purchases. What that means is if you click on one of our affiliate links they may toss a few pennies our way for a commission.