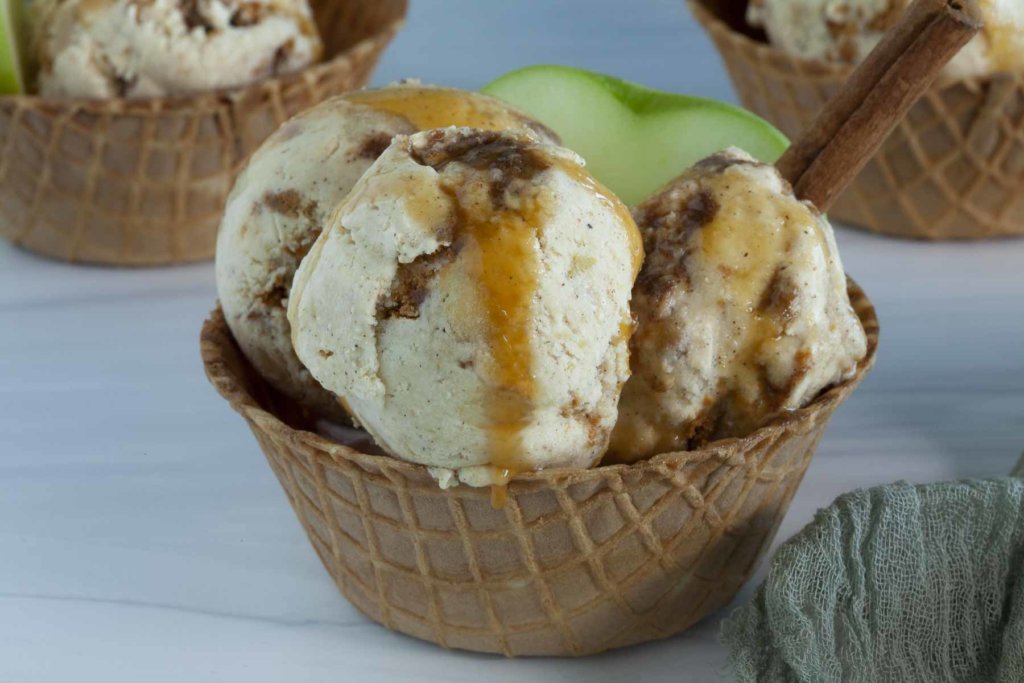
Apple pie is a favorite dessert for many people. The apple cinnamon ice cream recipe that I have created replicates the flavors of apple pie without any of the work! With just a few ingredients, you can turn your favorite apple pie into something even more delicious. This apple ice cream will be perfect for enjoying all of its unique flavors during the fall apple season. And don't forget to drizzle some caramel sauce on top!
There is nothing quite like the delicious taste of a fresh, crisp, and juicy apple straight from the tree during this time of year. Apple pie, apple cider, applesauce – we love them all! So if you're looking for a new way to enjoy your favorite fall apple desserts or just looking for a fall dessert without pumpkin, then look no further than our recipe for Apple Ice Cream!
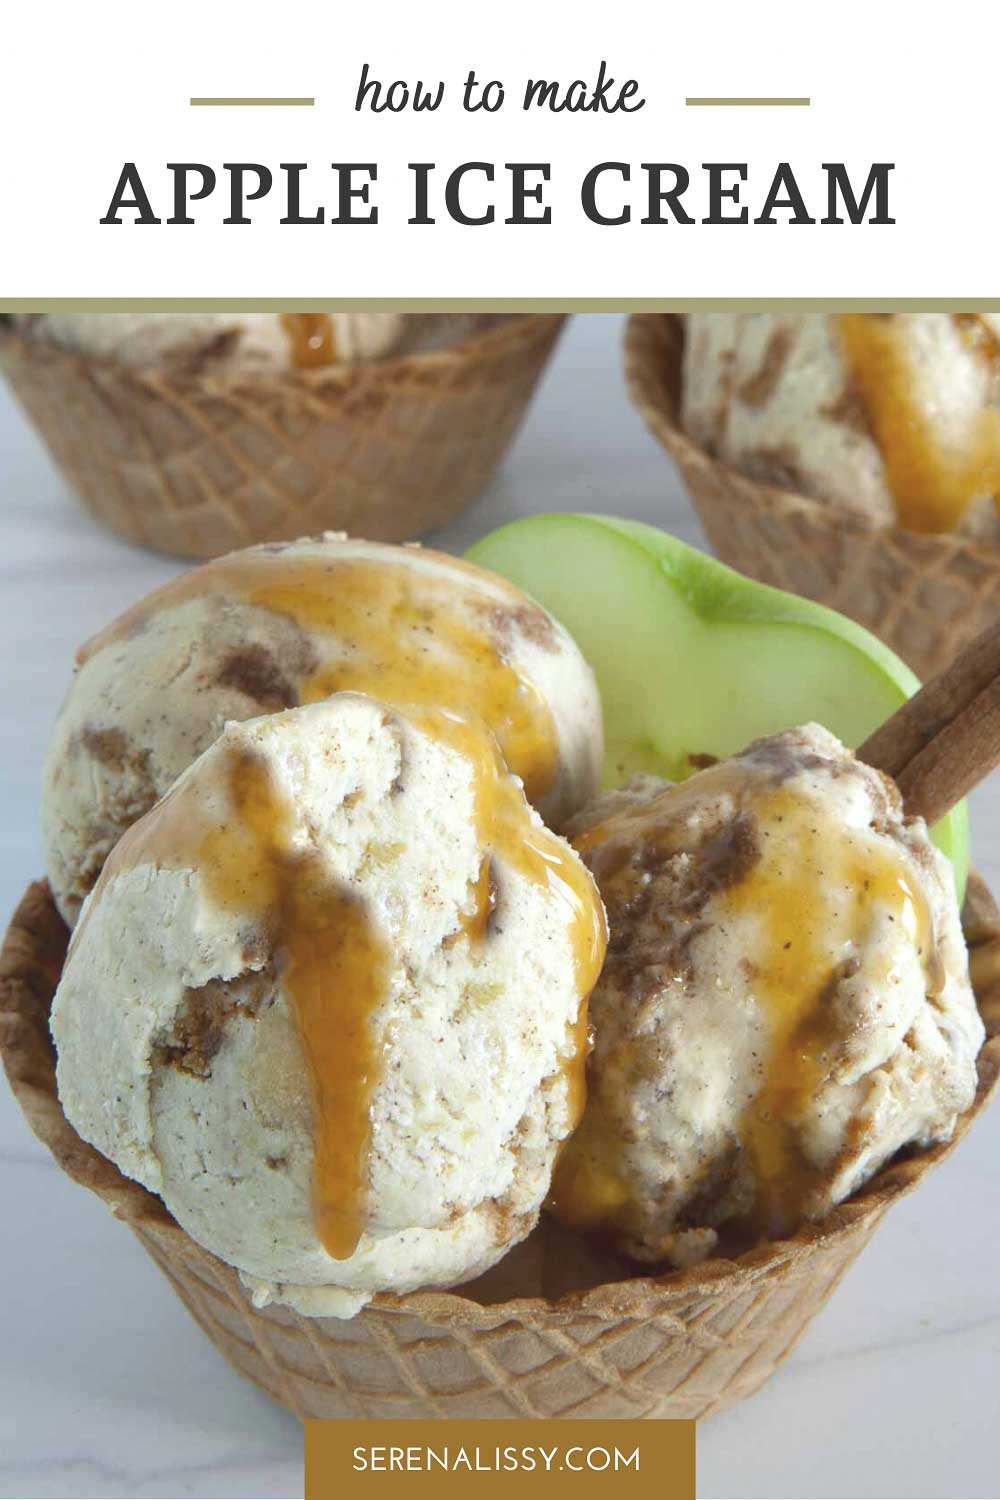
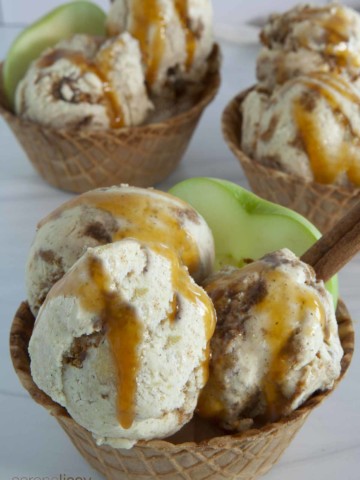
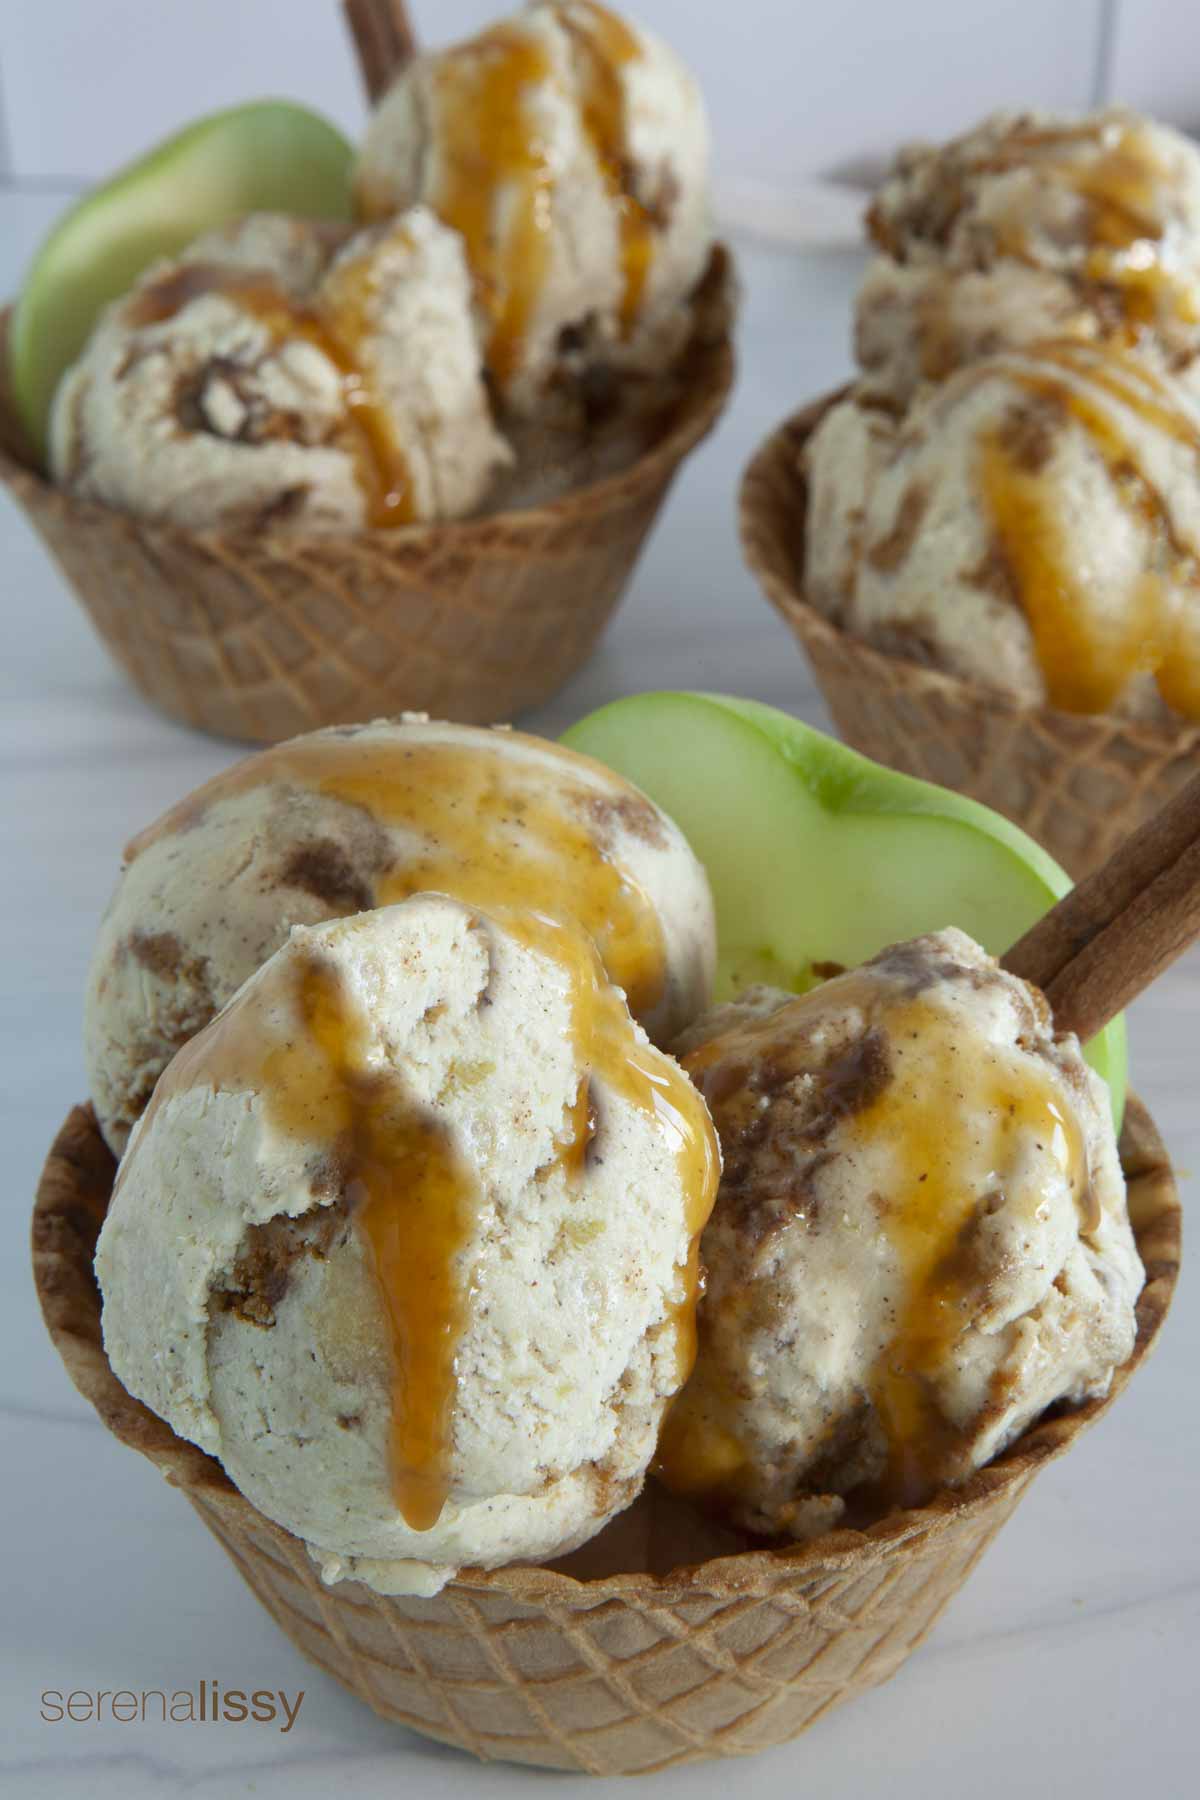
Apple Cinnamon Ice Cream
Let's talk a bit about cereal milk. I don't know about you, but for me, one of my favorite parts of morning breakfast cereal is the milk at the end. It just takes on all the sweetness the deliciousness of the cereal. I remember thinking all the time; I'd love to have the flavored milk. I don't need the cereal. Then one day, I was in NYC and stopped by Milk Bar. I was so surprised to see they are selling gallons of cereal milk! You can find it at the restaurant or even small grocery stores that carry their products. And I thought, hmmm, what a darn good idea! (I only wish I'd thought of bottling and selling it first)
So we are using cereal milk as the base ingredient in our ice cream. We used Cinnamon Toast Crunch, but if you have a favorite cereal with a nice cinnamon flavor, go ahead and use it instead. The goal is to get the cream and milk base to absorb the cinnamon flavor.
Now, if you aren't feeling like doing this step, go ahead and skip it. We have lots of other places in the recipe to get the cinnamon flavor to come through.
Ingredient Notes and Equipment
- Tart Apples- We used Granny Smith apples. I find these are the best apple for that tart delicious flavor. And when cutting and cooking, I kept the chunks of apples pretty small. Especially in the apple filling when you split into ⅓ and ⅔ for use later. The ⅓ needs to be small, you are going to fold those into the ice cream. You want to make sure that the pieces aren't large and no one gets surprised when they grab a spoonful of creamy ice cream and get a large chunk of frozen apples. If you feel they are a little large after cooking them, go ahead and chop them finer once cooled.
- Biscoff Cookies - I love these cookies, they give you a nice caramel cinnamon flavor. If you can't find these, you could go with cinnamon graham crackers, or even something as simple as a snickerdoodle cookie. Go with whatever is your favorite, they just get broken up and stirred into the batch of ice cream.
- Ice Cream Maker - This recipe is designed as an ice cream maker recipe. I use an attachment for my kitchen aid. There are all kinds of ice cream makers out there; an attachment to something you already have like a kitchen aid or a single-use machine like the Cuisinart ice cream maker. Whatever you have will be fine, just follow the manufacturer's instructions for churning.
- Freezer-Safe ice cream container - I like these ice cream containers because I can run the ice cream scoop along the length and get a pretty good scoop of ice cream. They are easy to use and dishwasher safe.
- Homemade Caramel Sauce - I like drizzling some caramel sauce on top of the ice cream. It immediately turns my apple ice cream into caramel apple ice cream. It's not needed, but it definitely takes this recipe over the top. You could make your own, or grab your favorite from your local market.
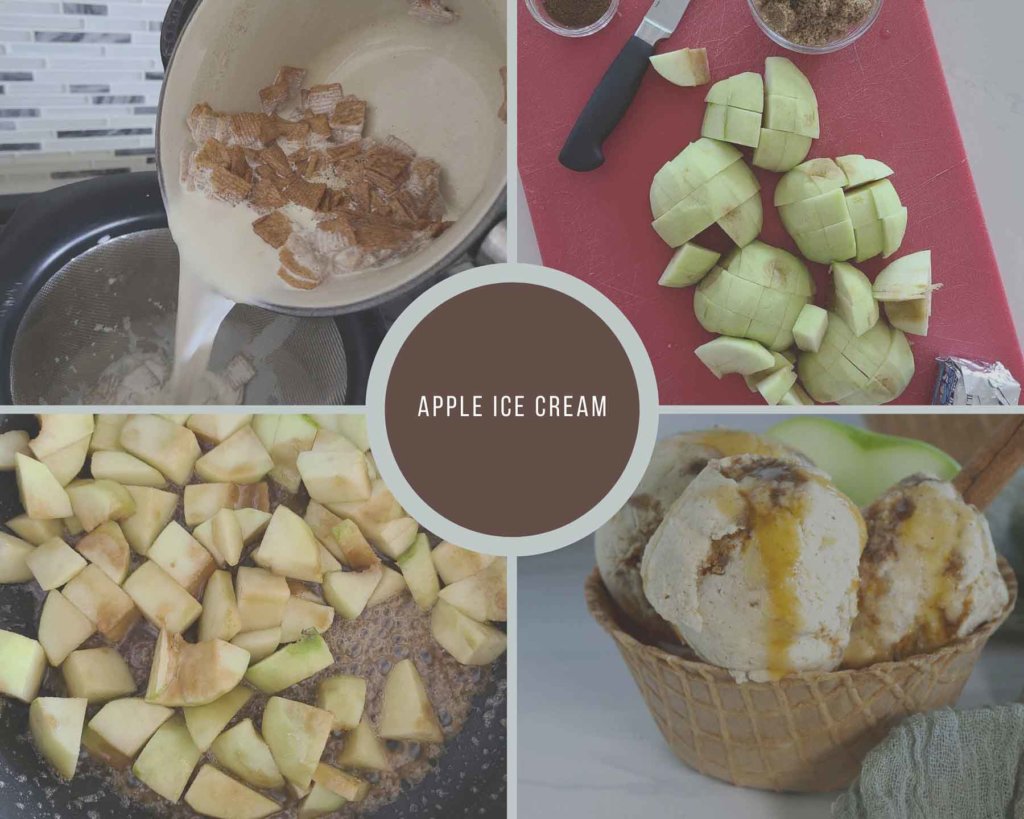
Steps to Make Apple Ice Cream
This recipe has a few components that need to be made before it can all come together. Nothing is complicated; it just takes a bit of time.
Ice Cream Custard
We are making a custard-based ice cream. It's based on a crème anglaise, which means it's cooked on a stove to thicken it, then chilled overnight before we churn it. If you use the cereal milk, you will need to steep your milk and cream combination first. If you are skipping this step, then follow the recipe for the basic anglaise.
Cinnamon Apple Filling
The next step is to make the cinnamon apple filling. I make this right after I make the ice cream base. You will want this to be cold before adding it to your base. This timing lets it sit overnight in the fridge, cooling for the same amount of time as the ice cream base. Once I finish sauteeing the apples, I divide them into two segments. ⅓ and ⅔. Two-thirds of the apples will be pureed with the ice cream base. You will fold the remaining ⅓ into the ice cream once it's churned.
Cinnamon Swirl
The last component is the cinnamon swirl. I cook this about 15 minutes before I need it. You are just melting all the ingredients together and letting them cool down to room temperature.
Churn The Ice Cream
You will combine half the custard base and two-thirds of the apple filling into a blender or food processor. Puree until smooth. Combine the pureed mixture and the remaining custard into the bowl of your ice cream maker and churn according to the manufacturer's instructions. Once done churning, fold in the remaining ⅓ apple filling and the cookies. Save a few cookies for the top of the ice cream.
Transfer ice cream to a freezer-safe container, swirling in the cinnamon swirl as you layer the ice cream in your container. Top with those remaining cookies and freeze.
Pro Tips & FAQ
If you are an ice cream lover, this is one of the best investments you can make. I'm not a fan of a gadget that only does one thing, but I make an exception for the ice cream makers. Now, if you have a kitchen aid, there is an attachment for it.
Each machine will be a bit different. But it's safe to say that you are probably looking at 15 minutes with a home machine. So if you have churned for 20 minutes and you don't have a soft-serve consistency, you probably aren't going to get it to thicken anymore with the machine.
It should take 3 - 4 hours for your ice cream to harden in the freezer.
The Ultimate Fall Ice Cream Recipe
Apple pie is the ultimate fall dessert. You can't go wrong with a classic apple pie, but sometimes it's just not enough for some people. That's why I had to create this recipe! This ice cream will satisfy your sweet tooth and give you that great taste of Fall all year long- no oven required! All you need are a few simple ingredients and an ice cream maker. Have fun experimenting with your favorite flavors in the kitchen - we know we did while creating this recipe! Don't forget to sign up for our newsletter below so that you'll get more recipes and cooking tips like this one delivered straight to your inbox each month, along with exclusive content from us.
Apple Ice Cream
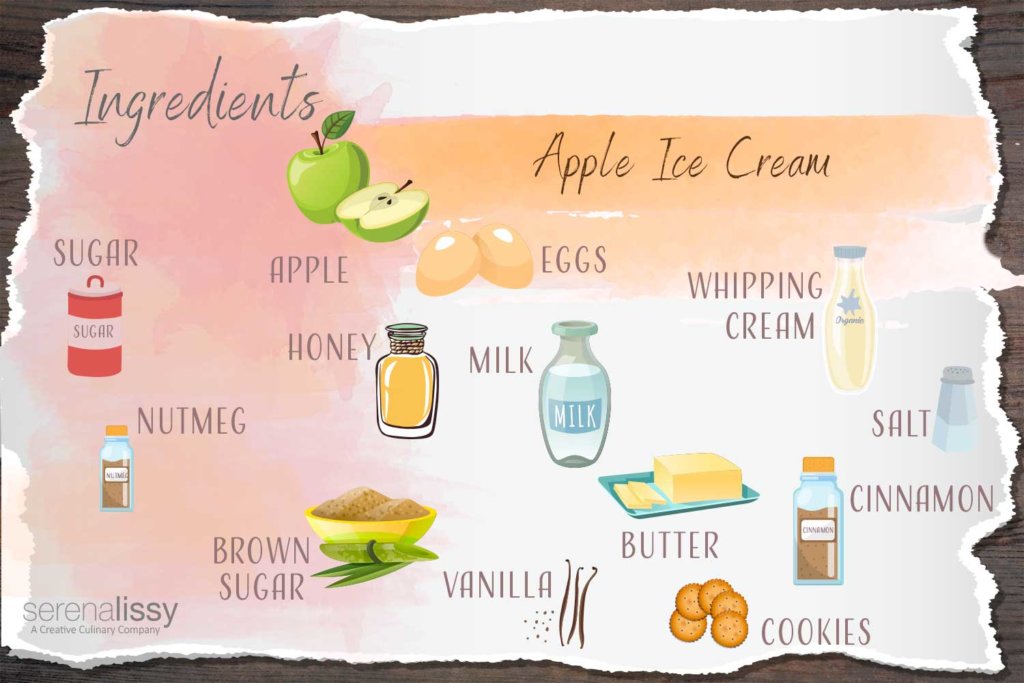
Ingredients
Ice Cream Base
- 2 ¼ Cup Heavy Whipping Cream (540 mL)
- ¾ Cup Whole Milk (180 mL)
- 2 Cups Cinnamon Toast Crunch Cereal (90 grams)
- ⅓ Cup Granulated Sugar (66 grams)
- ¼ Teaspoon Salt (1.25 grams)
- 6 Large Egg Yolks
- 1 Tablespoon Vanilla Extract (14 grams)
- 1 Cinnamon Stick
- 8 Biscoff Cookies Chopped into small pieces (Or any other similar cookie) (100 grams)
Cinnamon Apple Filling
- ⅓ Cup Light Brown Sugar (71 grams)
- 3 Tablespoon Unsalted Butter (42.375 grams)
- 3 Medium Granny Smith Apples (Peeled, cored, and cut into 1" chunks)
- 1½ Teaspoon Ground Cinnamon (4.5 grams)
- ½ Teaspoon Ground Nutmeg (5 grams)
- ¼ Teaspoon Salt (1.25 grams)
Cinnamon Swirl
- 3 Tablespoon Unsalted Butter (42.375 grams)
- 1 Tablespoon Honey (21 grams)
- 3 Tablespoon Light Brown Sugar (51 grams)
- 2 Teaspoon Ground Cinnamon (6 grams)
Instructions
Ice Cream Base
- In a medium saucepan, stir together the milk and heavy cream
- Let come to a slight simmer and add in the cereal. Remove from heat, cover with plastic wrap and let steep for 20 minutes.
- At the end of 20 minutes pour the hot milk mixture through a fine mesh strainer to remove the cereal.
- In a clean medium saucepan, add the milk and cream combination with salt and sugar over medium high heat to dissolve the sugar.
- In a medium bowl, whisk together the egg yolks.
- Slowly pour the warm cream liquid into the egg yolks, whisking constantly, then scrape the warmed egg yolks back into the saucepan.
- Stir the mixture constantly over medium heat with a spatula, scraping the bottom as you stir, until the mixture thickens and coats the spatula.
- Pour the custard through the strainer into a clean bowl. Set the bowl in an ice bath and stir in the vanilla extract. Add the cinnamon stick and let cool. Then cover and chill overnight.
Cinnamon Apple Filling
- Combine the brown sugar and butter in a medium skillet over medium heat.
- When the butter is melted and starts to bubble, add diced apples, cinnamon, nutmeg and salt.
- Cook stirring once in a while until the apples are softened and most of the liquid has evaporated. About 10 - 15 minutes.
- Transfer to two bowls. One third of the apples (about 150 grams) in one bowl, and two thirds (about 300 grams) into the second bowl.
- Cover and refrigerate until ready to use. These must be cold to mix into the ice cream.
Cinnamon Swirl
- About 30 minutes prior to churning your ice cream in the ice cream maker, in a small skillet or saucepan combine butter, honey, brown sugar, and cinnamon. Over medium heat let the butter melt and stir together all the ingredients. Once combined remove from heat and let cool to room temperature.
Churn The Ice Cream
- Remove the cinnamon stick. Combine the ⅔ apple filling and half of the chilled custard in a blender or food processor. Puree until smooth. Combine the pureed mixture and the remaining custard base into the bowl of your ice cream machine and churn according to the manufacturer's directions.
- Once done churning fold in the reserved ⅓ of the apple filling and the chopped Biscoff cookies. Save a few Biscoff pieces to sprinkle on the top of the ice cream.
- Transfer the ice cream to a freezer safe container, swirling in the cinnamon swirl as you layer the ice cream in your container. Less is more with the cinnamon swirl, you want to keep this in very small amounts, so don't glob large spoonfuls into one spot. Top your ice cream with the reserved Biscoff cookies and freeze.
Notes
Nutrition
More Related Recipes
Looking For More Recipes & Baking Tips?
Subscribe to my free newsletter to get new baking tips in your inbox monthly. Find me sharing new recipes and tips on Pinterest, Instagram, or Facebook.
As an Amazon Associate and member of other affiliate programs, I earn from qualifying purchases. What that means is if you click on one of our affiliate links, they may toss a few pennies our way for a commission.