Did you know that 25% of food photos shared online are seemingly posted for no special occasion? These include food diary posts and food diaries. In comparison, 22% of food photos shared online display the process of food creation and final products.
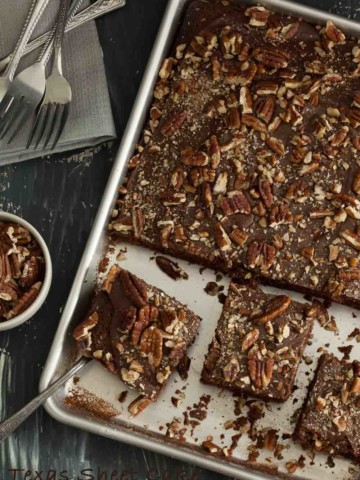
Food is personal, beautiful, and powerful. Personally, we love talking about both photography and food here. However, I’m overjoyed by the fact that sweets and desserts lead the pack in shared food photos, with 18% of shared photos including dessert.
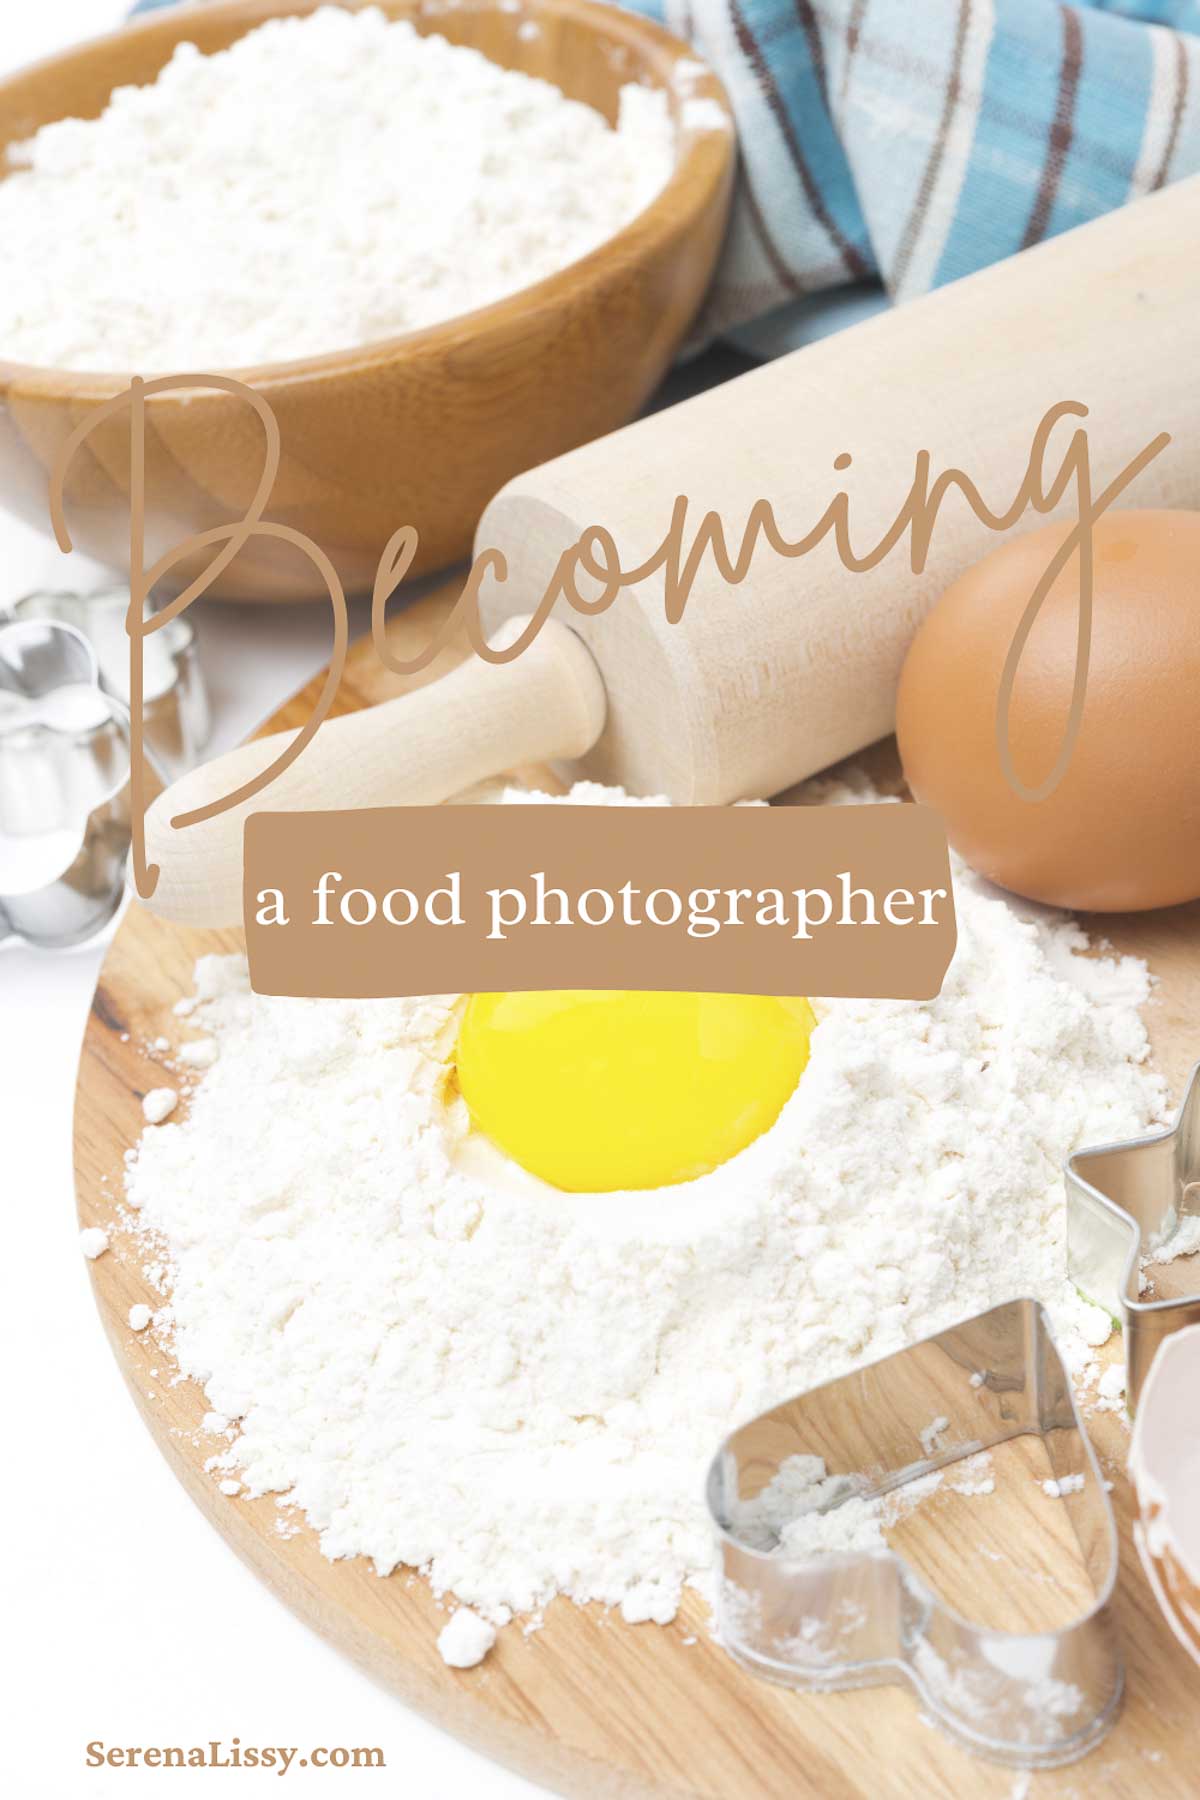
Whether you’re interested in getting started with a career in food photography or upgrading your memory-preserving game on your Instagram account, your journey can start with a few simple lessons and a smartphone. Here are our favorite ways and areas to focus on when getting started in food photography.
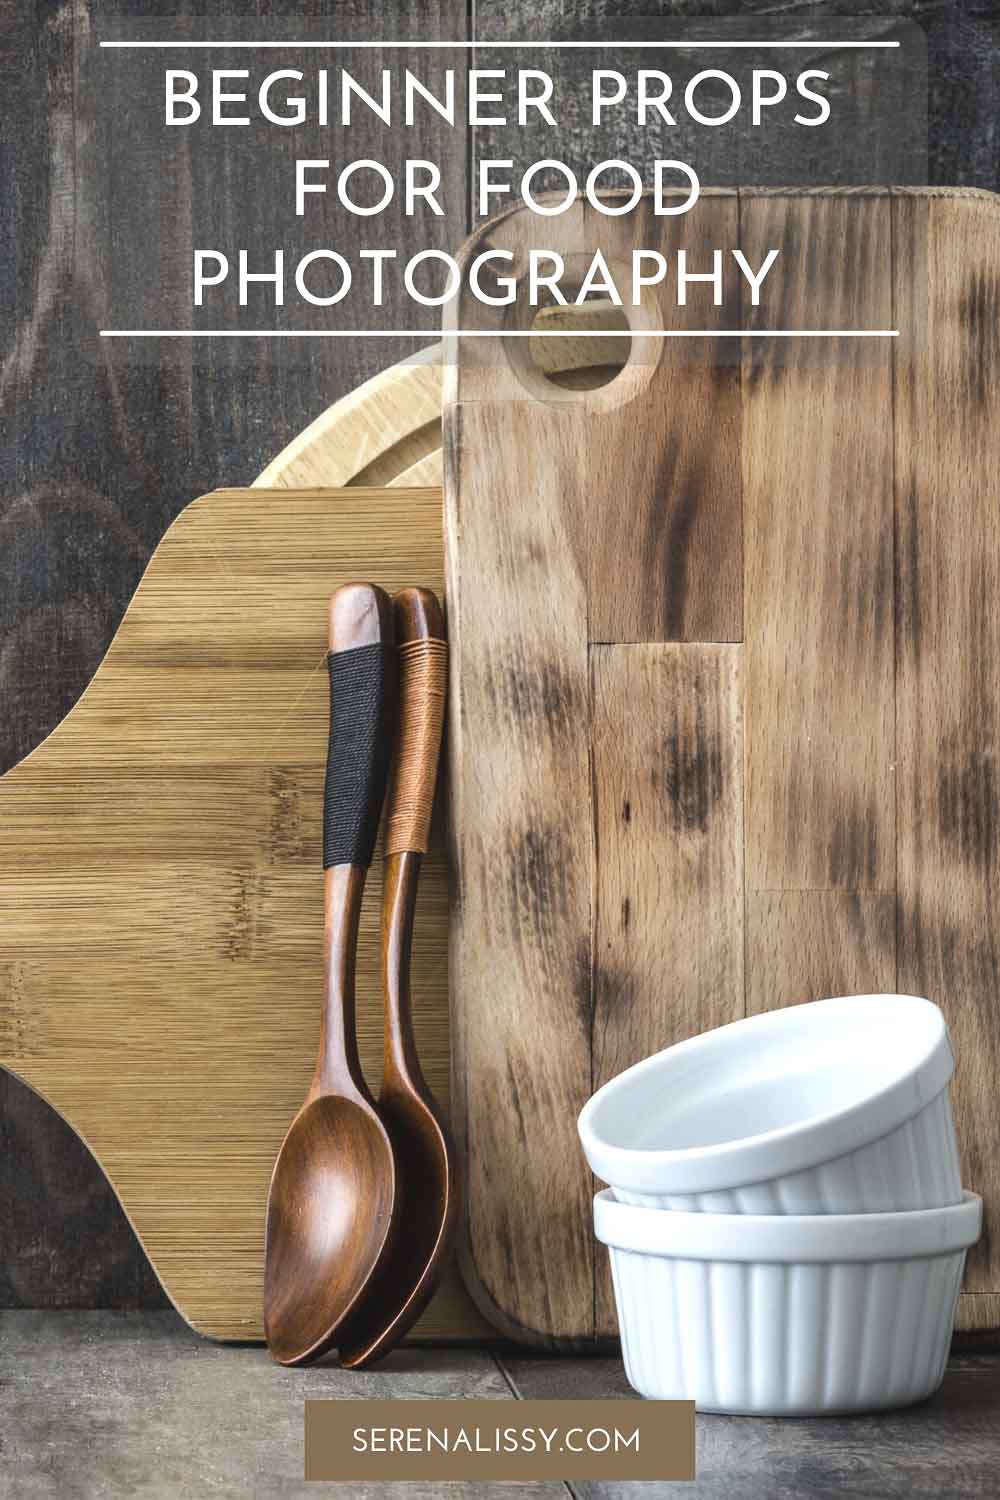
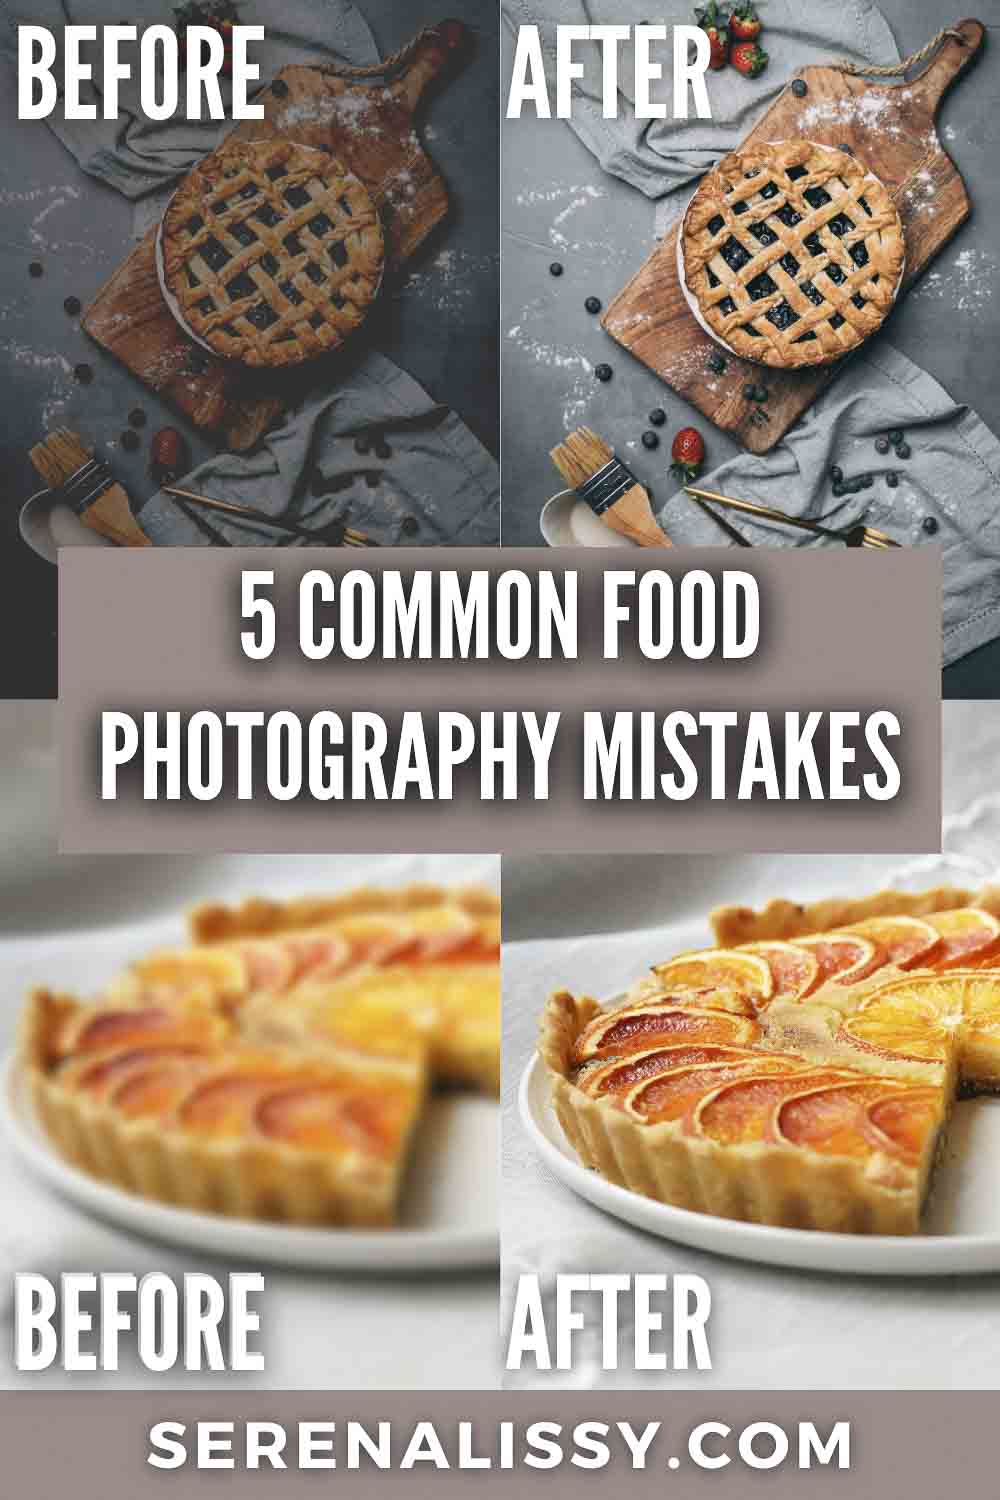
Stylizing Food
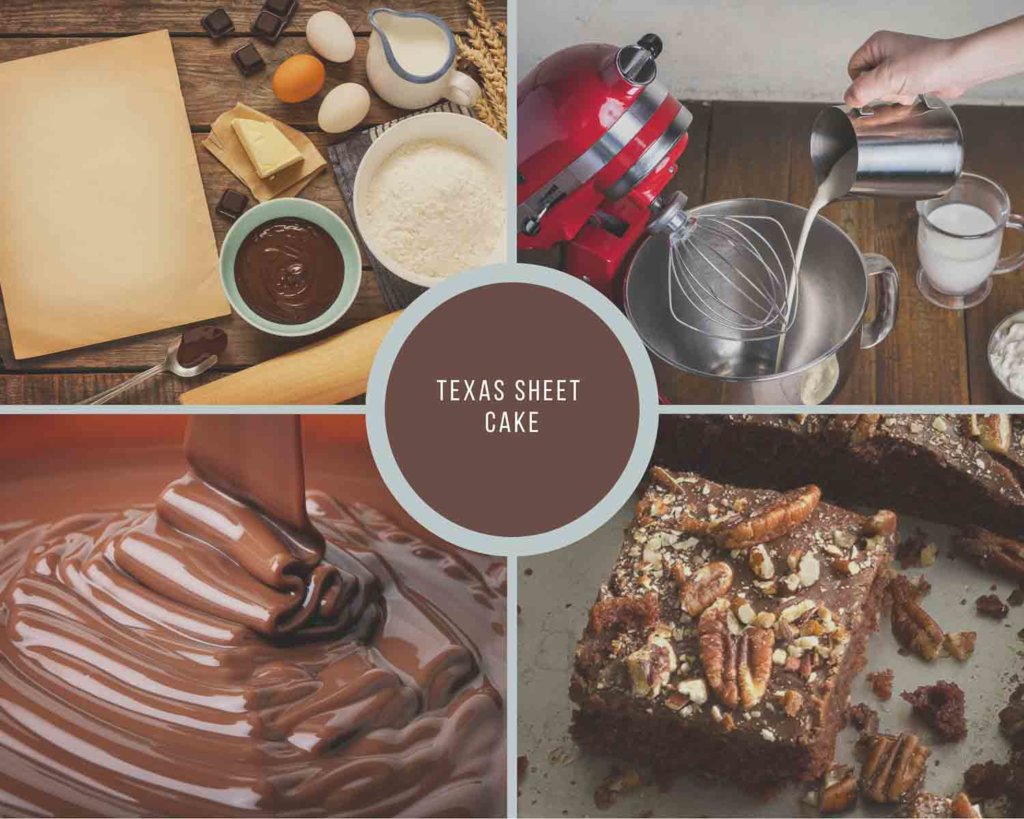
Of course, your food photography journey can’t begin without some beautiful foods to photograph! If you’re a baker or chef, you might be all set and ready to go with your favorite recipes or a few of our favorites.
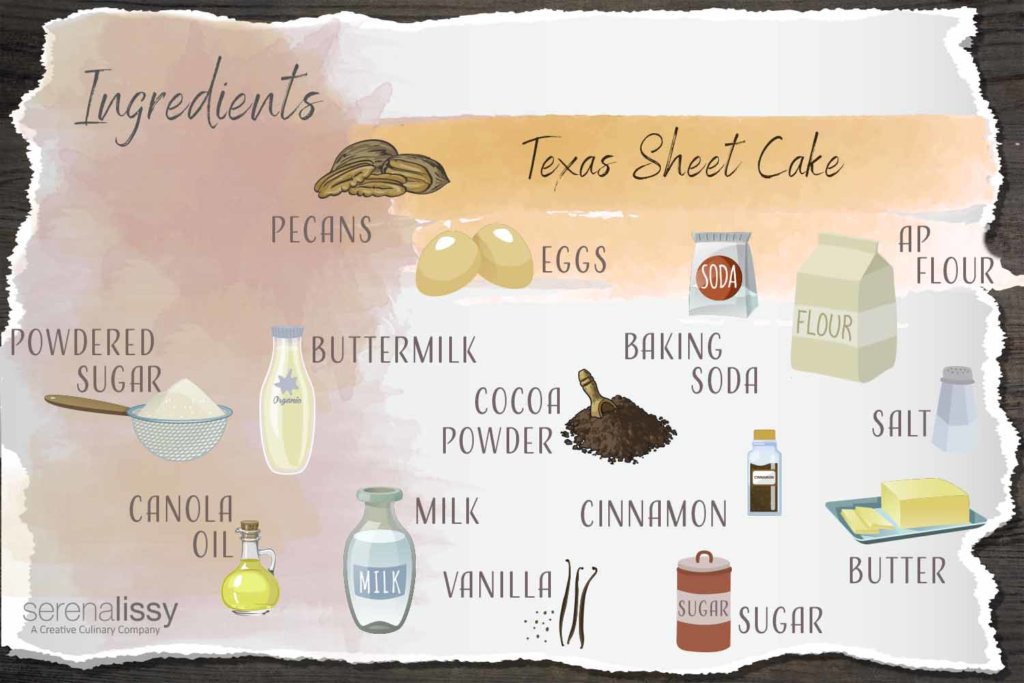
Here on SerenaLissy.com, we have a variety of delicious baking recipes to choose from. We are even planning to start a themed monthly baking challenge perfect for beginners and experts alike. We even announce a winner at the end of each month!
A good first step is practicing your favorite recipes, and exploring new ones will make your dishes more predictable on each bake. The use of props and a bit of food styling will also make them more beautiful as well. While messier food preparation is just as delicious (and sometimes more delicious) than dainty, smaller dishes, you’ll want a clean-set dish when pursuing your food images.
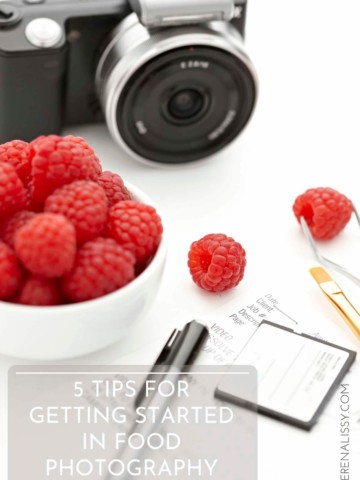
Must-Have Food Photography Gear
Photography gear can range in accessibility and price from using your smartphone to purchasing a professional camera for $1000+. Of course, more professional options will always produce better shots in the hands of a professional. However, the differences can be marginal, especially when first starting out with photography.
Instead of worrying about dropping thousands on a fancy camera, it’s important to learn about all of the options for taking photos your current camera or smartphone has. For example, many smartphones allow for white balancing, manual focus, and more, which can get you far alongside professional camera shots.
A tripod, on the other hand, is a must-have. These can ensure that you have the same set-up for final product shots or for baking shots. One popular option is this tripod from UBeesize, which is appropriate for both digital cameras and smartphones. This tripod is an extremely inexpensive starter tripod. I know many people are averse to using a tripod, but it is essential to avoid camera shake and to get great photos.
Let’s Talk Photography Lighting
While photography lighting definitely qualifies as photography gear, your choices here are a bit extensive. The easiest type of lighting (and most affordable) is ambient lighting. Ambient lighting is defined by any lighting that isn’t added to a scene by you.
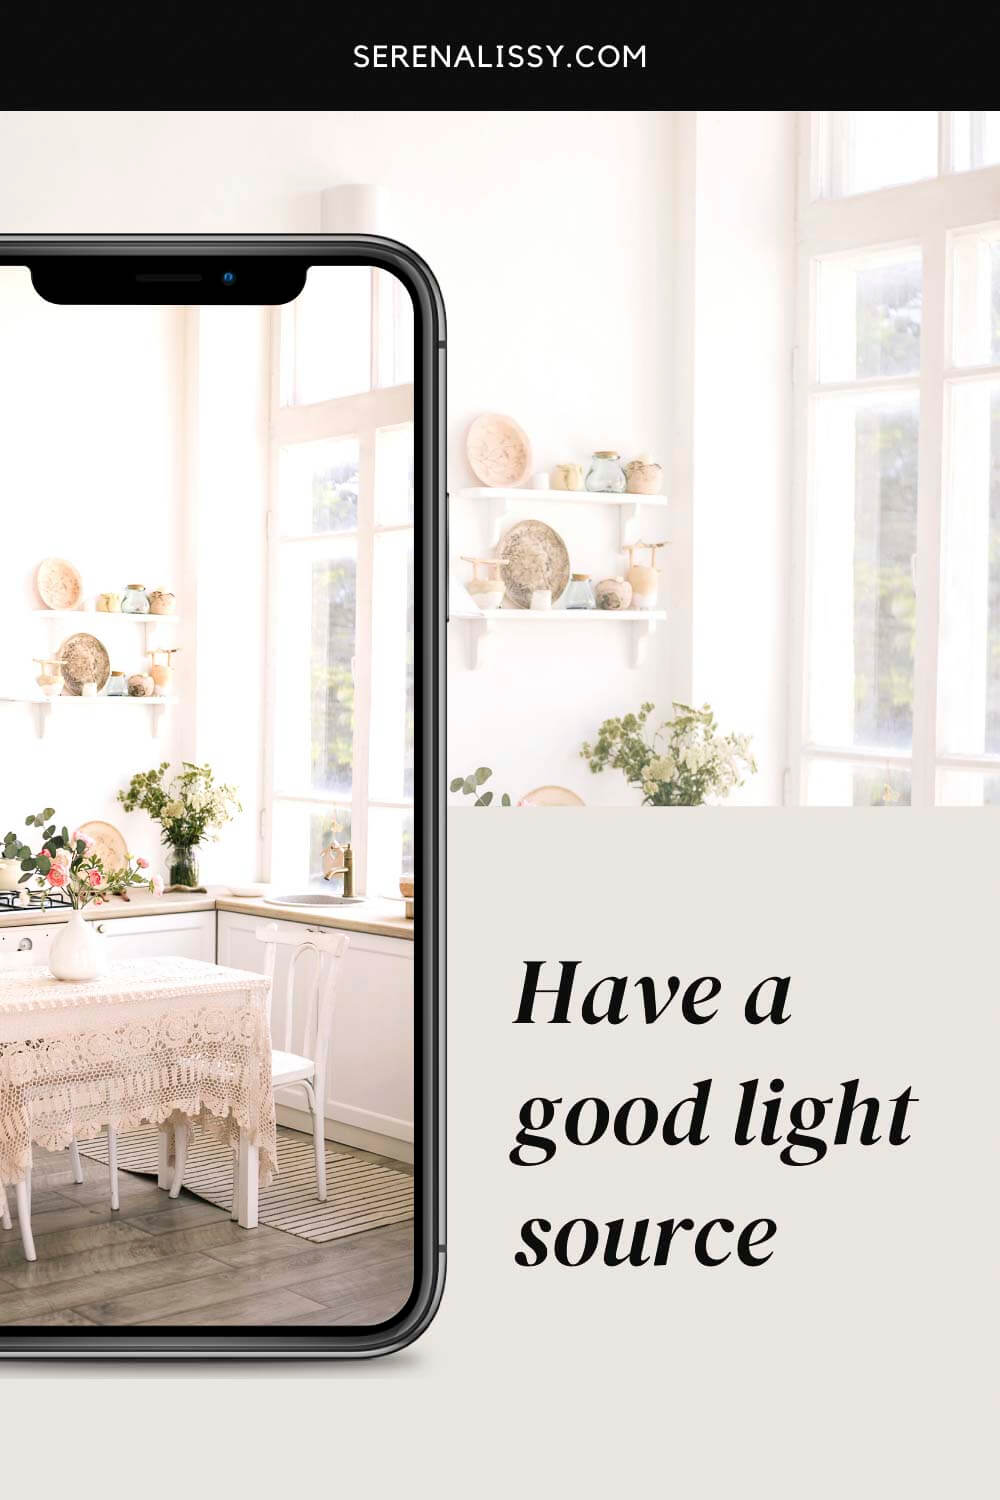
Direct sunlight, streetlights, and any light from reflections all qualify as long as you aren’t the one controlling where the light lands. This type of light is ideal when you’re starting out and potentially setting up a shoot area next to a window. Let's also quickly talk about the cost of natural lighting... Can we say free!
Another option is to invest in a photography lightbox. A lightbox has all-white sides lit by LEDs along the edge of the box or behind the walls. These often also come in different colors or have inserts that can help change colors when wanted.
The one limitation of lightboxes is their size since fully set-up dining sets or extensive baked goods lines won’t fit inside one lightbox of 2 square feet. But if you can work with the size limitation, this is great for blocking out any cluttered backgrounds you may have.
Finally, you can opt for softbox lighting, umbrella lighting, ring, and LED lighting. While softbox and umbrella lighting provide a soft light on subjects, they can also be used for more harsh lighting and angles. I've used artificial lighting for years. It takes a bit of time to understand all the pieces, but it's well worth investing in the time it takes to learn.
Communicating Mood through Photography
Photos have the power to create sales, push awareness and even change your mood. When it comes to commercial product photographers, the goal is to communicate brand value and increase sales of a product at the end of the day. The goal of a professional food photographer is to sell that product, whether it's a piece of cake from a food blogger's recipe or a bottle of soda.
And yet, even marketing-focused photography can benefit from dramatic effects, product lighting, and layout when it comes to both sales and mood. With the correct lighting, even two-dimensional images can feel three-dimensional.
You can read more about the intersection of commercial photography and personal touch on our previous post on A Professionally Produced Photograph Isn’t Just a Luxury.
Taking a Photography Course
Some of us learn more effectively in a classroom setting. Whether you choose to pursue a degree in photography at a local college or enroll in a handful of in-person or online classes, there are many benefits to learning food photography by taking a photography course.
Some photography courses (particularly in-person ones) offer access to equipment for free or on a rental basis while you learn. Courses can be a great way to try out a variety of different equipment without breaking the bank.
Additionally, having an expert teacher or mentor can quicken your learning pace. Forget searching through online forums or old YouTube videos for camera solutions! Your teacher should be able to help you get where you need to be in seconds.
Your teacher or professor can also be a great resource for feedback on your food photography, giving you professional advice and mood checks on pieces you may not normally be able to get feedback on. Even better if you’re in a class with numerous students available to connect with! Getting peer reviews makes a huge difference in your journey to becoming a food photographer.
Finally, taking a certification or degree course in photography can lend you credibility when working with future clients or bosses.
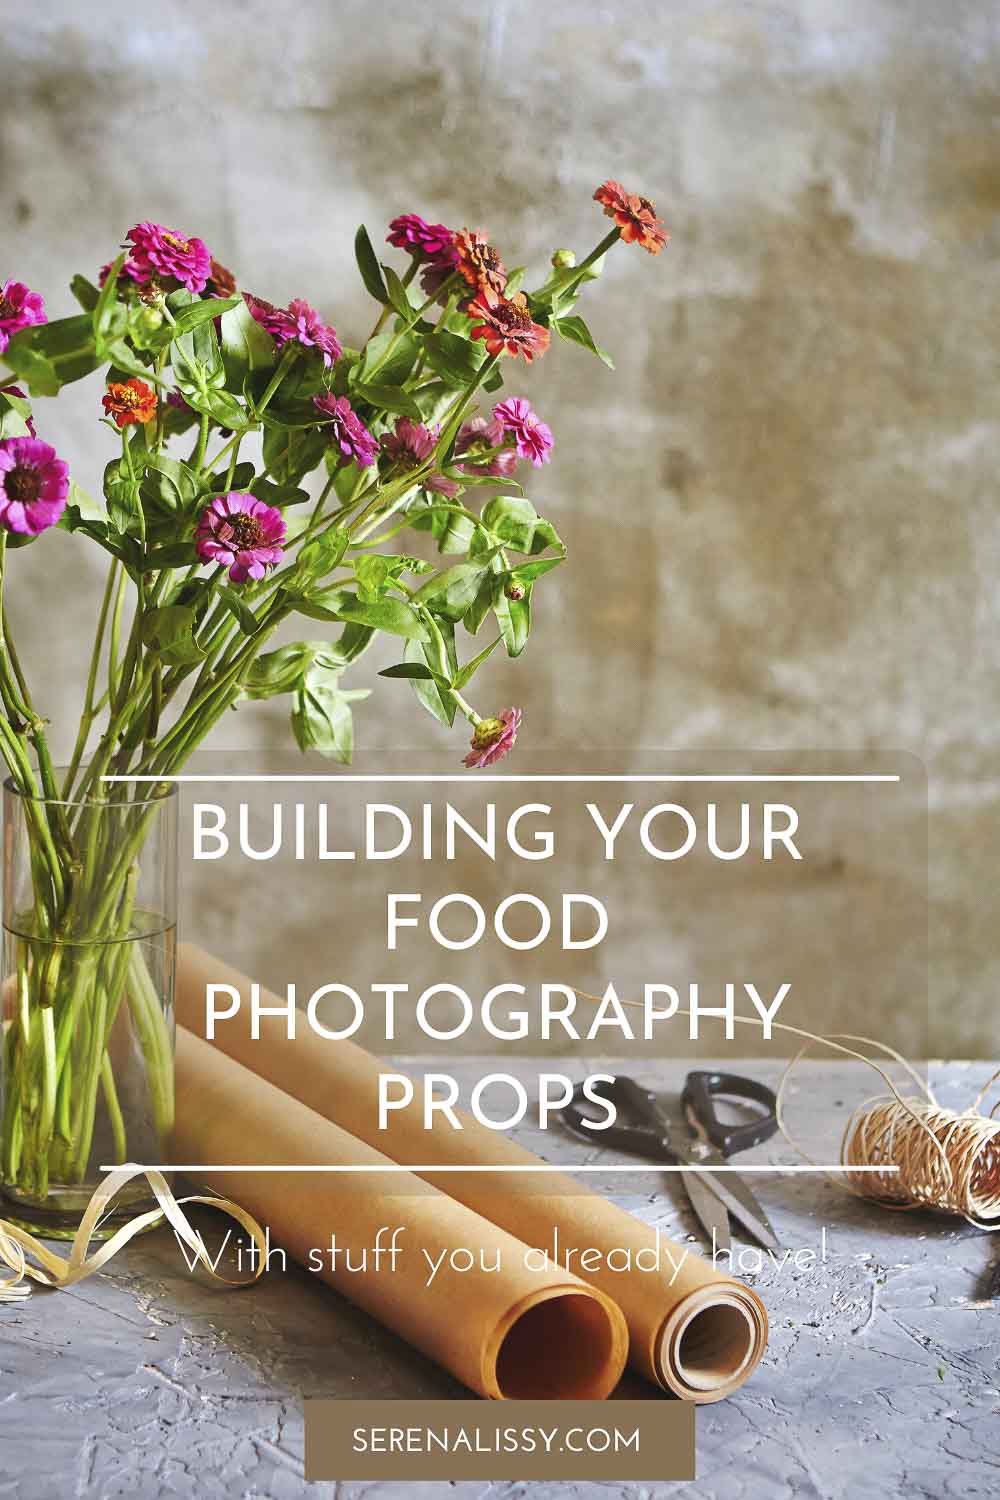
Getting Started in Food Photography at Home
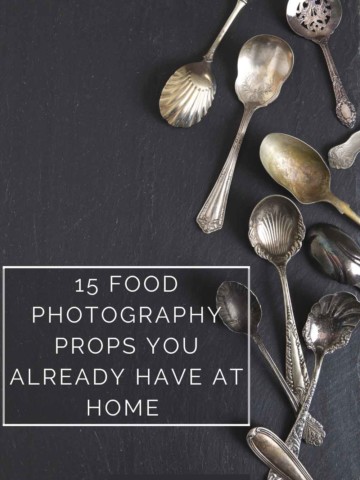
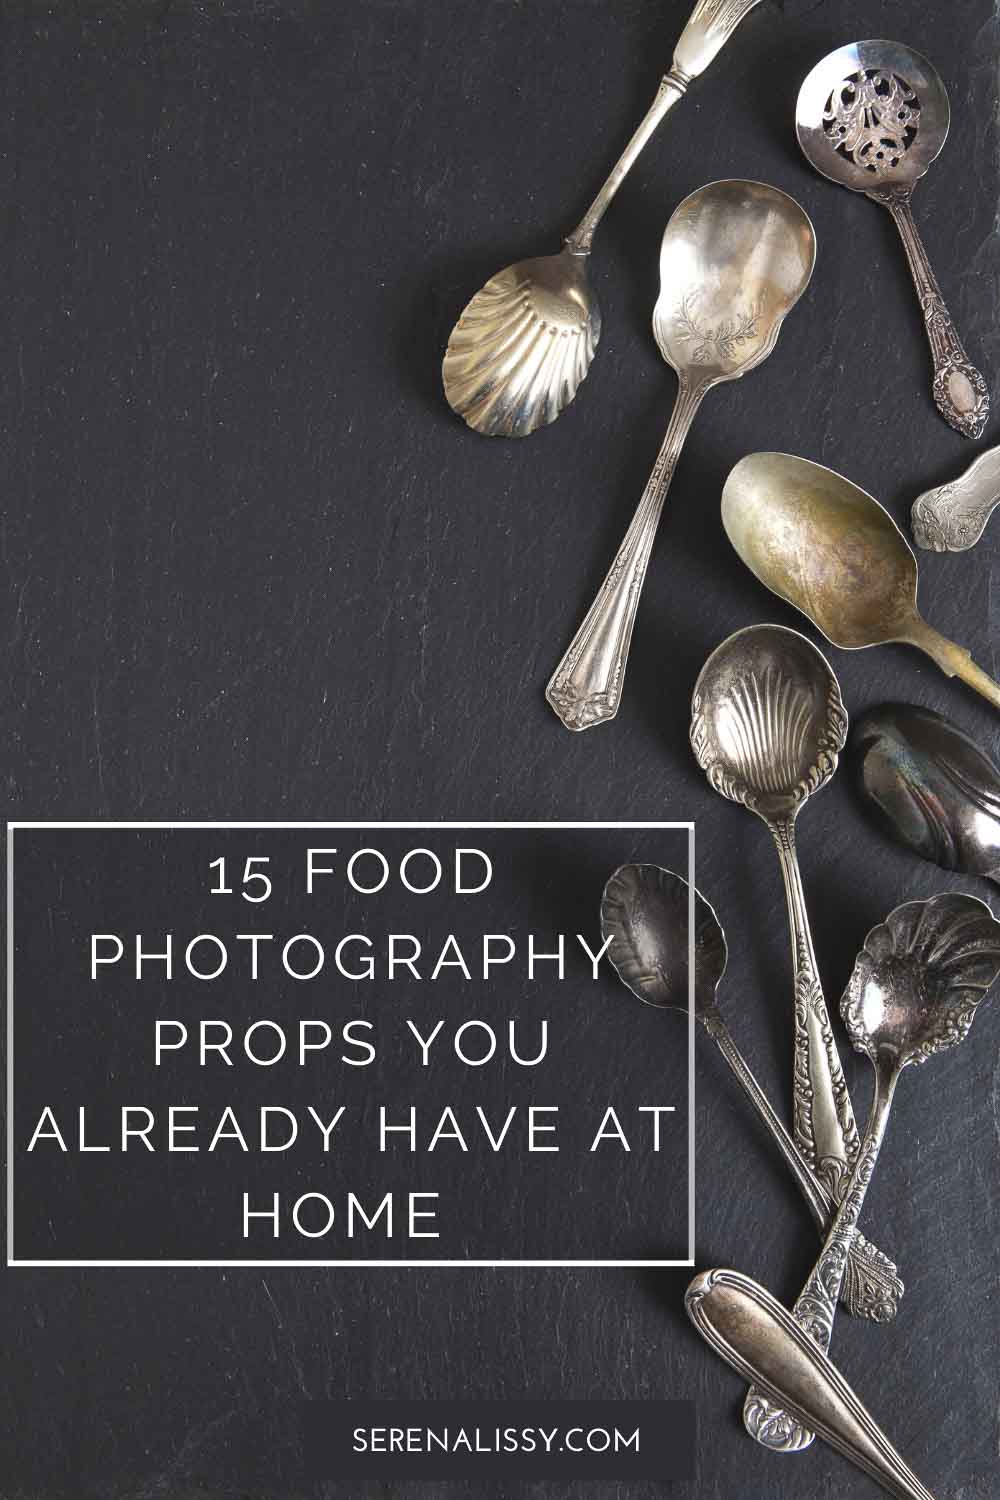
When getting started on your food photography journey, don’t forget that some of the best things to take photos of are already in your home! A lunch salad, dinner of pork chops, or even a simple bowl of cereal can give you plenty of test subjects. Are you drinking a cup of coffee while reading this? Well, there you go, get some props and set up a good shot to practice with. Doing this daily will greatly expand your creative process. And remember, the best camera is the one you have with you. Don't be afraid to use your mobile phone while learning. Put it in manual mode and get some great photographs of food.
Ready to jumpstart your learning? Read our article on Camera Modes: A Beginner’s Guide to Camera Settings or Six Tips For Finding The Best Camera For Food Photography on SerenaLissy.com and stick around for more food photography tips and tricks alongside baking adventures.
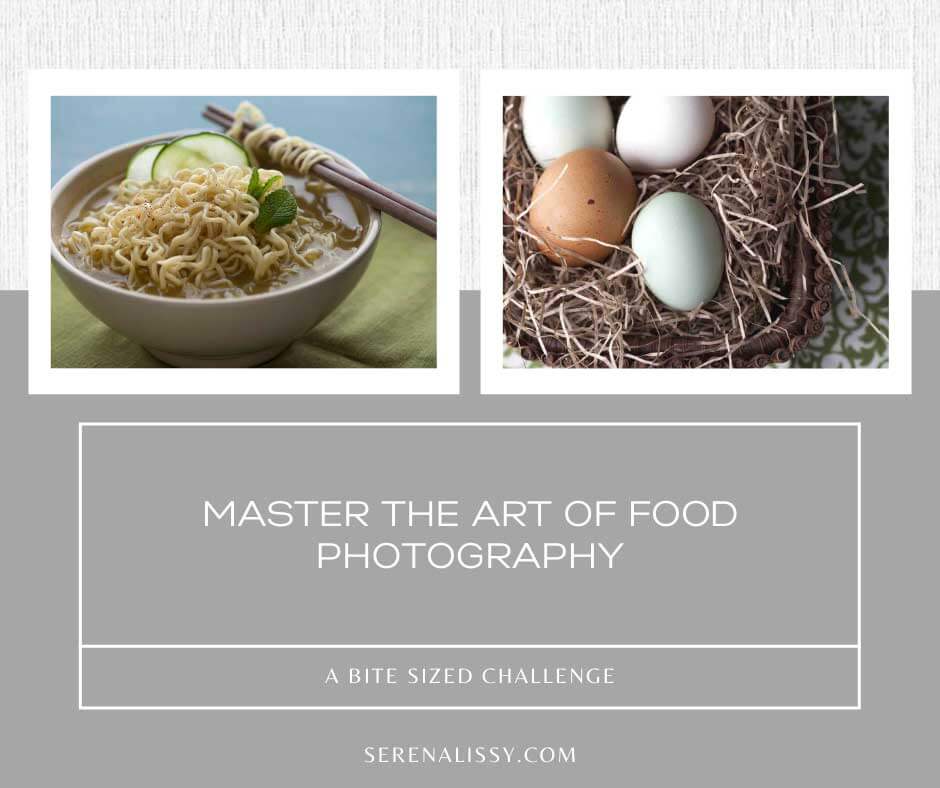
Five Day Food Photography Challenge
Want to take your food photography up a notch?
I’ve been photographing food for years and have learned some tricks of the trade. Join me on this 5-day challenge where you’ll learn how to master the art of food photography, one bite at a time. You’ll be amazed by what you can do with just a few simple tips. You will learn how to make your photos pop with color, texture, and lighting. Sign up today!
As an Amazon Associate and member of other affiliate programs, I earn from qualifying purchases. What that means is if you click on one of our affiliate links, they may toss a few pennies our way for a commission.